Image Producer
A layered image editor for Mac and iPad. Draw, cut out, key out a color, add a glow, generate with Image Playground, and make stop-motion animation.
GitHub Repository All Support Pages
On this page: Getting started · The window · Saving and going back · Layers · The tools · Projects to try · Exporting · Troubleshooting · Service bulletins · Need help?
Getting started
- New Image makes a new picture and saves it to iCloud Drive with a number for a name, like ImageProducer0024. On the iPad, Image Producer asks for a name and a size first. On the Mac, press ⌘N.
- New from Import… starts a new picture from a photo or a PDF. The photo or PDF itself is never changed. On the Mac, press ⇧⌘N.
- Image Producer saves your work by itself a moment after you stop.
The window
 1
2
3
4
5
6
7
8
1
2
3
4
5
6
7
8
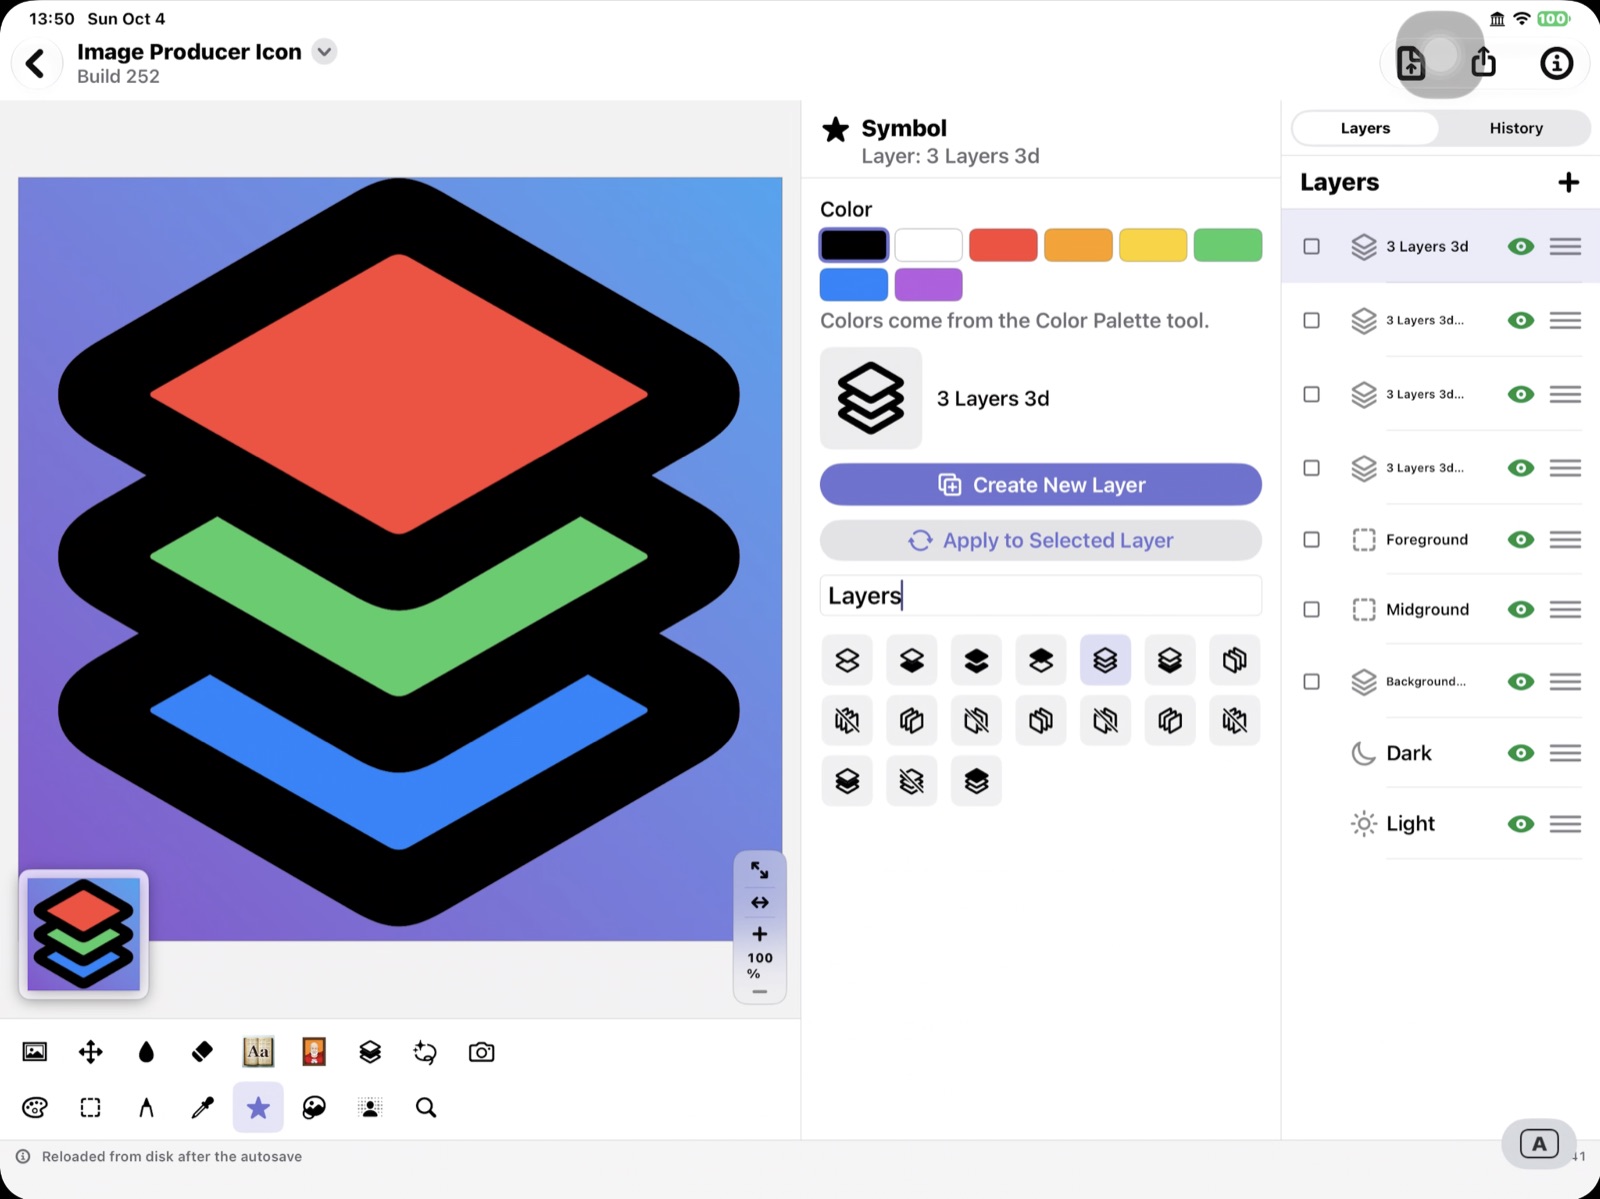
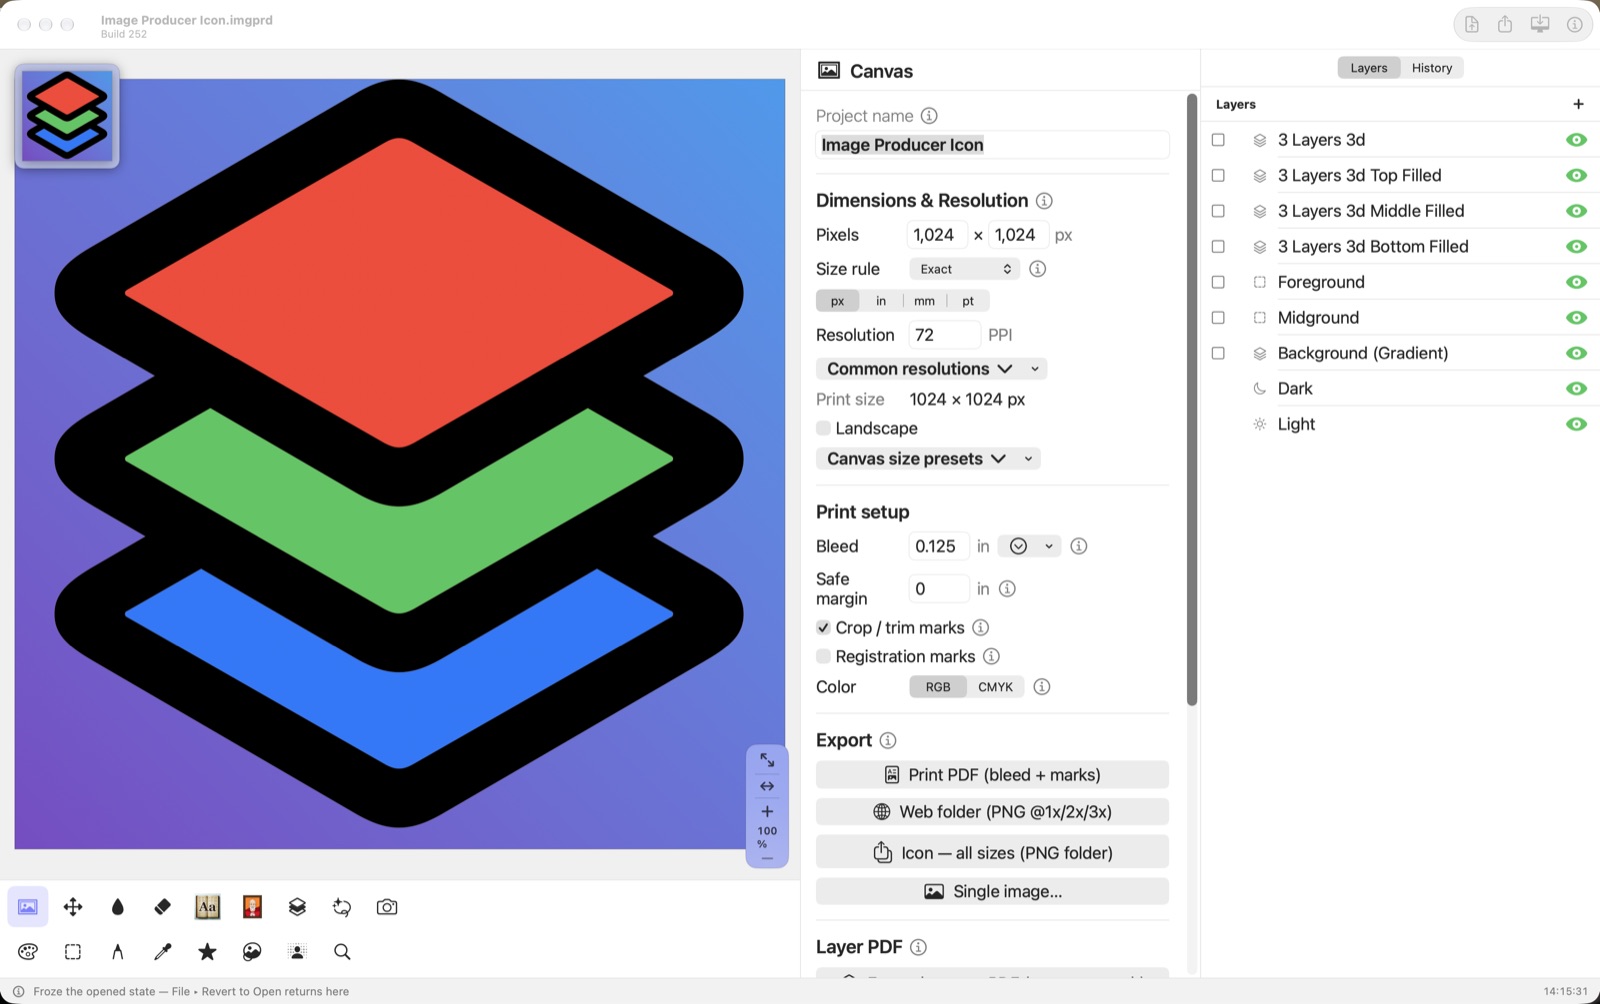
- Canvas — the left half of the window.
- Tool box — two rows of tools under the canvas. The chosen tool is tinted; on the Mac, hover one to see its name.
- Tool panel — the settings for the chosen tool. The top of the panel names the tool and the selected layer.
- Layers / History — a two-way switch at the top of the right column.
- Status line — the thin line along the bottom. After every action the status line says what just happened.
- Zoom controls — full-screen canvas, fit width, zoom in, the zoom level (tap or click to return to 100%), zoom out.
- Floating preview — a small copy of your picture at real size, whatever the zoom. Drag the preview to any corner.
- Window toolbar (top right): Export, Share, Save to Desktop (Mac), and About Image Producer.
 1
2
3
4
5
6
7
8
1
2
3
4
5
6
7
8
Saving and going back
- Image Producer saves on its own. The status line says “Autosaving…” and then “Autosaved”.
- On the Mac, ⌘S also saves and marks the spot, so File ▸ Revert to Last Save… can return there.
- Opening a picture marks that spot too, so File ▸ Revert to Open… can return there.
History
- Open the History tab and tap or click a step to look at it. Looking changes nothing.
- To go back to that step for good, press Keep this step at the top of History. The newer steps are deleted, and Image Producer asks first.
- Long-press (iPad) or right-click (Mac) a step for Restore from This Step or Delete This Step.
- The ⋯ menu has Optimize History, which makes the file smaller and keeps every step, and Purge History…, which keeps the picture and erases the steps.
Layers
- Each layer has a checkbox, a name and an eye. The checkbox is for merging and linking, not for selecting. A green eye means the layer shows; a red crossed-out eye means the layer is hidden.
- Tap or click a layer’s name to select the layer. Drag to change the order. On the iPad, drag by the handle at the right.
- + adds a new layer above the selected one.
- Long-press (iPad) or right-click (Mac) a layer for Rename, Duplicate and Delete.
- Merge: check two or more layers and press Merge. The layers become one picture on a new layer, and the originals are kept, hidden.
- Link: check two or more layers and press Link. Moving or resizing one linked layer moves them all, and each layer stays editable.
The tools
Every picture opens on the Canvas tool. Tap or click ⓘ in a panel for more about that setting.
Canvas
The picture’s name, size, print settings and exports.
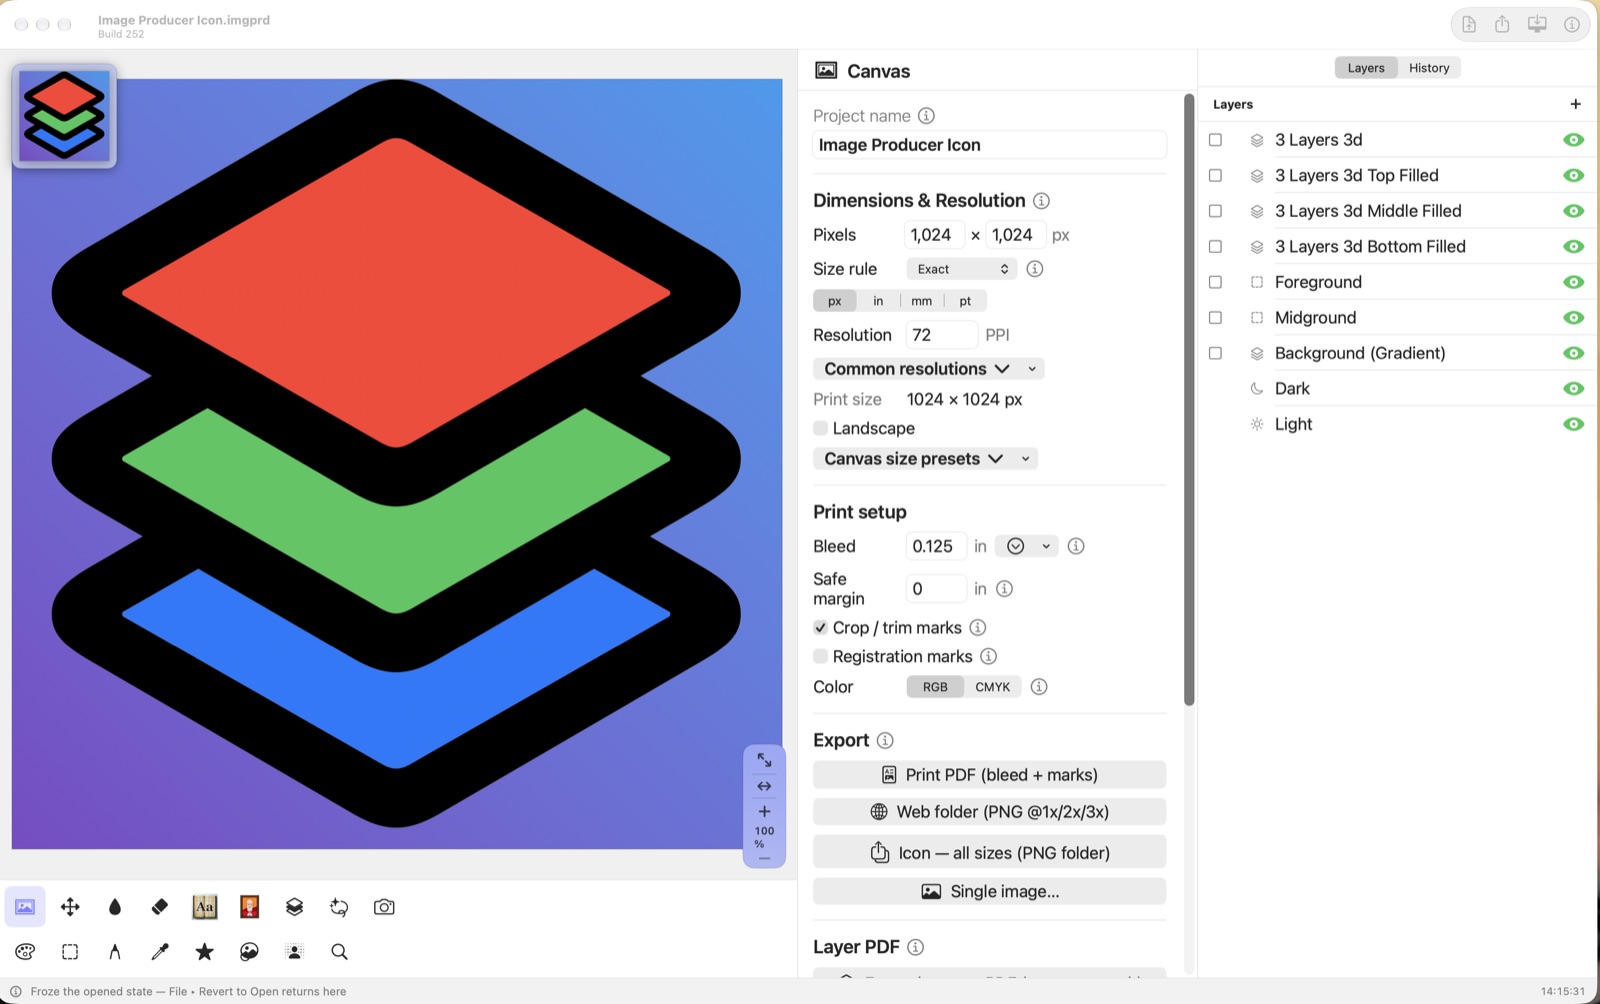
- Project name renames the file. Type the new name and press Return.
- Resolution: for printing, set the resolution first — 300 is standard for print.
- Size: type the width and height, or choose from Canvas size presets. The presets are grouped by job: App Store Connect, Wallpapers, Social, Apple TV, Web ads, Paper, Posters, Signs & flyers, Event & stationery, Cards & envelopes, and Photo. Each preset shows its size and whether it is horizontal, vertical or square.
- Size rule decides what happens when you change the width or height:
- Exact — type any width and height.
- Fixed ratio — the shape stays the same; change one side and the other follows.
- Fluid width — the height stays put and the width can grow or shrink. Fluid height is the reverse. The picture keeps its size and stays centered; only the canvas around it changes.
- Landscape swaps the width and the height. A square canvas does not change.
- Print setup: bleed, safe margin, crop marks, registration marks, and RGB or CMYK. Each one has an ⓘ that explains it.
- Export: Print PDF, a web folder of PNGs, every app-icon size, or Single image… for one PNG, JPEG, TIFF or PDF.
Color Palette
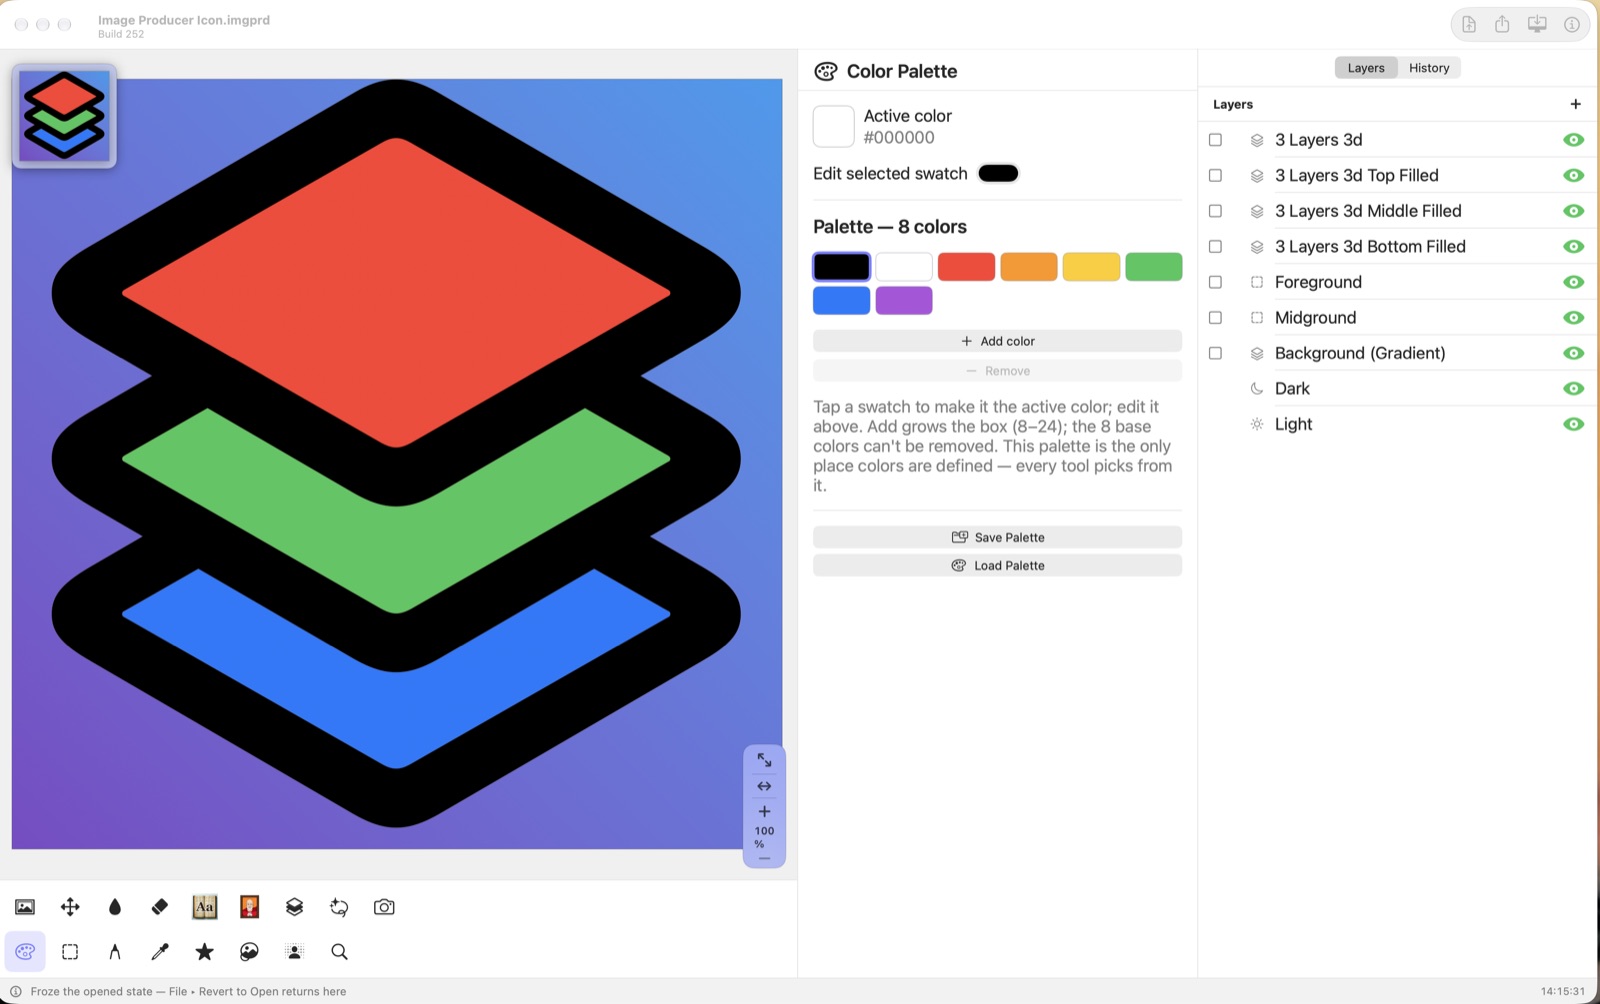
Every color in the app comes from the palette. Tap or click a swatch to use the color, and change the color with the picker. Add color and Remove grow and shrink the palette. Save Palette and Load Palette move a palette between pictures.
Move / Transform
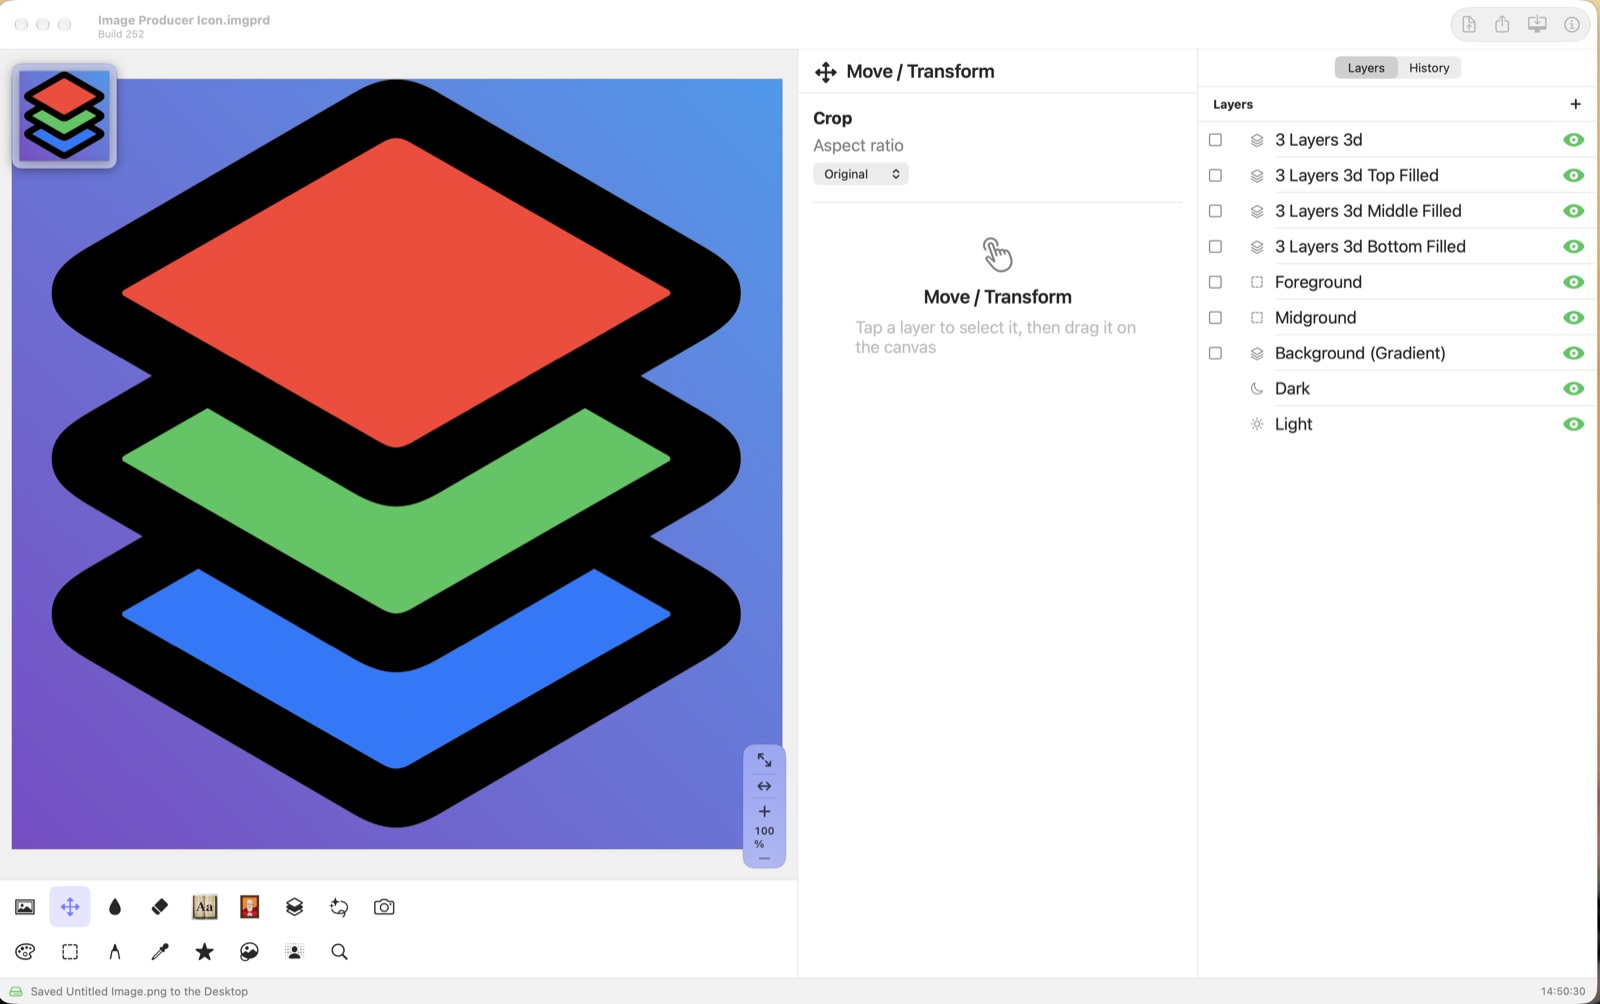
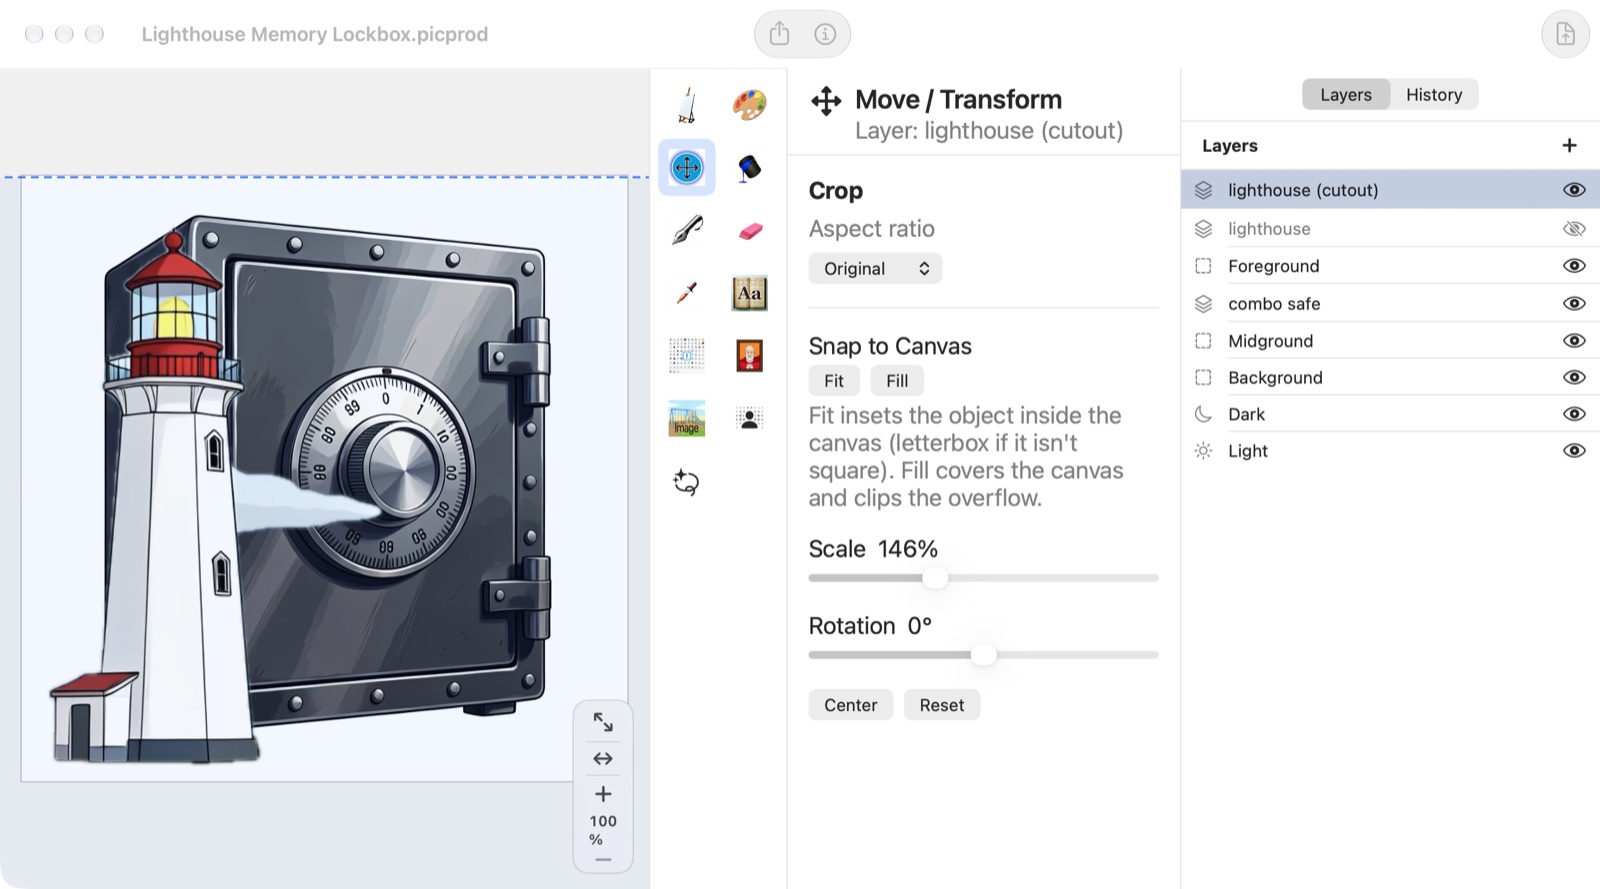
- Select the layer.
- Drag inside the dashed box to move the layer. Drag a corner to resize the layer.
- Or use the Scale and Rotation sliders. Fit puts the picture inside the canvas; Fill covers the whole canvas.
- Choose another tool when you are done. The original is kept underneath, hidden.
Crop is here too: choose a shape, adjust the box, then press Apply Crop.
Mask
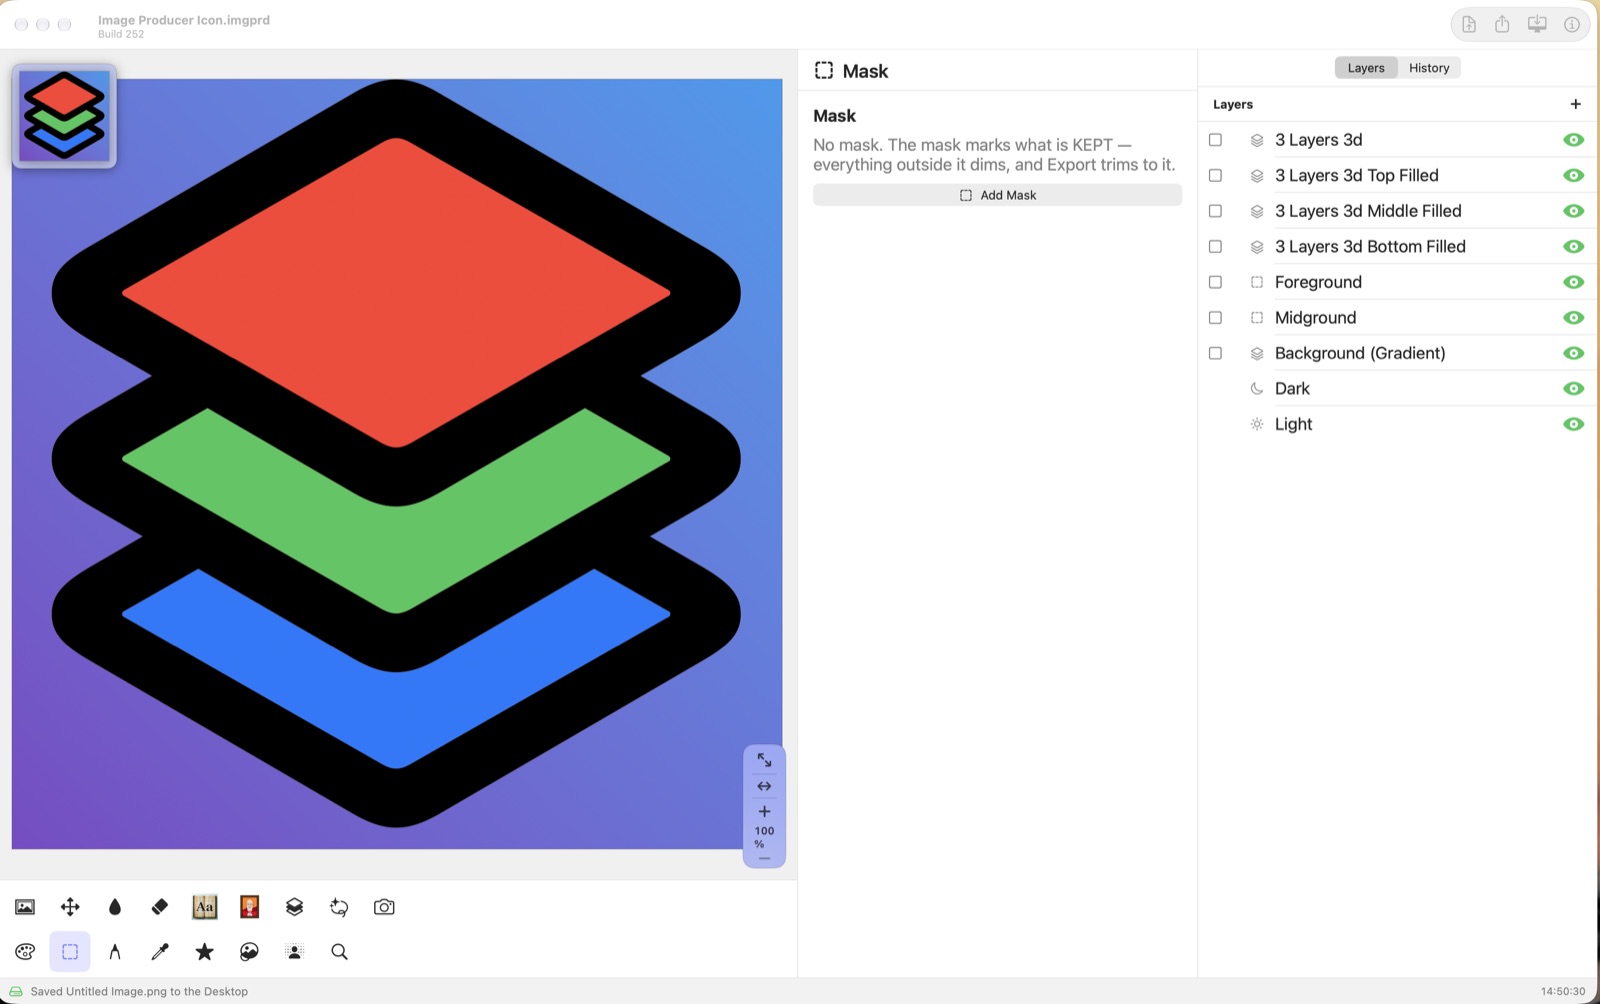
The mask marks the part of the picture to keep. Everything outside the mask goes dim, and exports keep only what is inside. The mask can be a rectangle, an oval, a polygon, a star, a typed character or a symbol. The mask never changes your picture.
- Press Add Mask.
- Drag a corner to resize the mask. Drag inside to move the mask.
- Remove Mask takes the mask off.
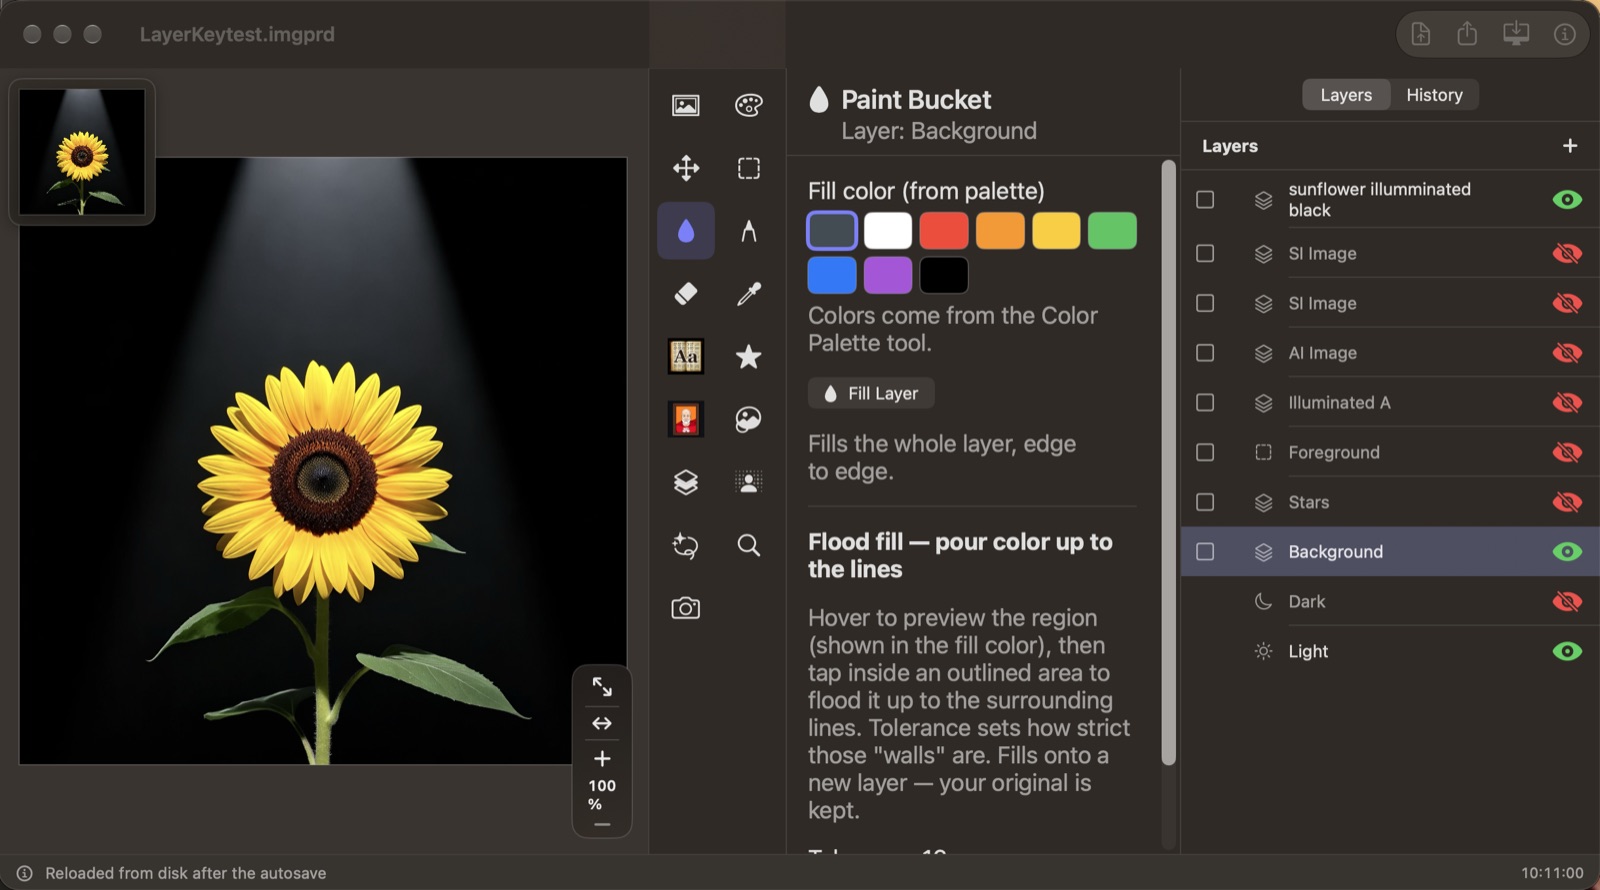
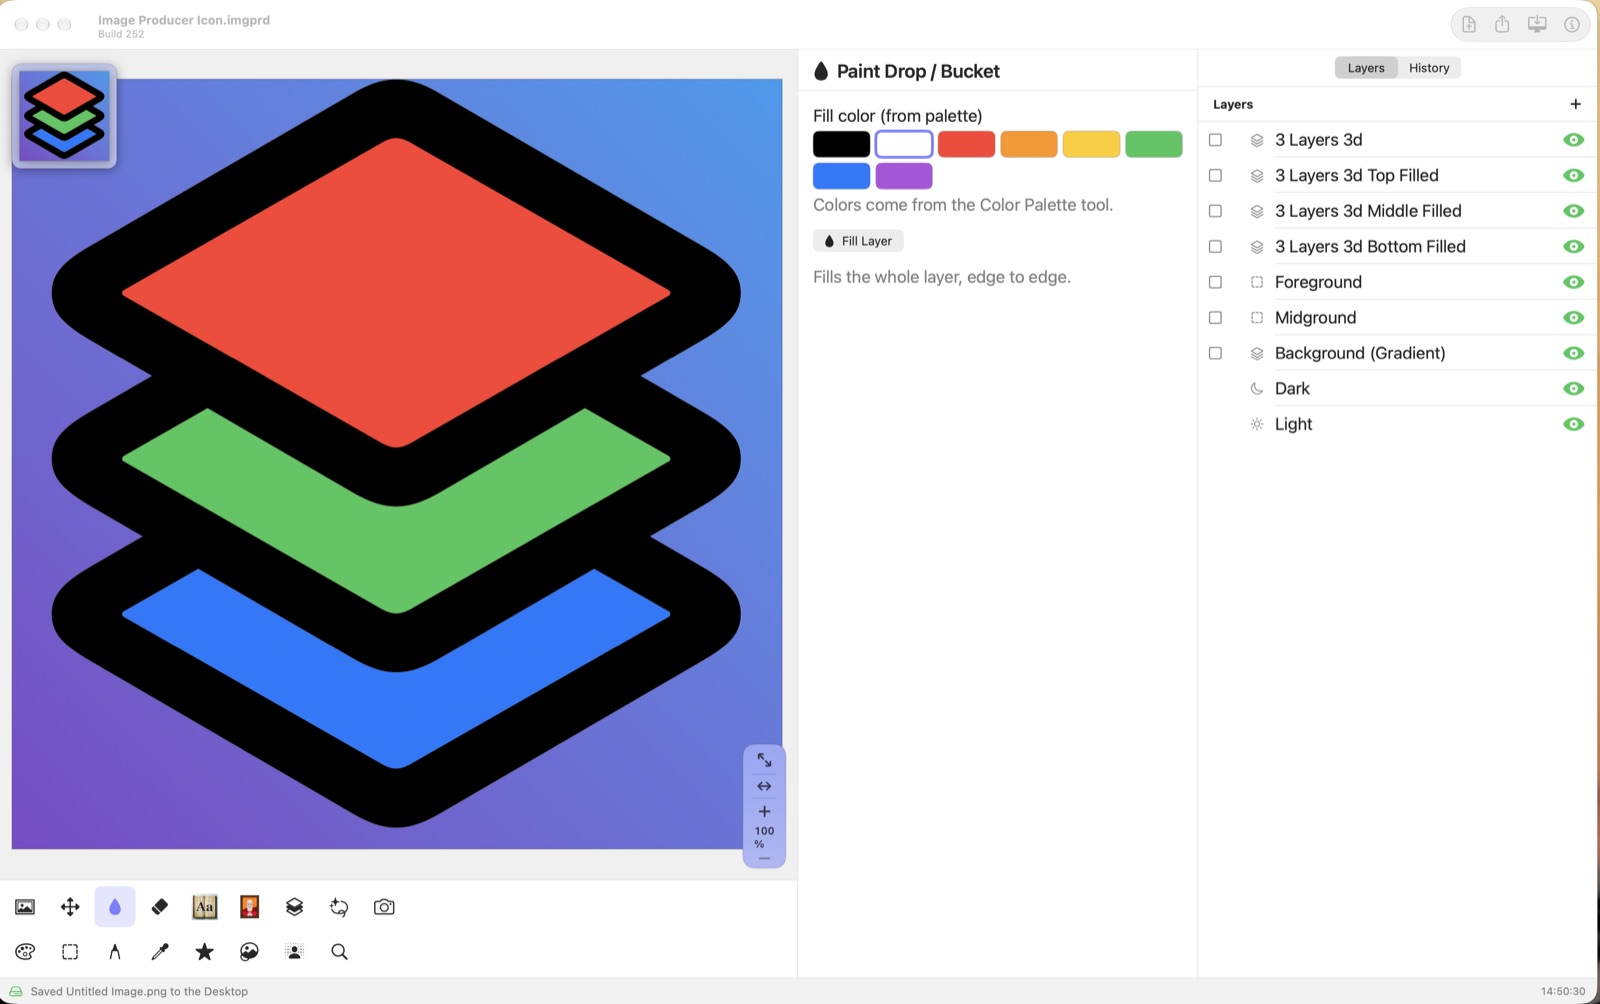
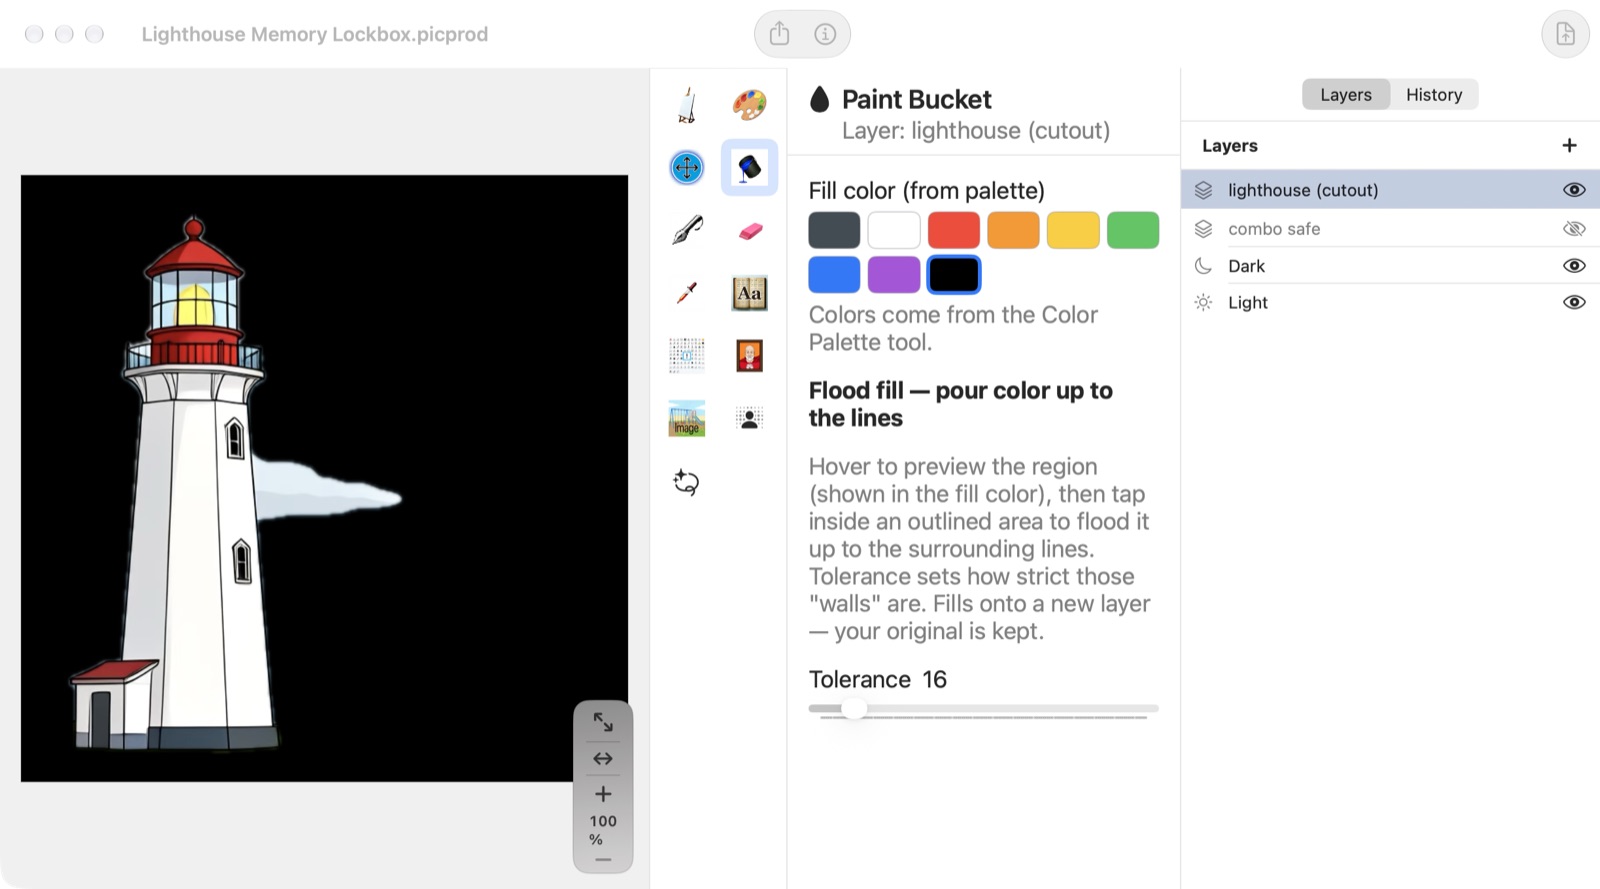
Paint Drop / Bucket
- Fill Layer fills the whole selected layer with the color.
- On a picture, move over an area to see what will fill, then tap or click inside an outlined area to pour the color up to the outline. Tolerance sets how strict the outline is.
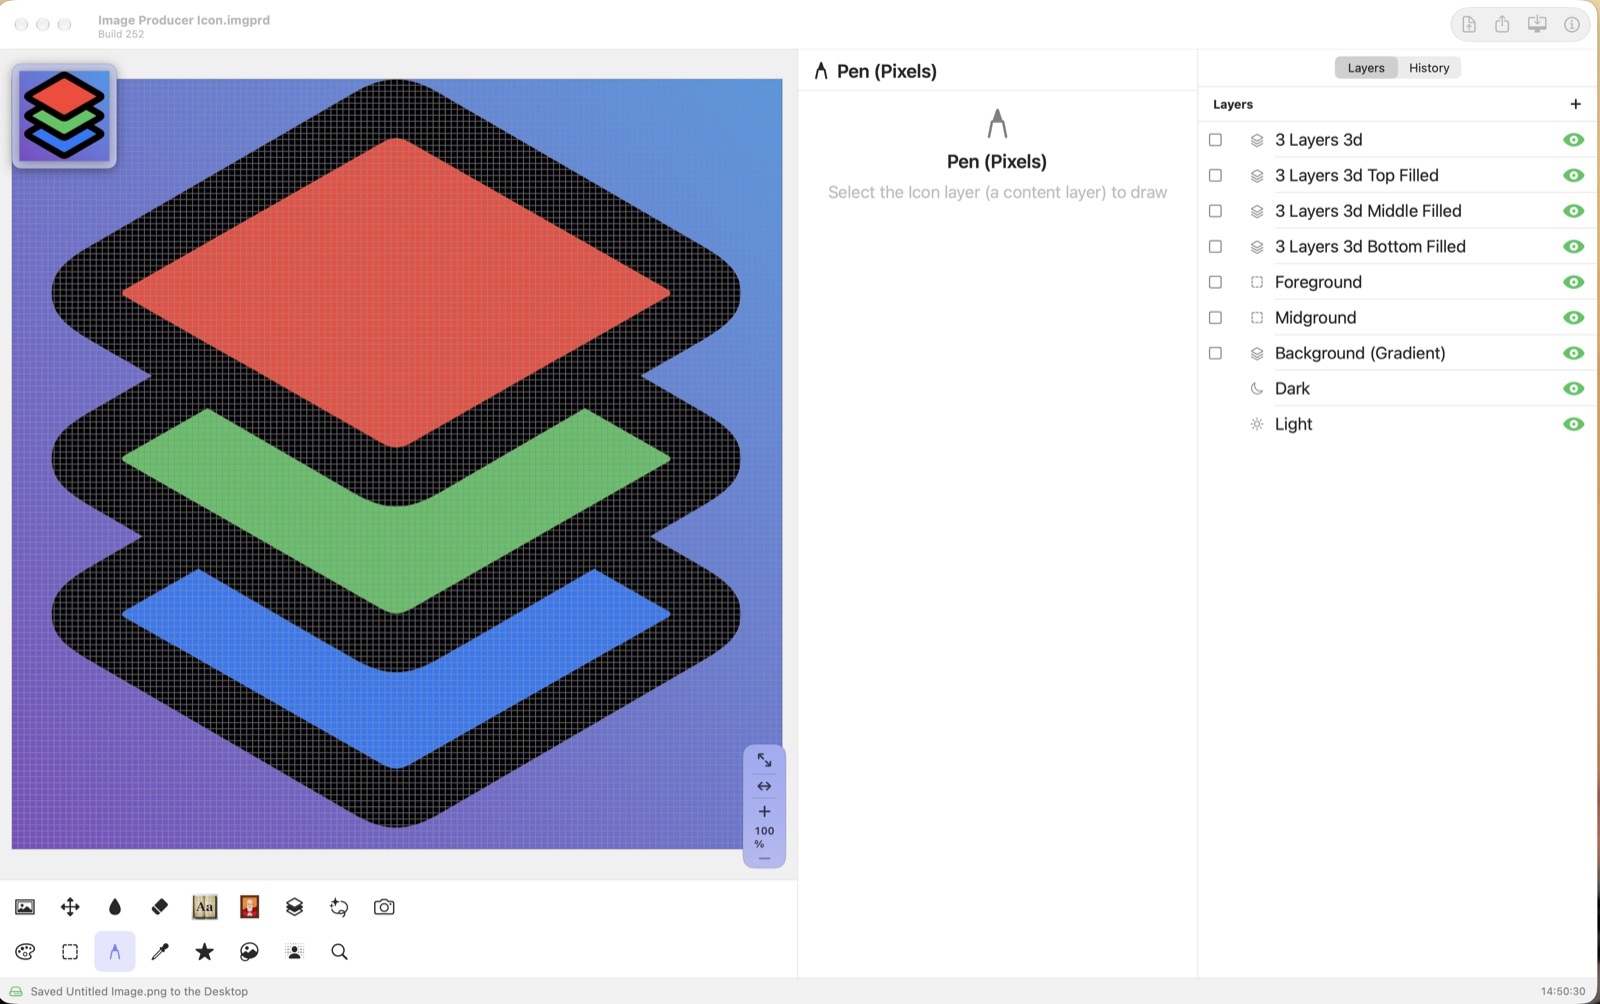
Pen (Pixels)
The Pen draws in squares, like graph paper. Each layer has its own grid size. Choose a color and drag on the canvas. Switch to Erase to take squares away. On the Mac, dragging with a right-click also erases.
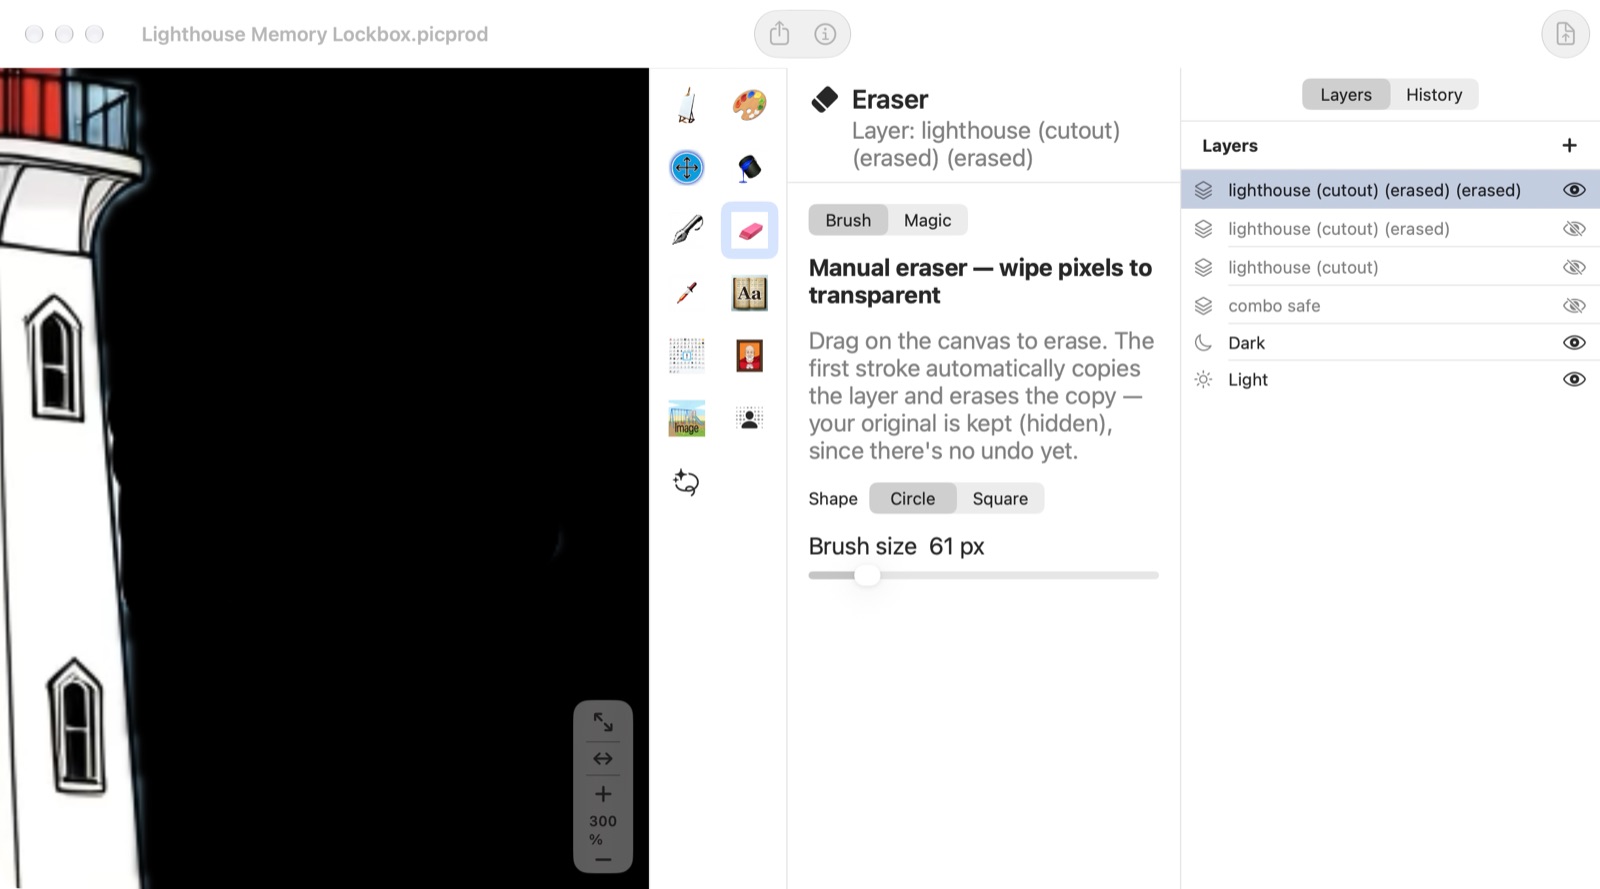
Eraser
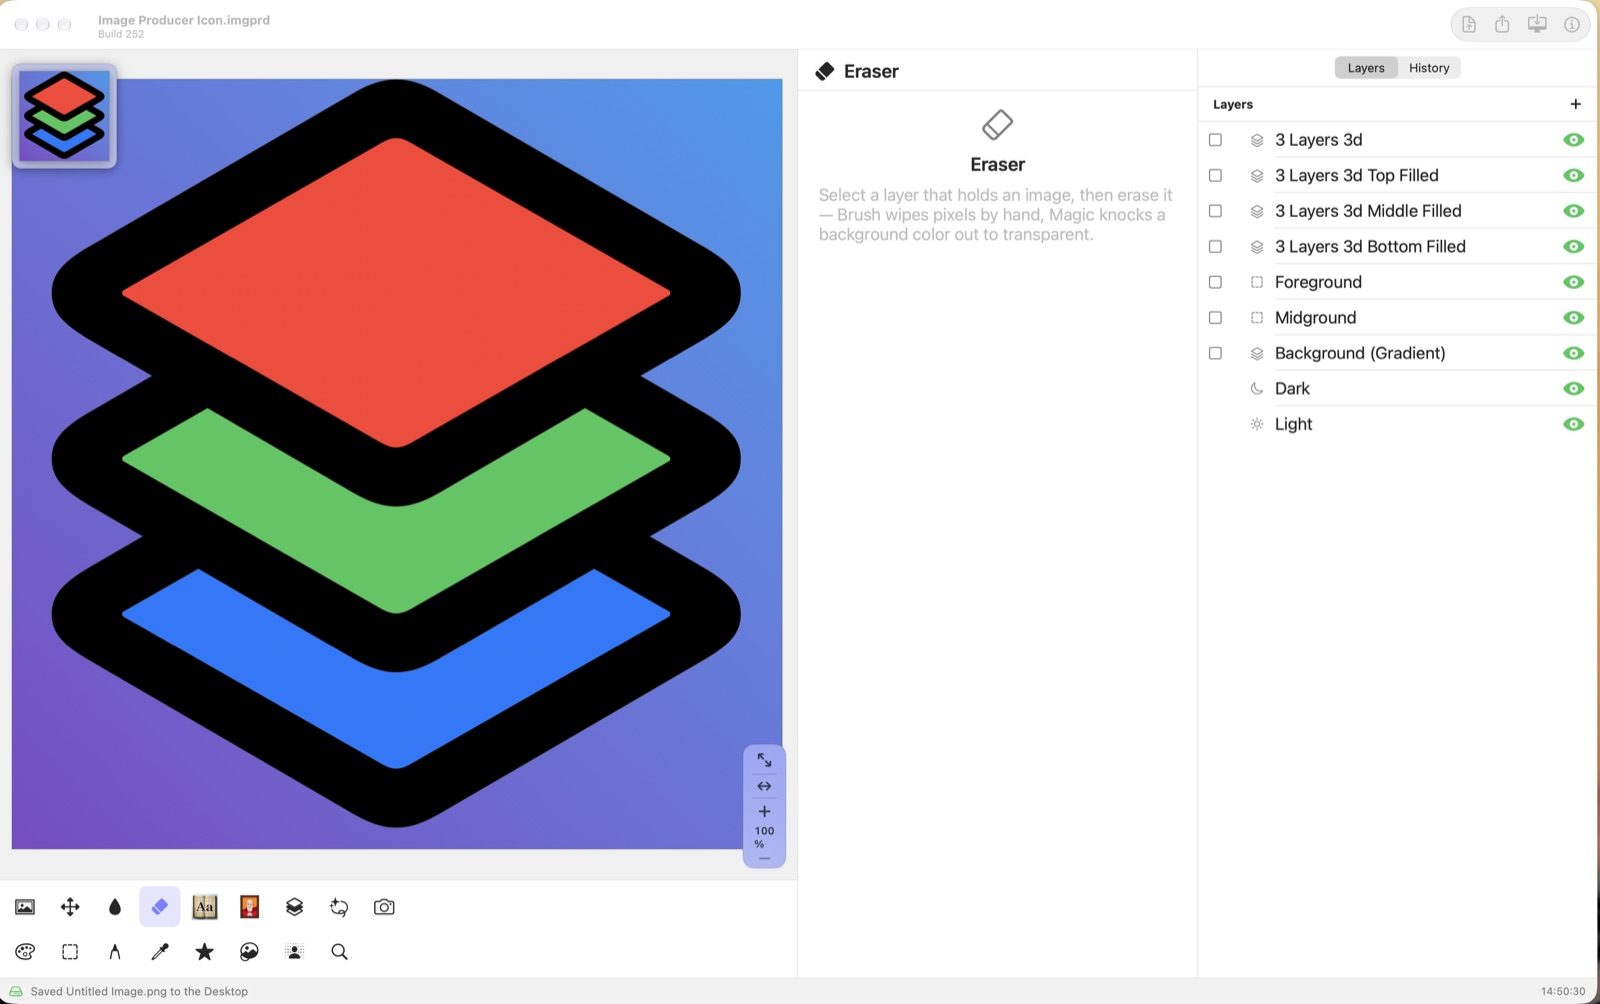
- Brush — drag to erase by hand.
- Magic — pick the background color with the Eyedropper, raise Tolerance until the whole background turns magenta, then press Erase Color → Transparent.
Eyedropper
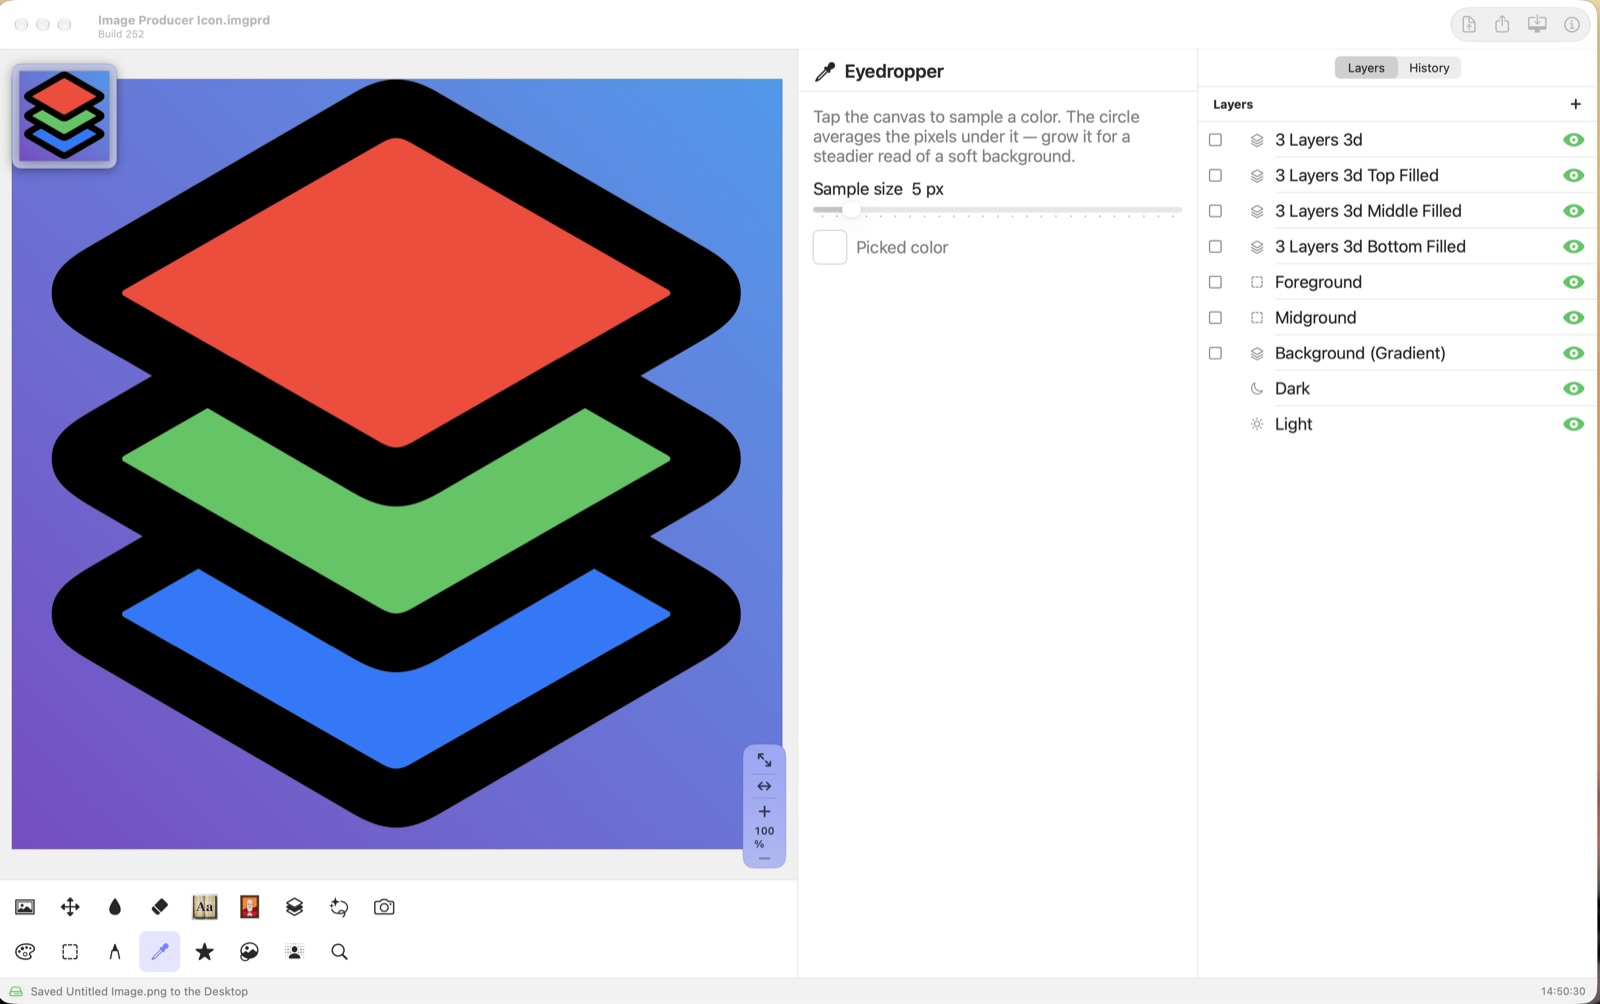
Tap or click the picture to pick up a color. The color goes into the palette and becomes the color for filling and drawing. A bigger Sample size averages more of the picture, for a steadier color on a soft background.
Text
- Type in the Text field.
- Press New Text Layer. The new layer is named after its words.
- Choose a font, a size, a color, and bold, italic or underline. Every change shows right away.
- Press Return to finish a line, type the next line, and press New Text Layer again.
- Use Move to place the text.
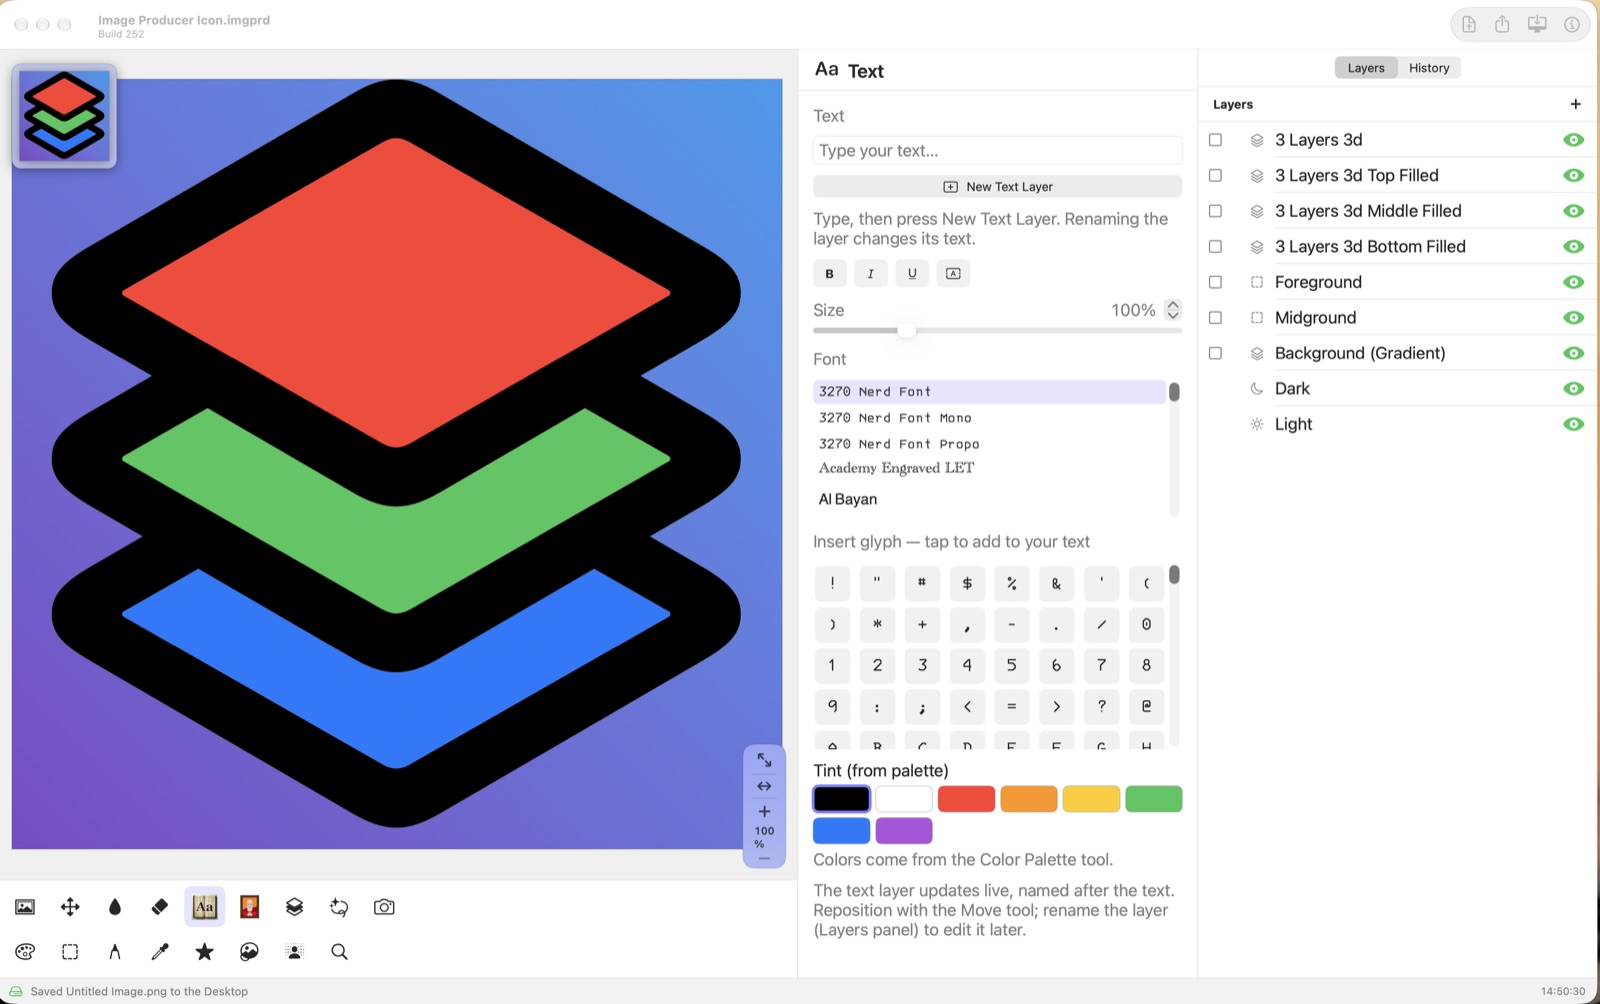
Renaming a text layer changes the words on the canvas. Emoji are the exception: an emoji layer is named with the emoji’s name, like “Sunflower” for 🌻, and renaming the layer never changes the emoji.
Symbol
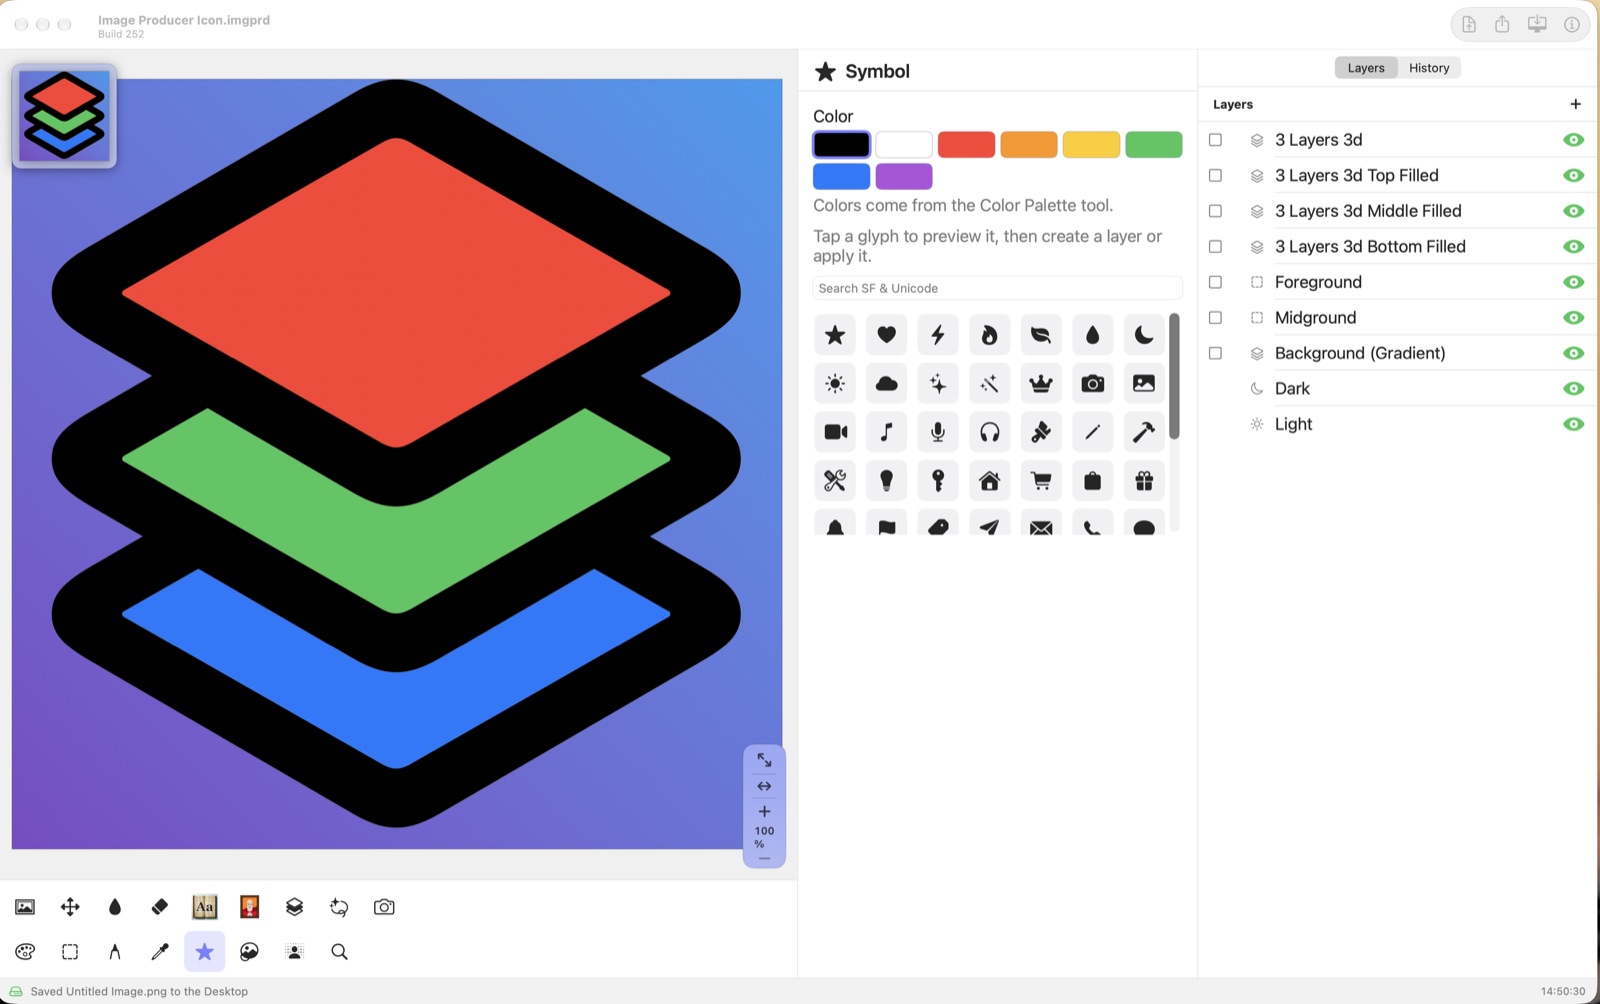
- Pick a Color.
- Search for a symbol, or tap or click one from the starting set. Nothing changes on the canvas yet — a preview in your color shows above the search box.
- Press Create New Layer to add the symbol on a new layer, or Apply to Selected Layer to swap the symbol on the selected symbol layer.
Image
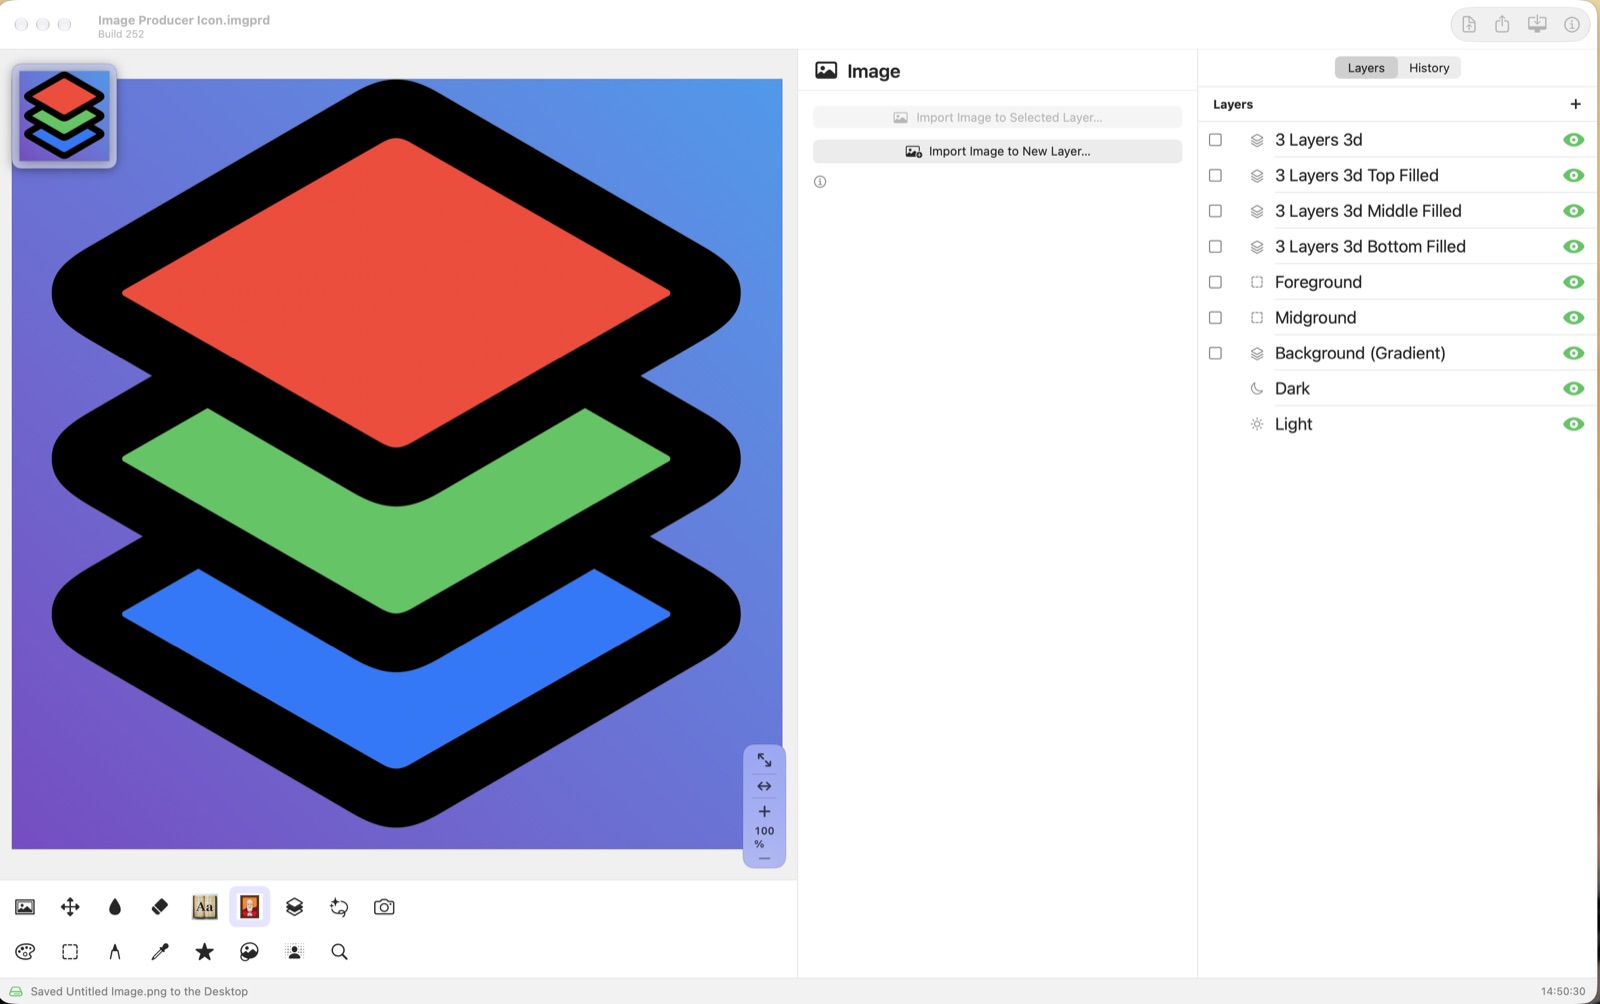
Import Image to New Layer… adds a picture on a new layer named for the file. Import Image to Selected Layer… replaces what is on the selected layer. Use Move to size and place the picture. Image Producer opens PNG, JPEG, HEIC, TIFF, GIF and BMP, and on the Mac, PSD.
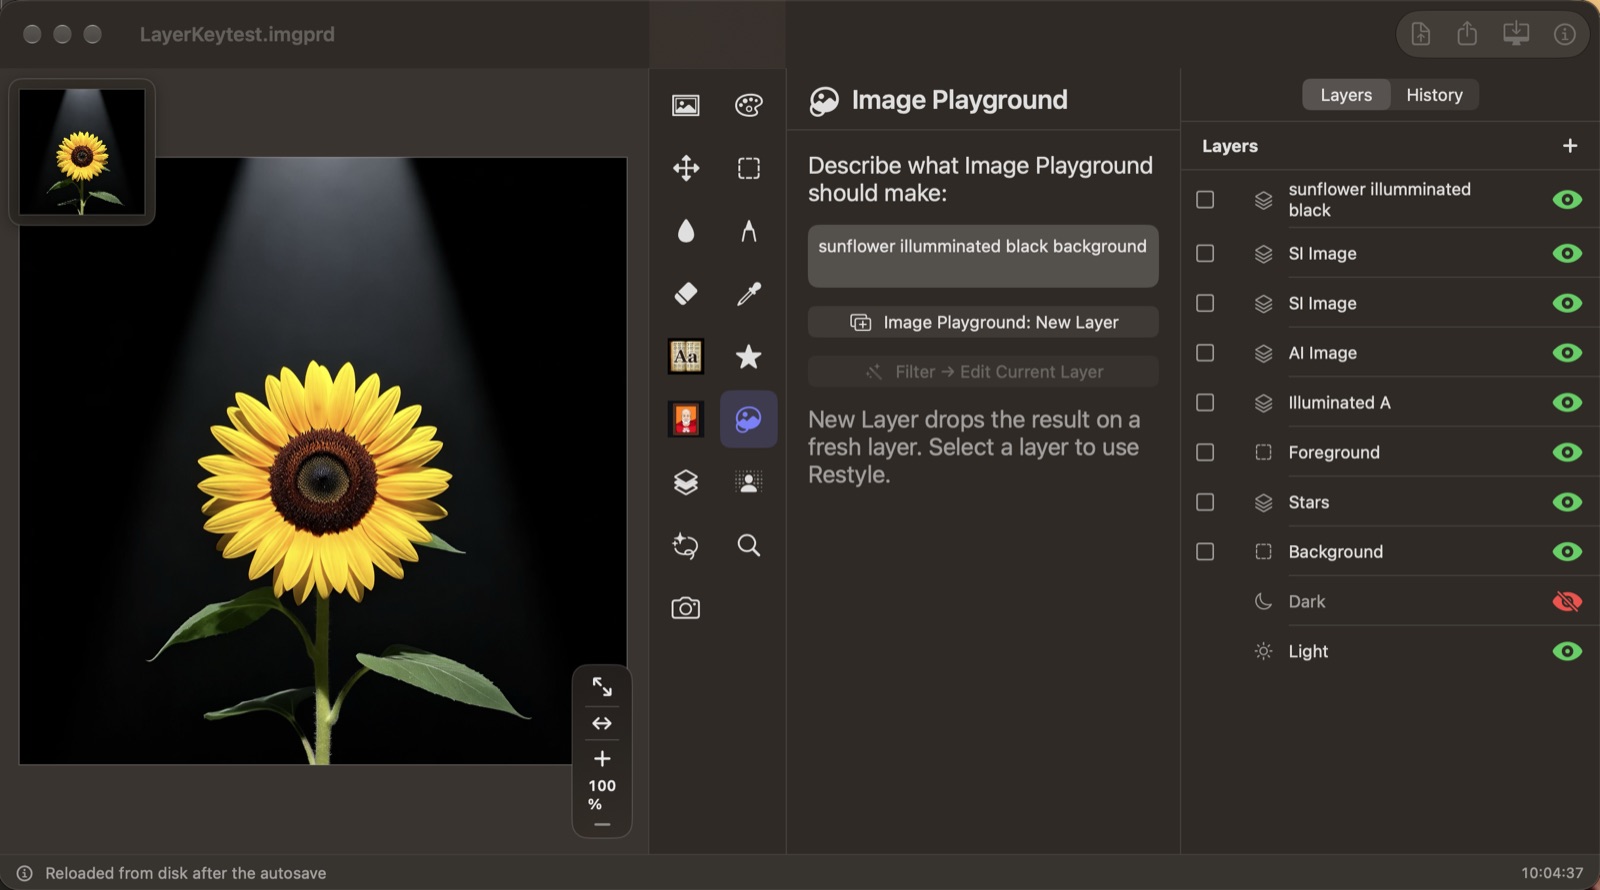
The Image Playground Tool
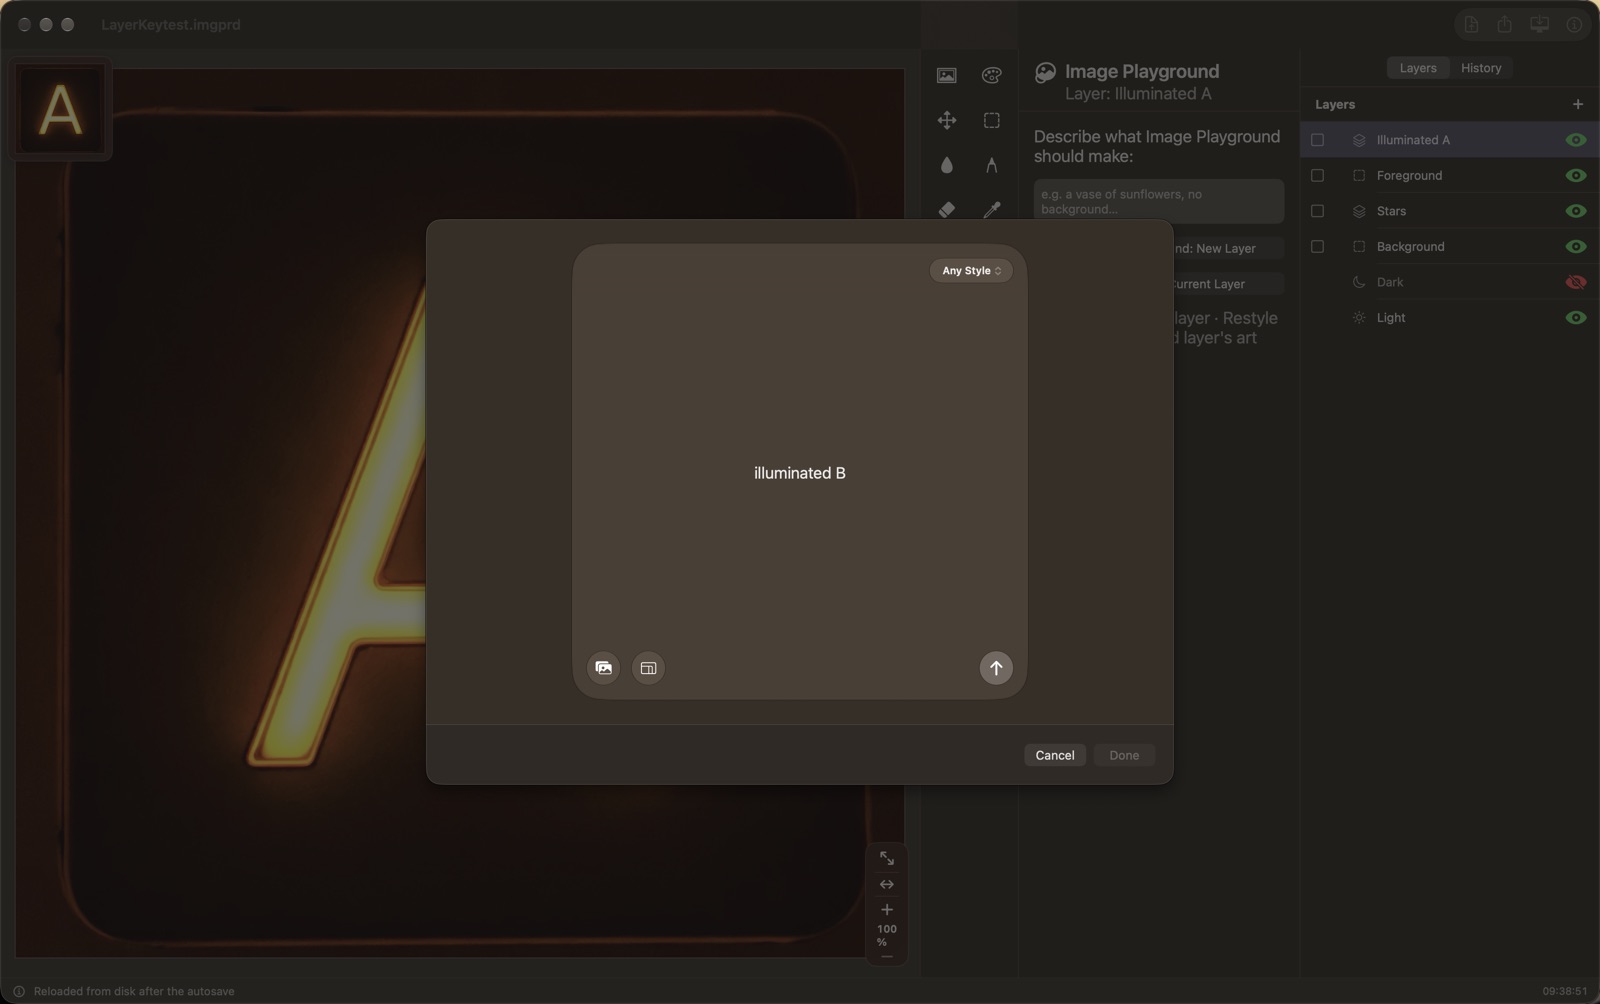
The Image Playground Tool hands your words to Apple’s Image Playground, Apple’s image generation on your own device. Turn on Apple Intelligence in Settings first. The Image Playground Tool works two ways:
Add a new layer
- Type a few key words in the Image Playground Tool’s box that describe what Apple’s Image Playground should make — not in Apple’s window.
- Press Image Playground: New Layer.
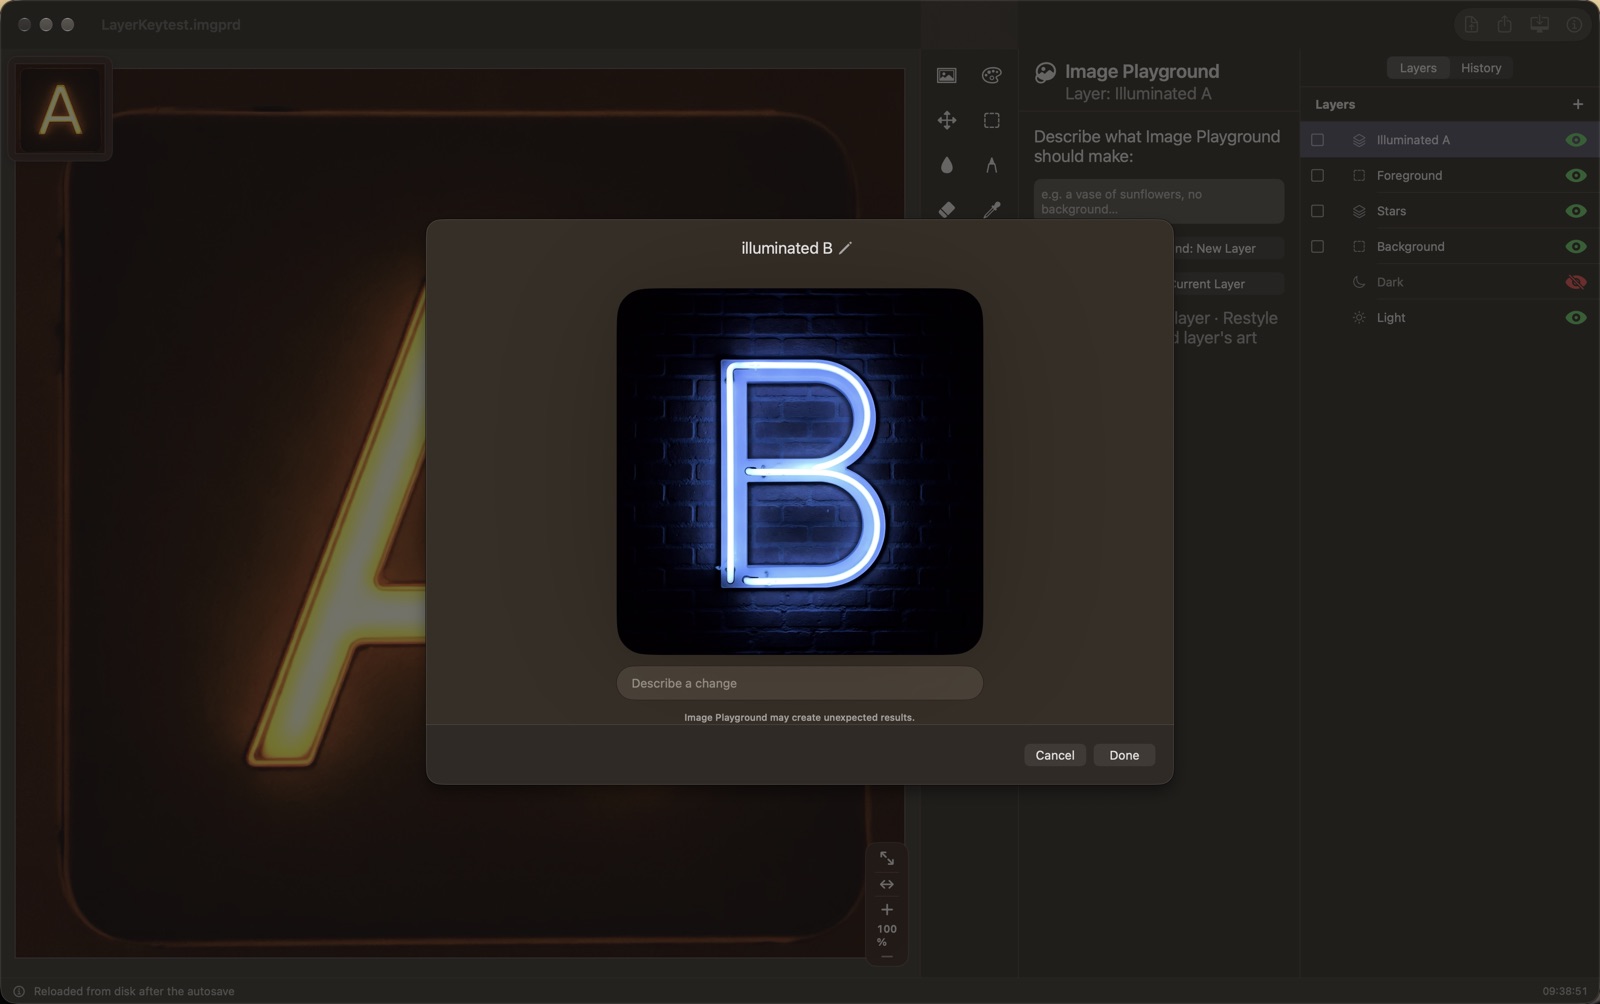
- Apple’s Image Playground opens with your key words. Make an image, choose a style if you like, and press Done.
The picture is added on a new layer, named with your key words.
Restyle the selected layer
- Select a layer with a picture.
- Press Filter → Edit Current Layer, choose a style in Apple’s Image Playground, and press Done.
The restyled picture goes on a new layer above, and the original is kept underneath, hidden.
Layer… — Translucent, Glow, Green Key, Gradient, Blend
Five effects for the selected layer. You see each effect as you adjust it, and nothing is permanent until you press Apply. Apply keeps the original underneath, hidden.
- Translucent — makes the layer see-through.
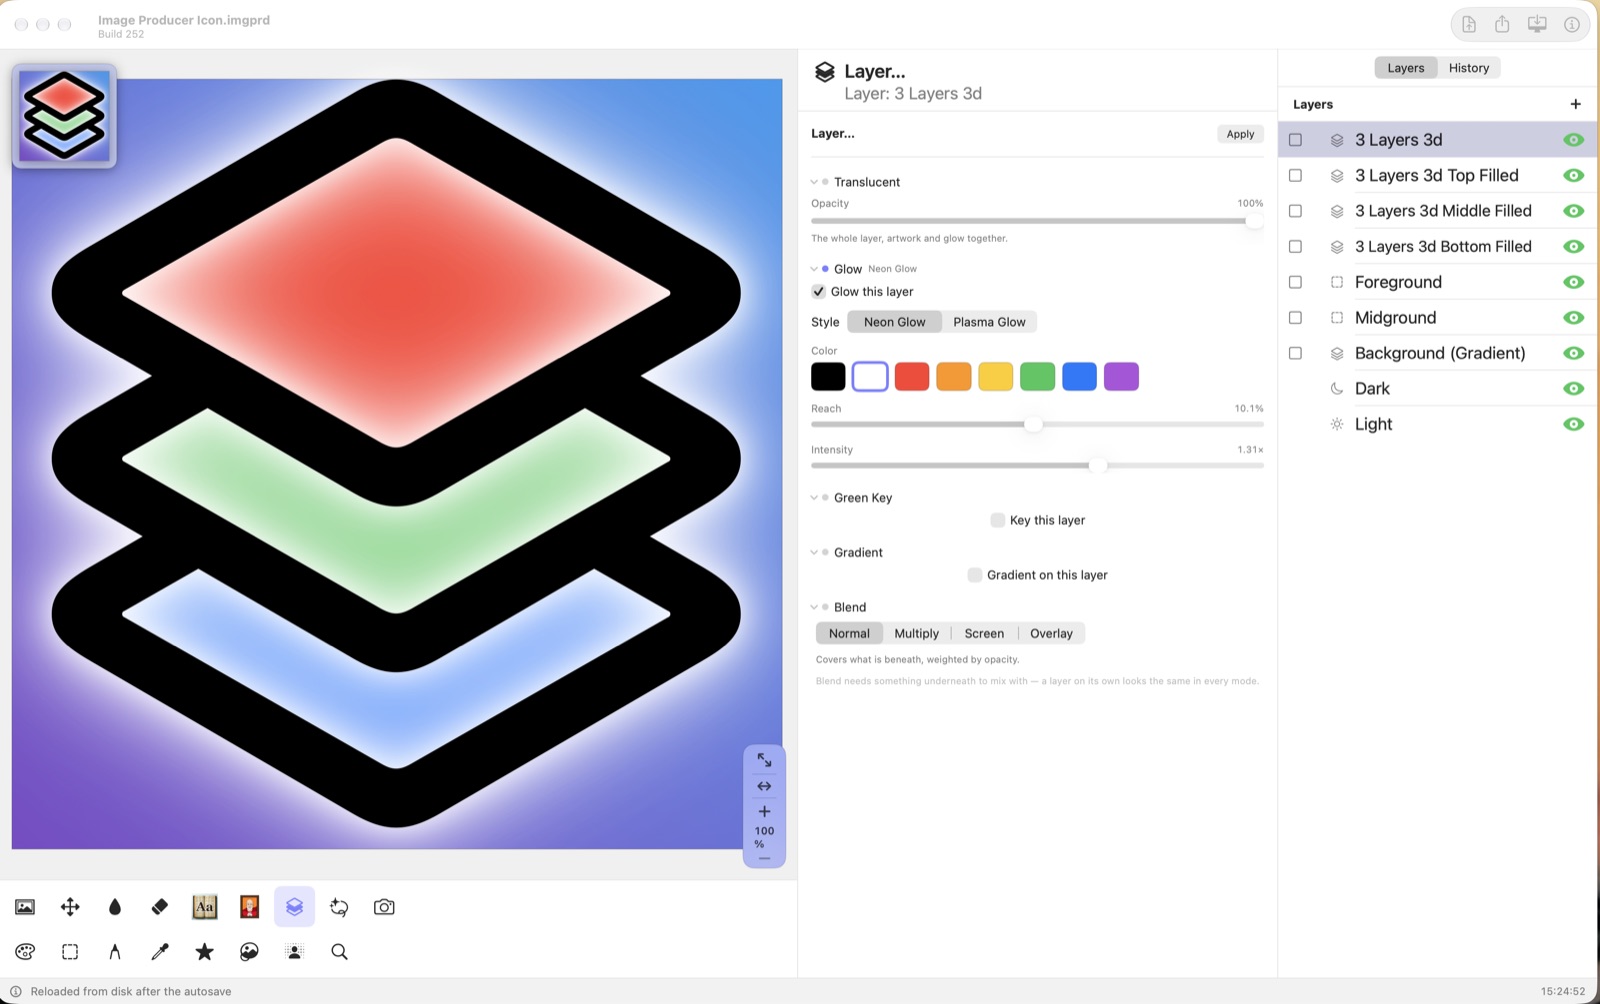
- Glow — a soft glow around the picture, in one color (Neon) or two (Plasma).
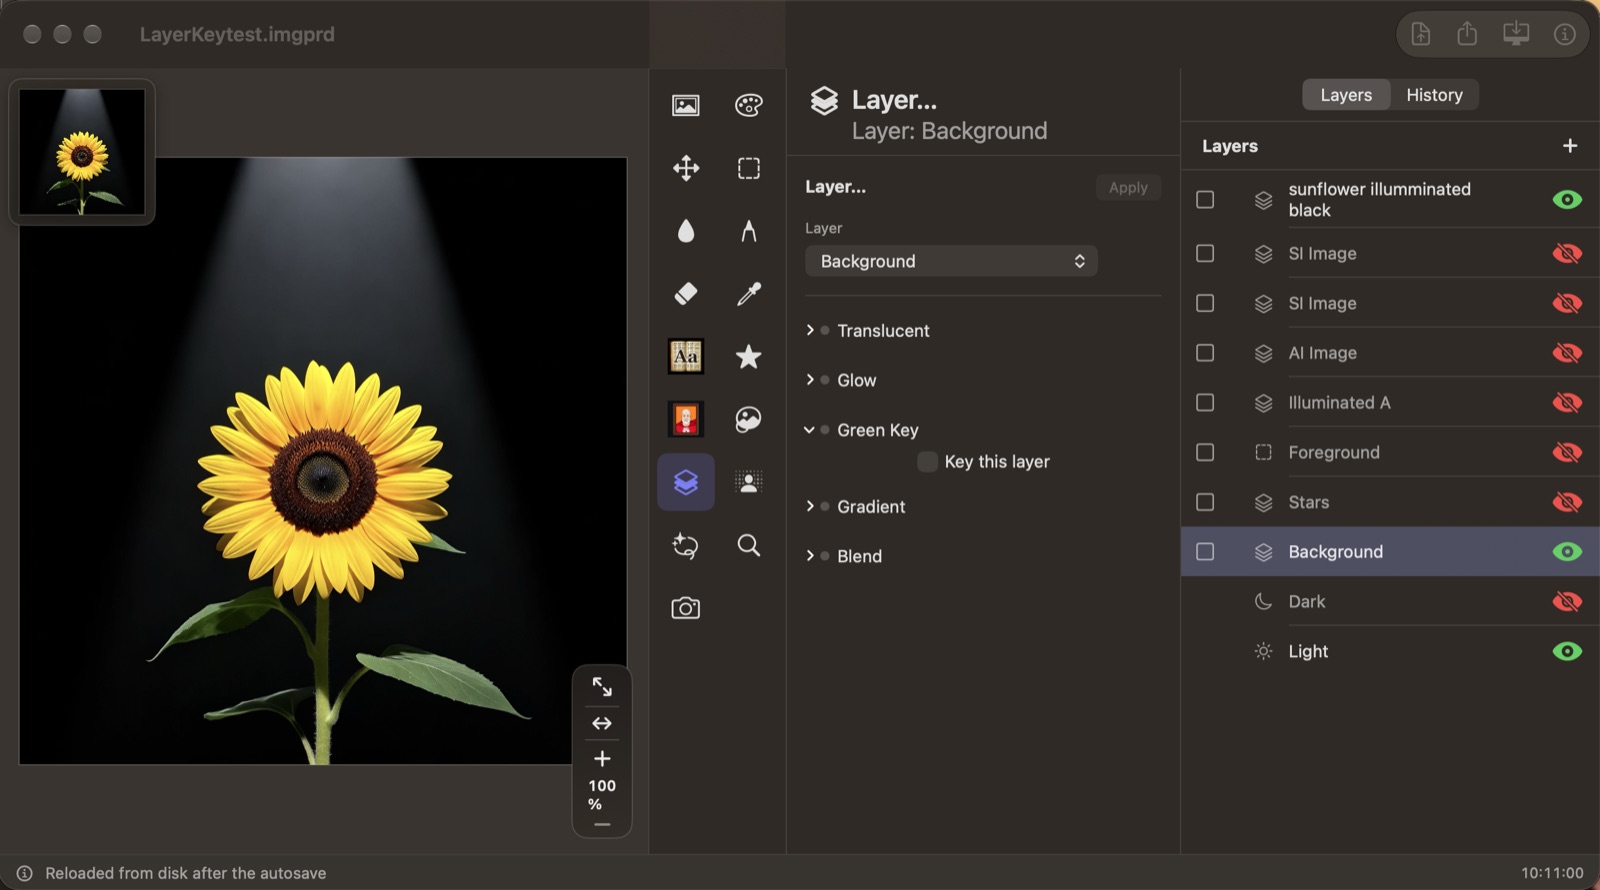
- Green Key — makes one color disappear everywhere on the layer, like a green screen.
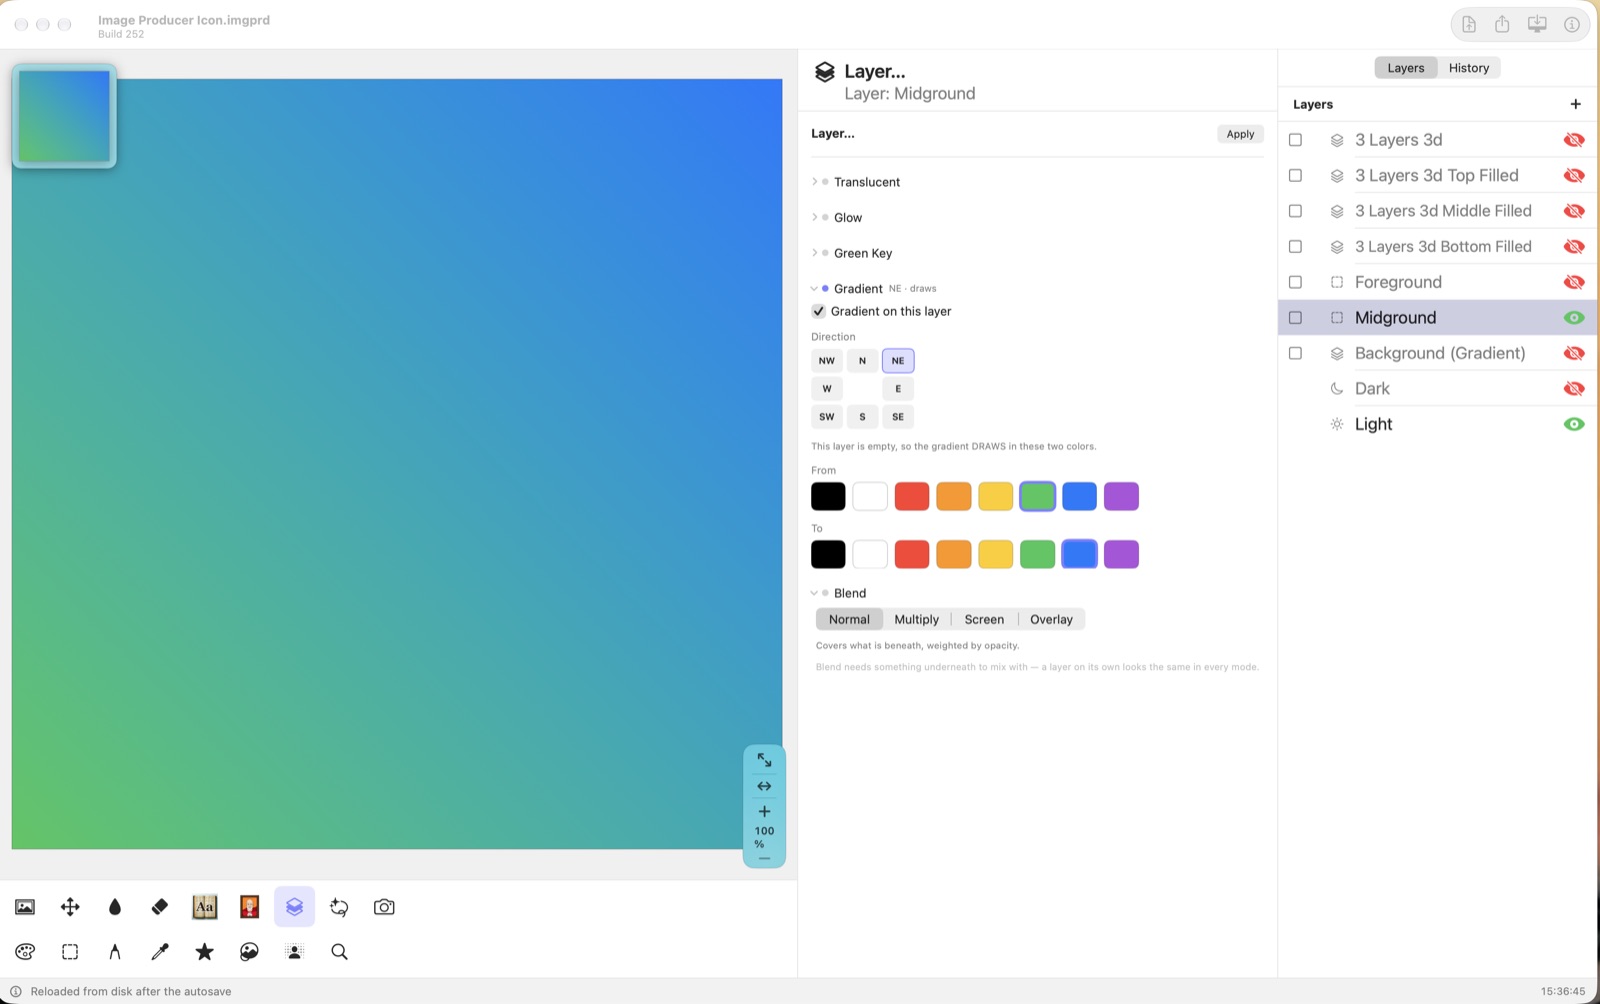
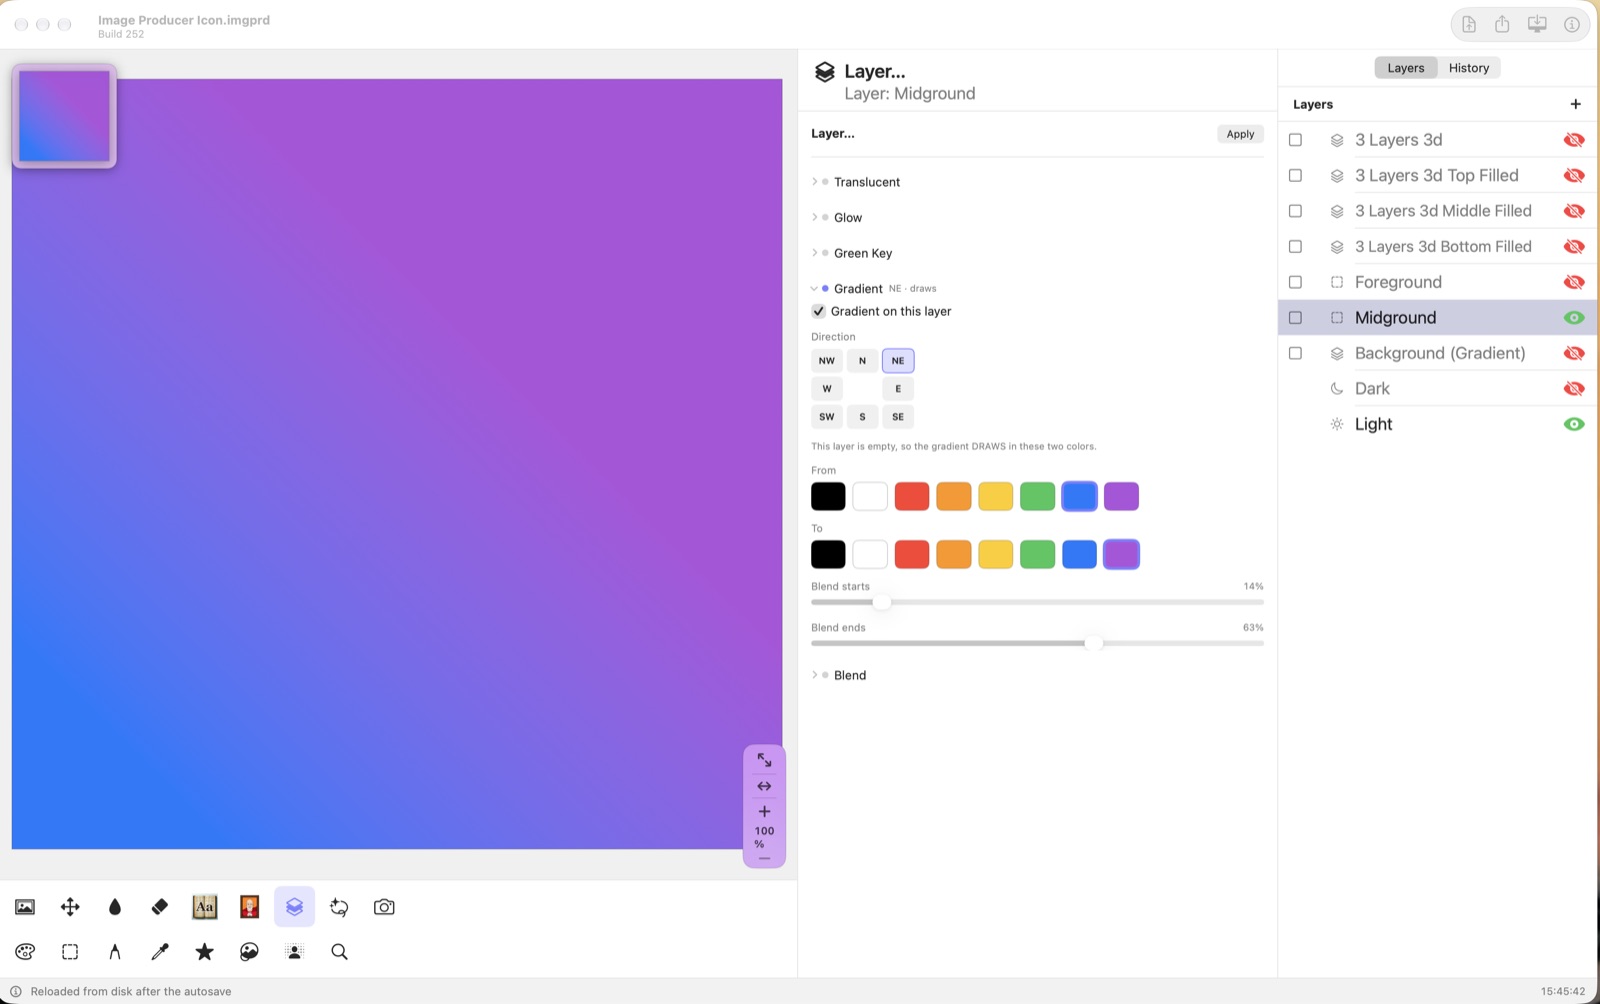
- Gradient — on an empty layer, a blend of two colors, with Blend starts and Blend ends to make the blend wide and soft or short and sharp; on a picture, a fade.
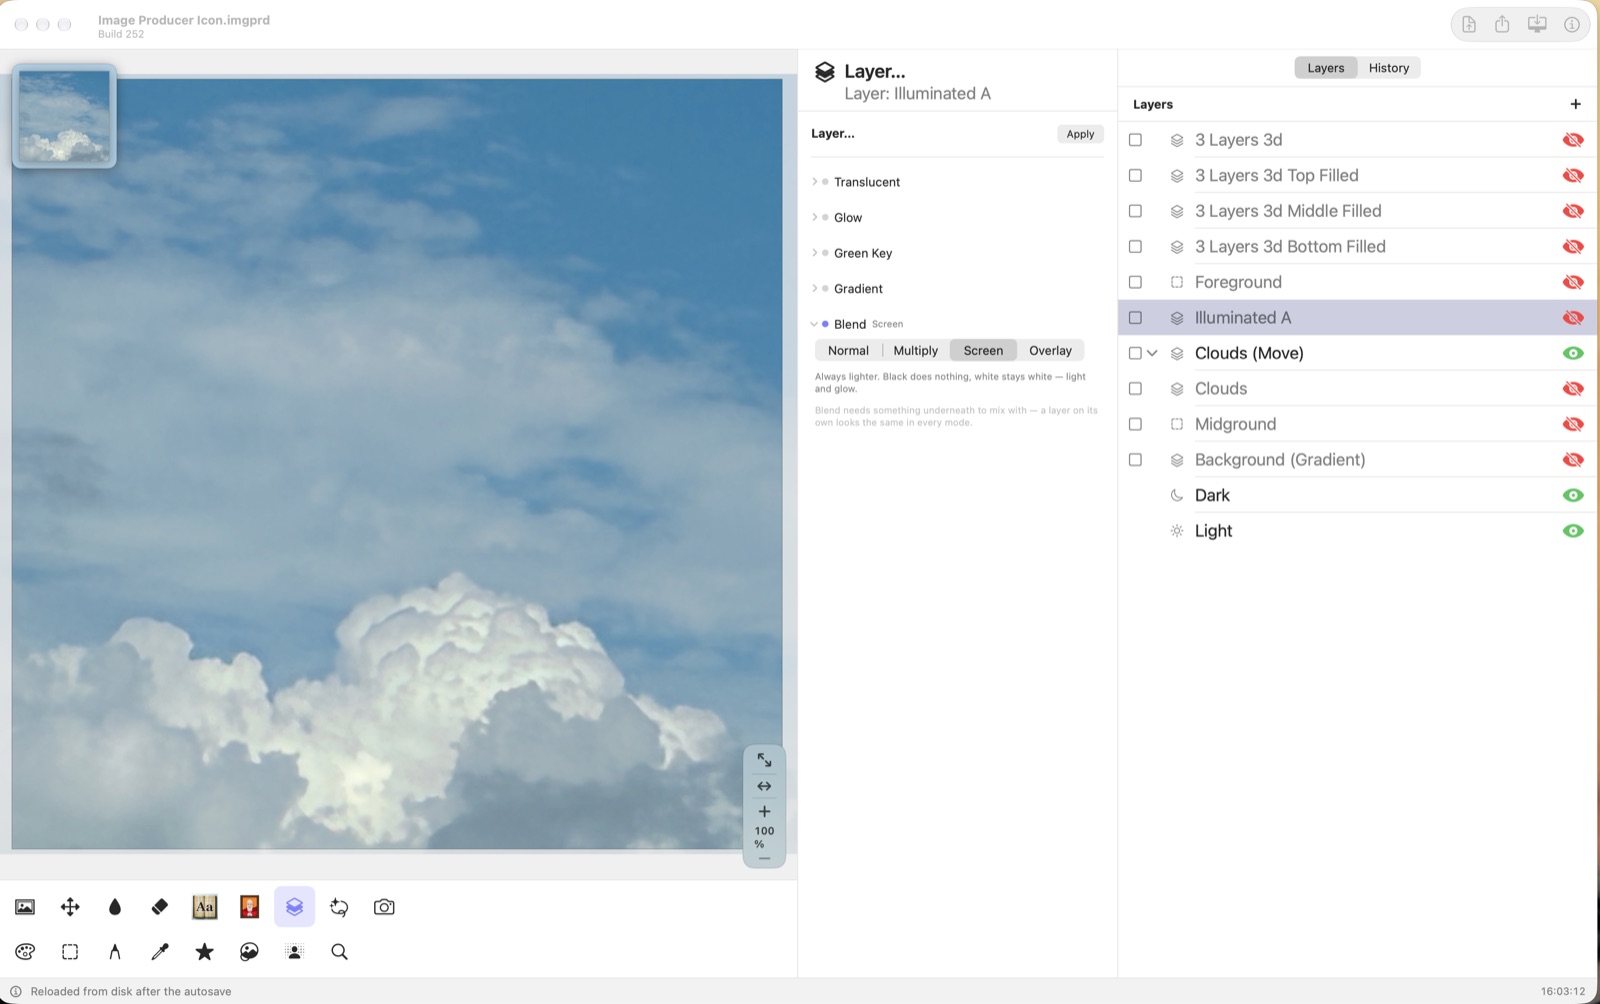
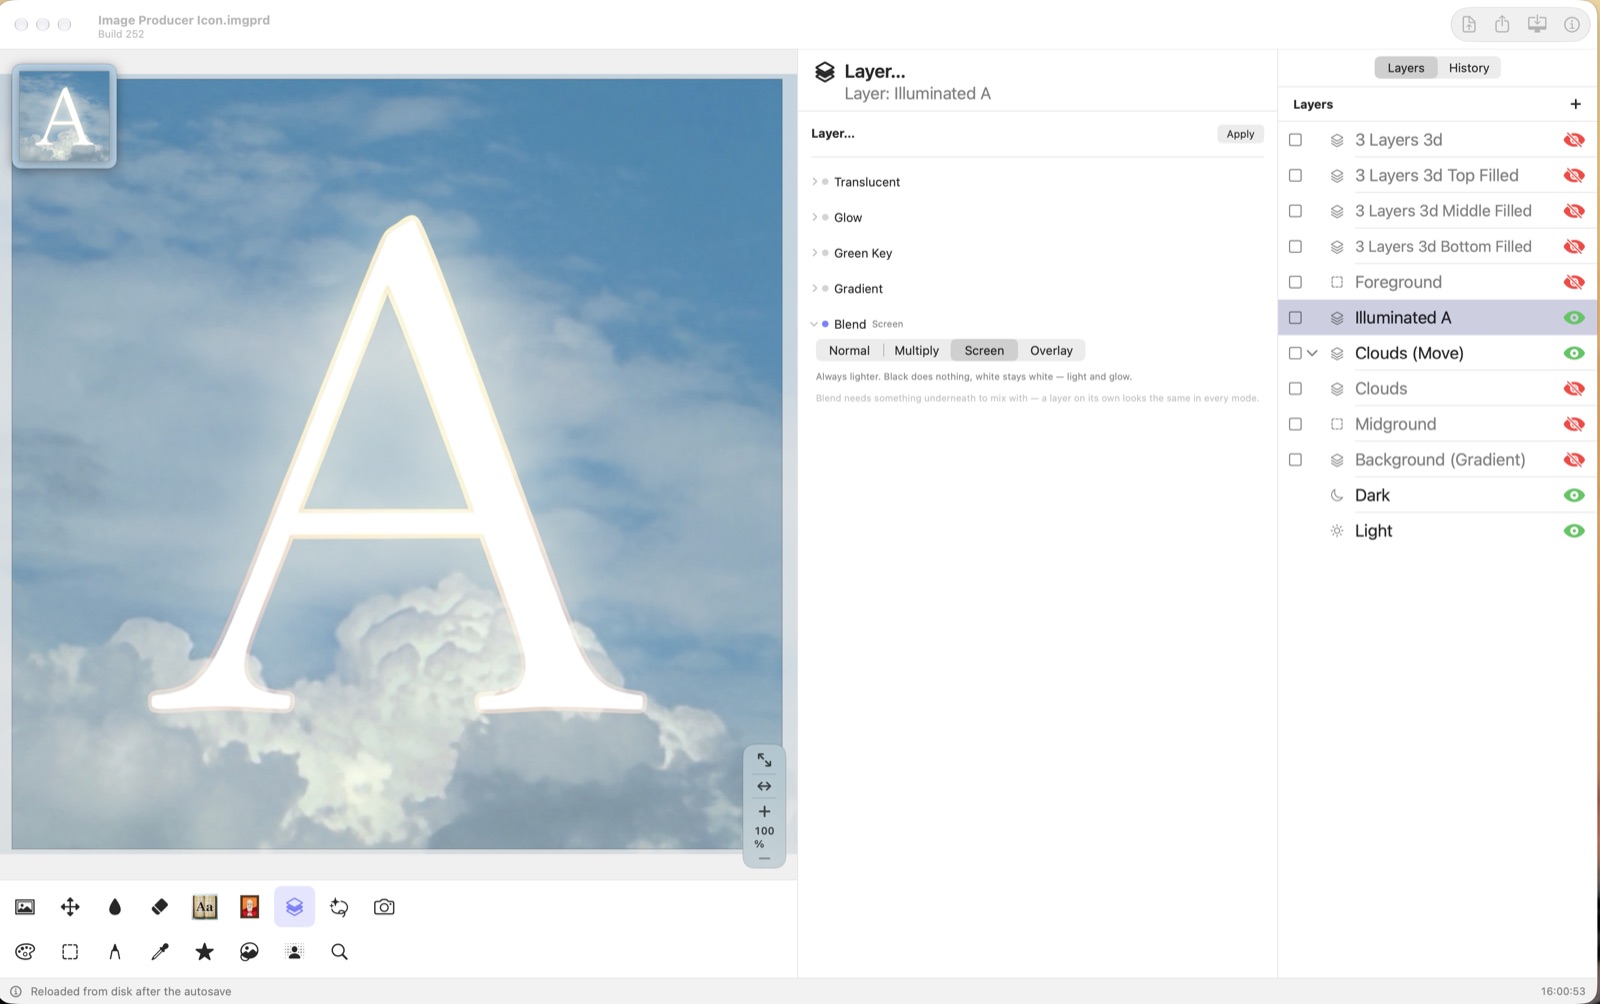
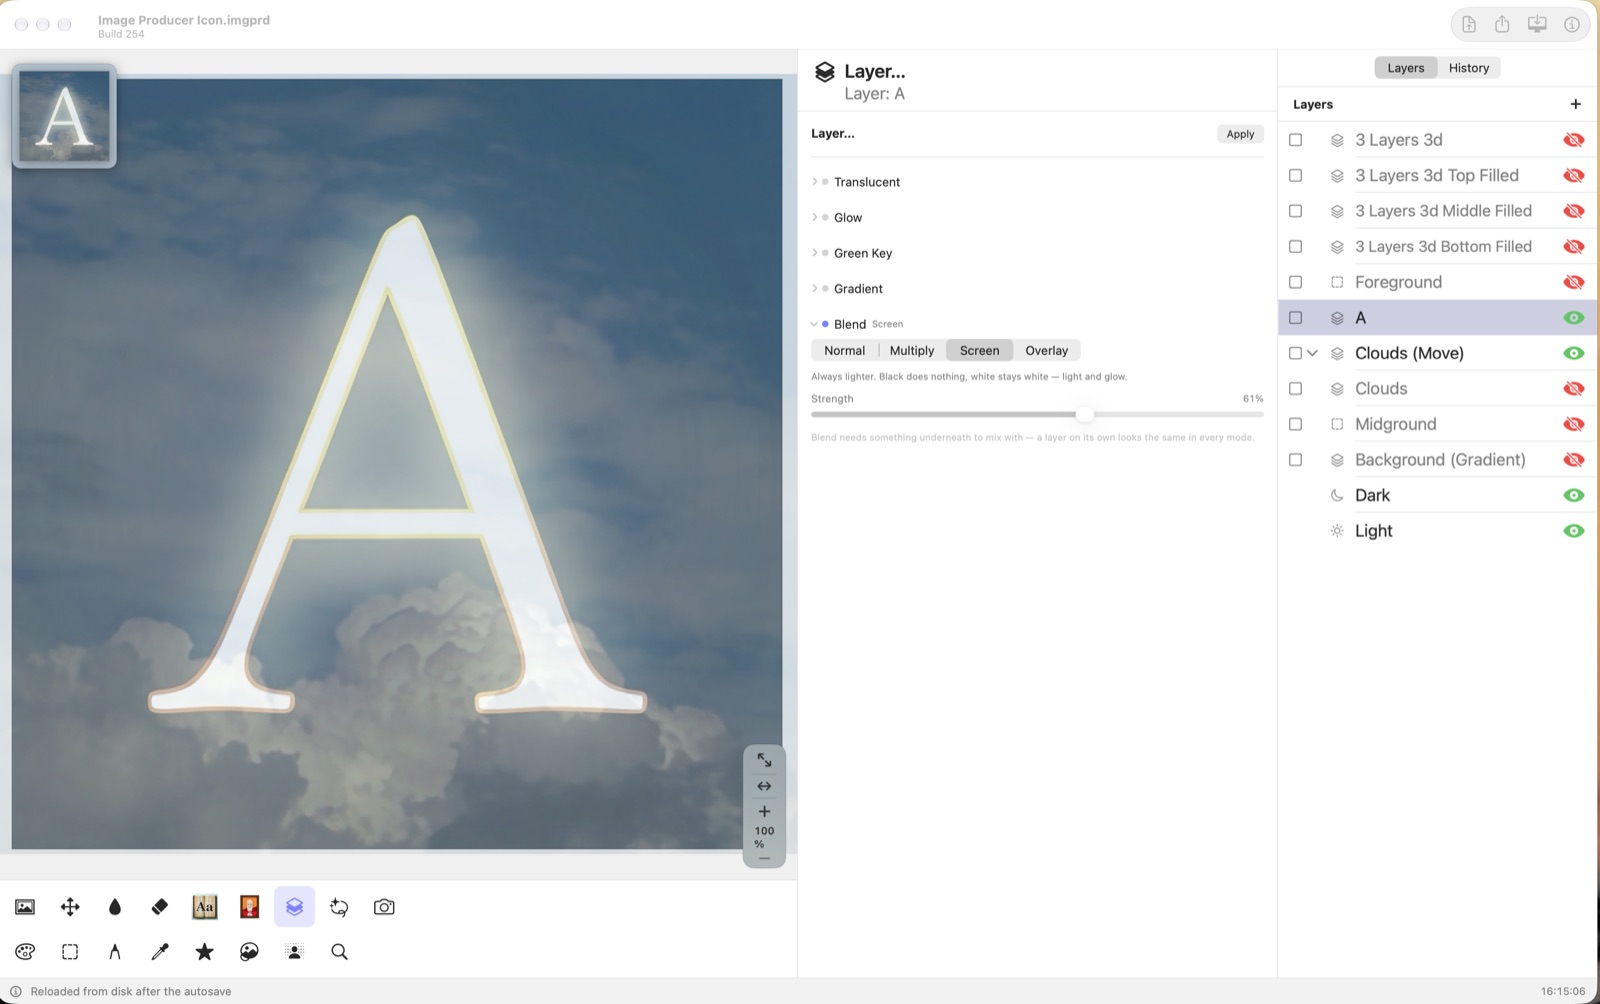
- Blend — mixes the layer with the layers below: darker, lighter, or more contrast. Strength sets how much.
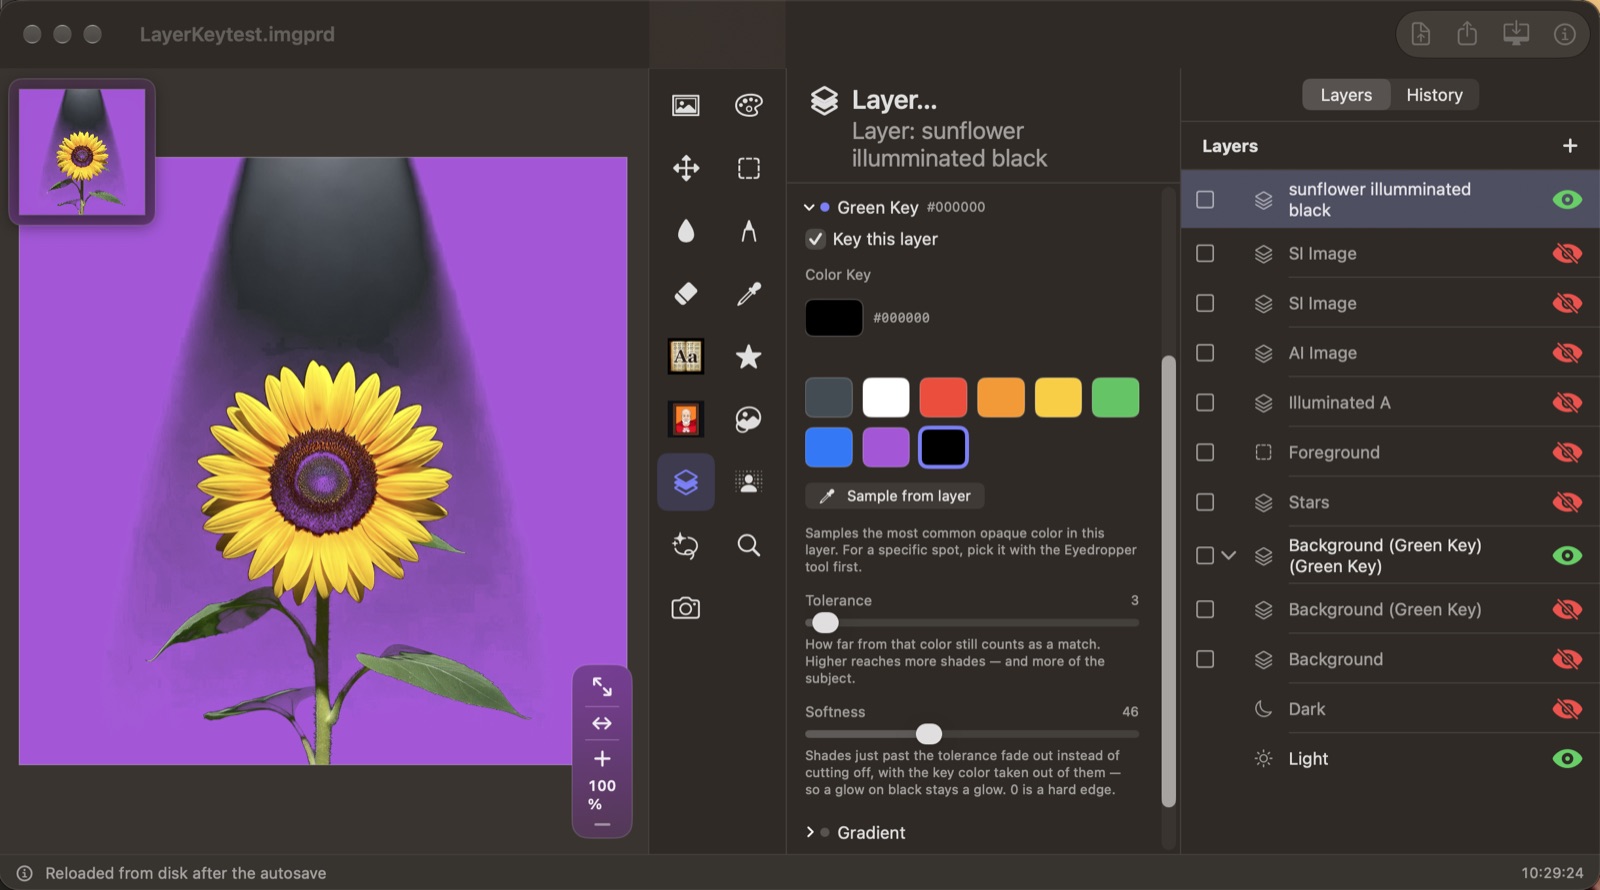
Blend: light on black, over a photo
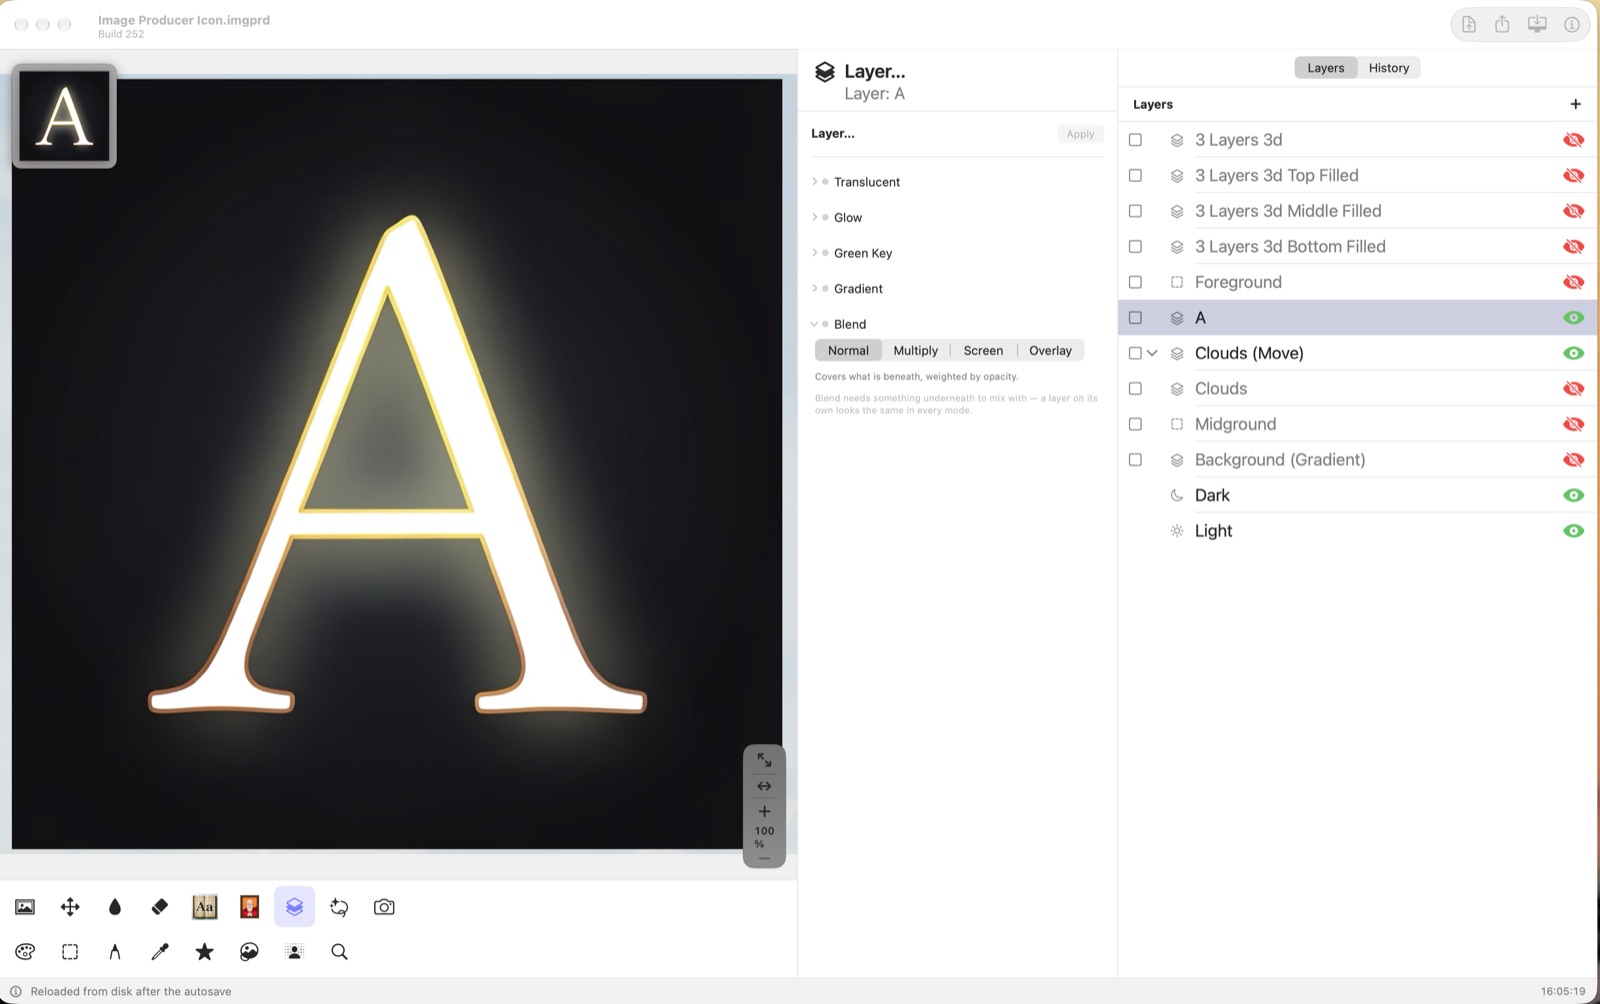
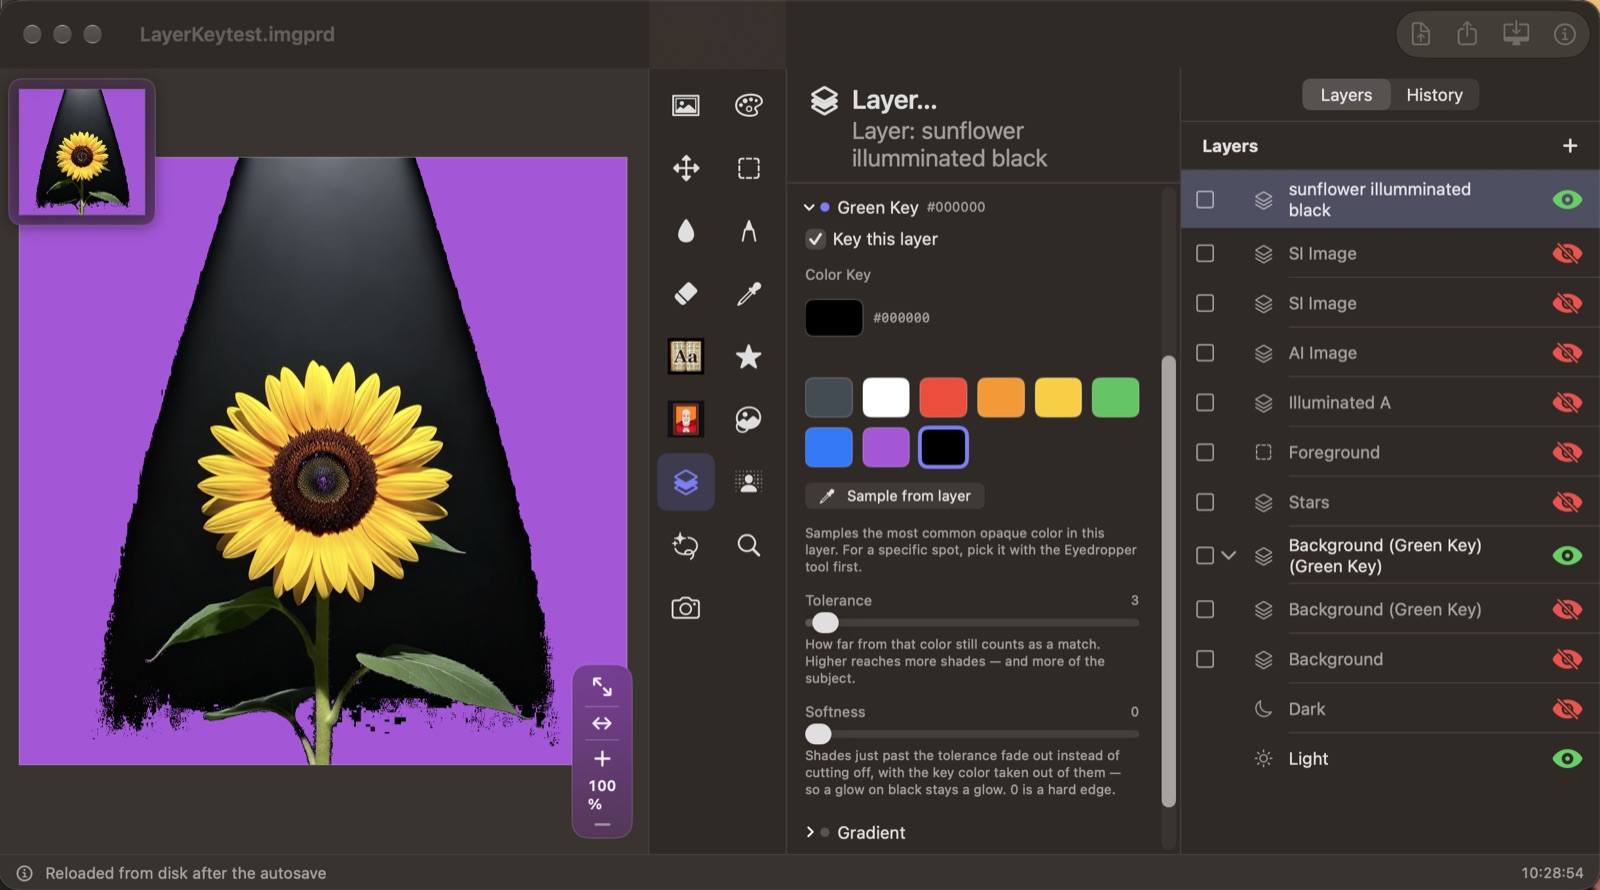
Green Key on a black background
- Select the layer. Open Green Key and check Key this layer.
- Pick black as the color to remove.
- Keep Tolerance low, so only the background goes.
- Raise Softness until soft light fades into the layer below instead of ending in a ragged edge.
- Press Apply.
Remove Background
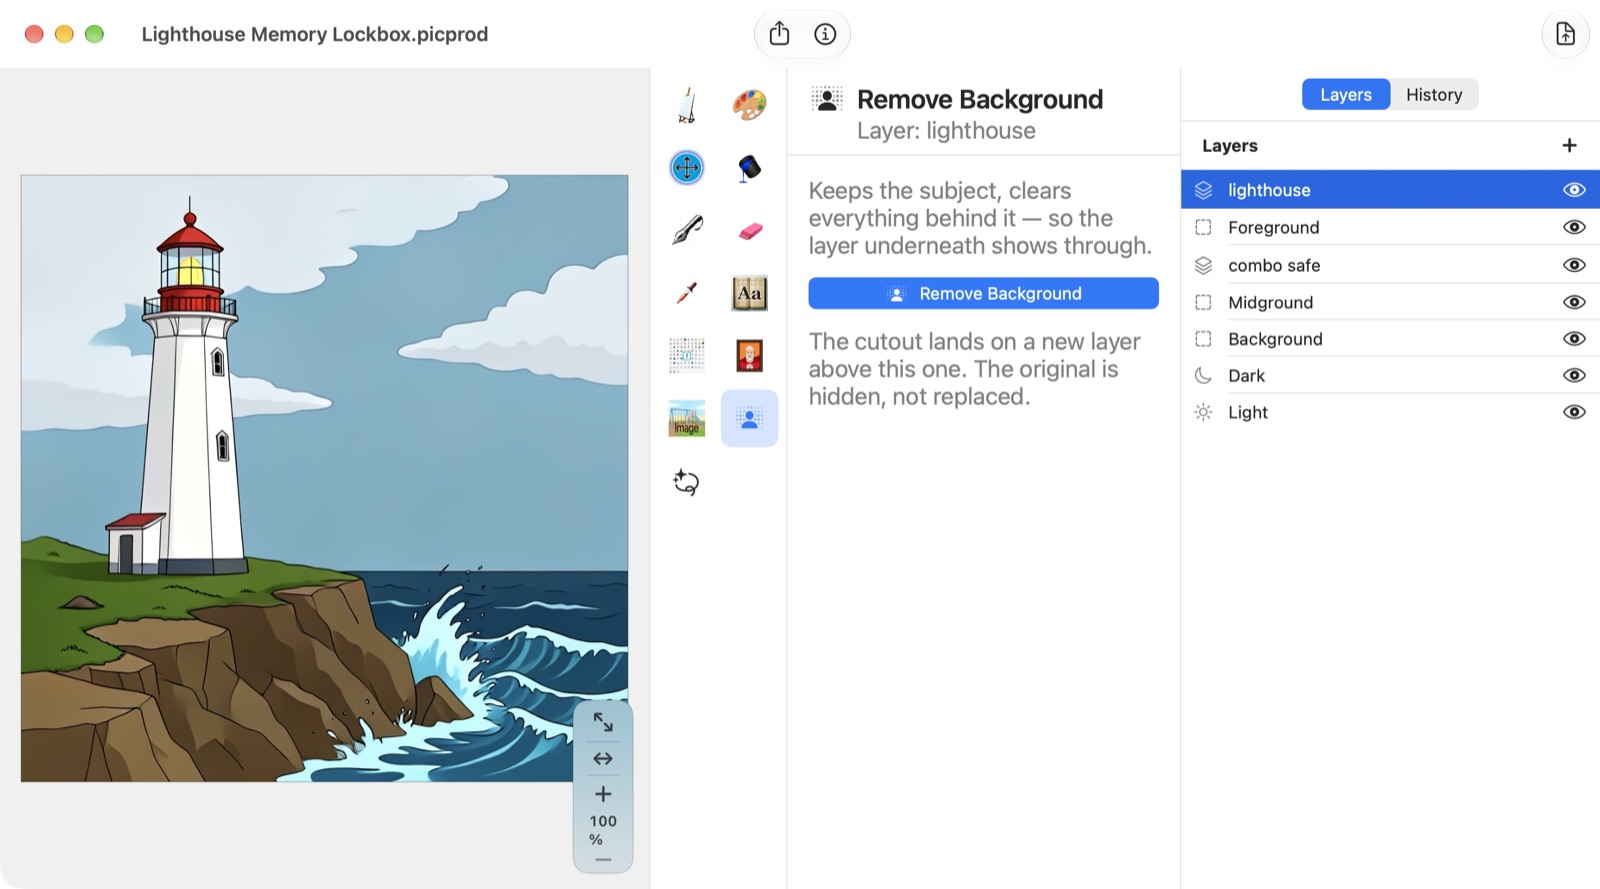
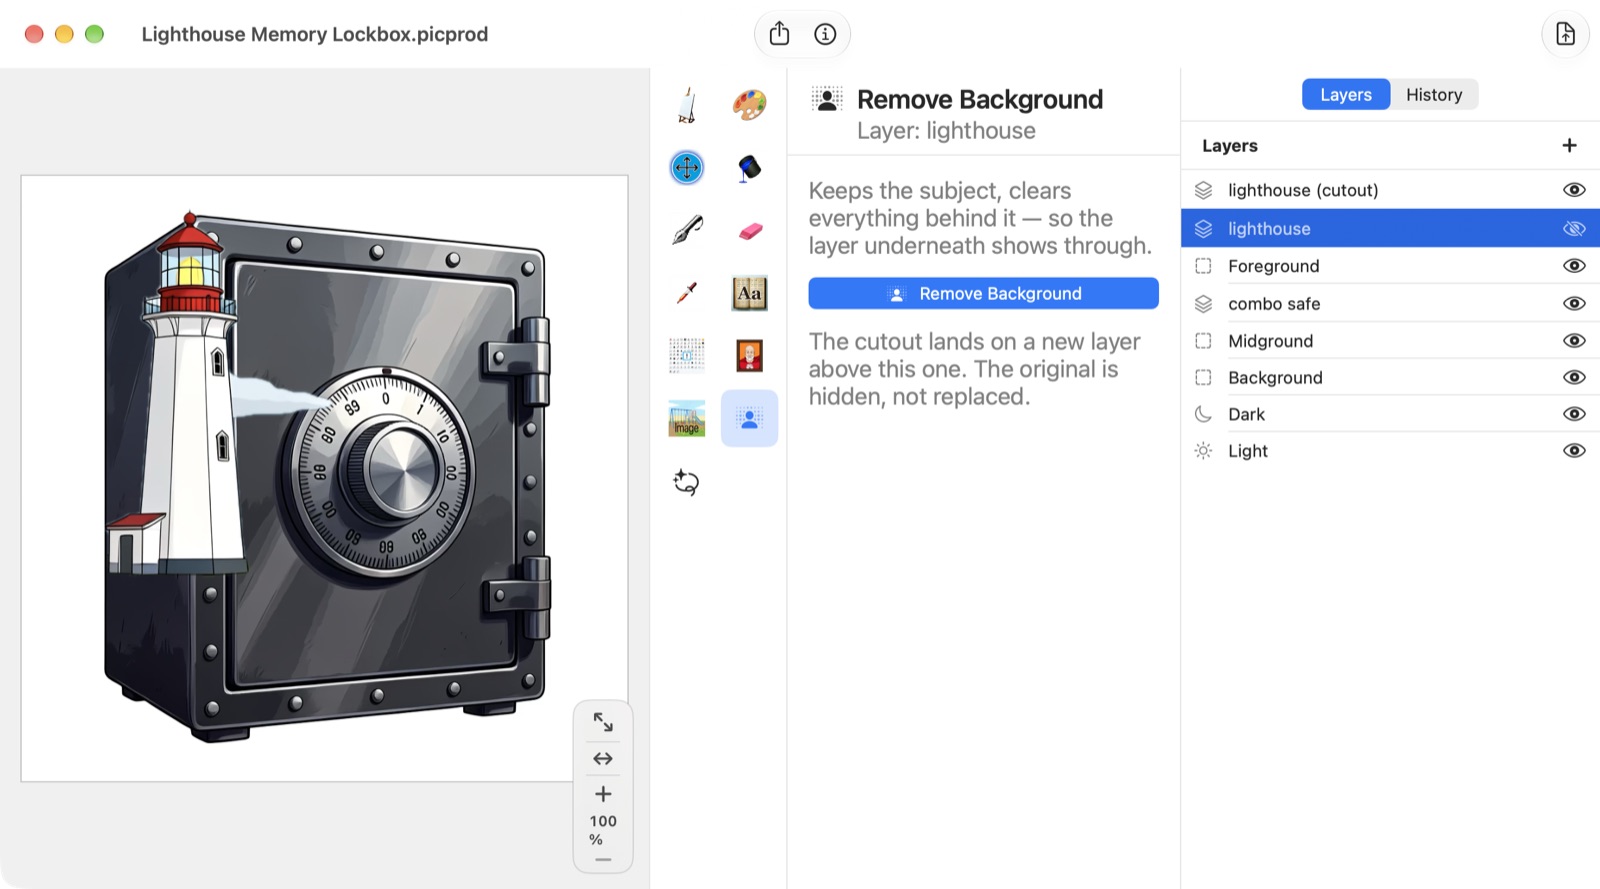
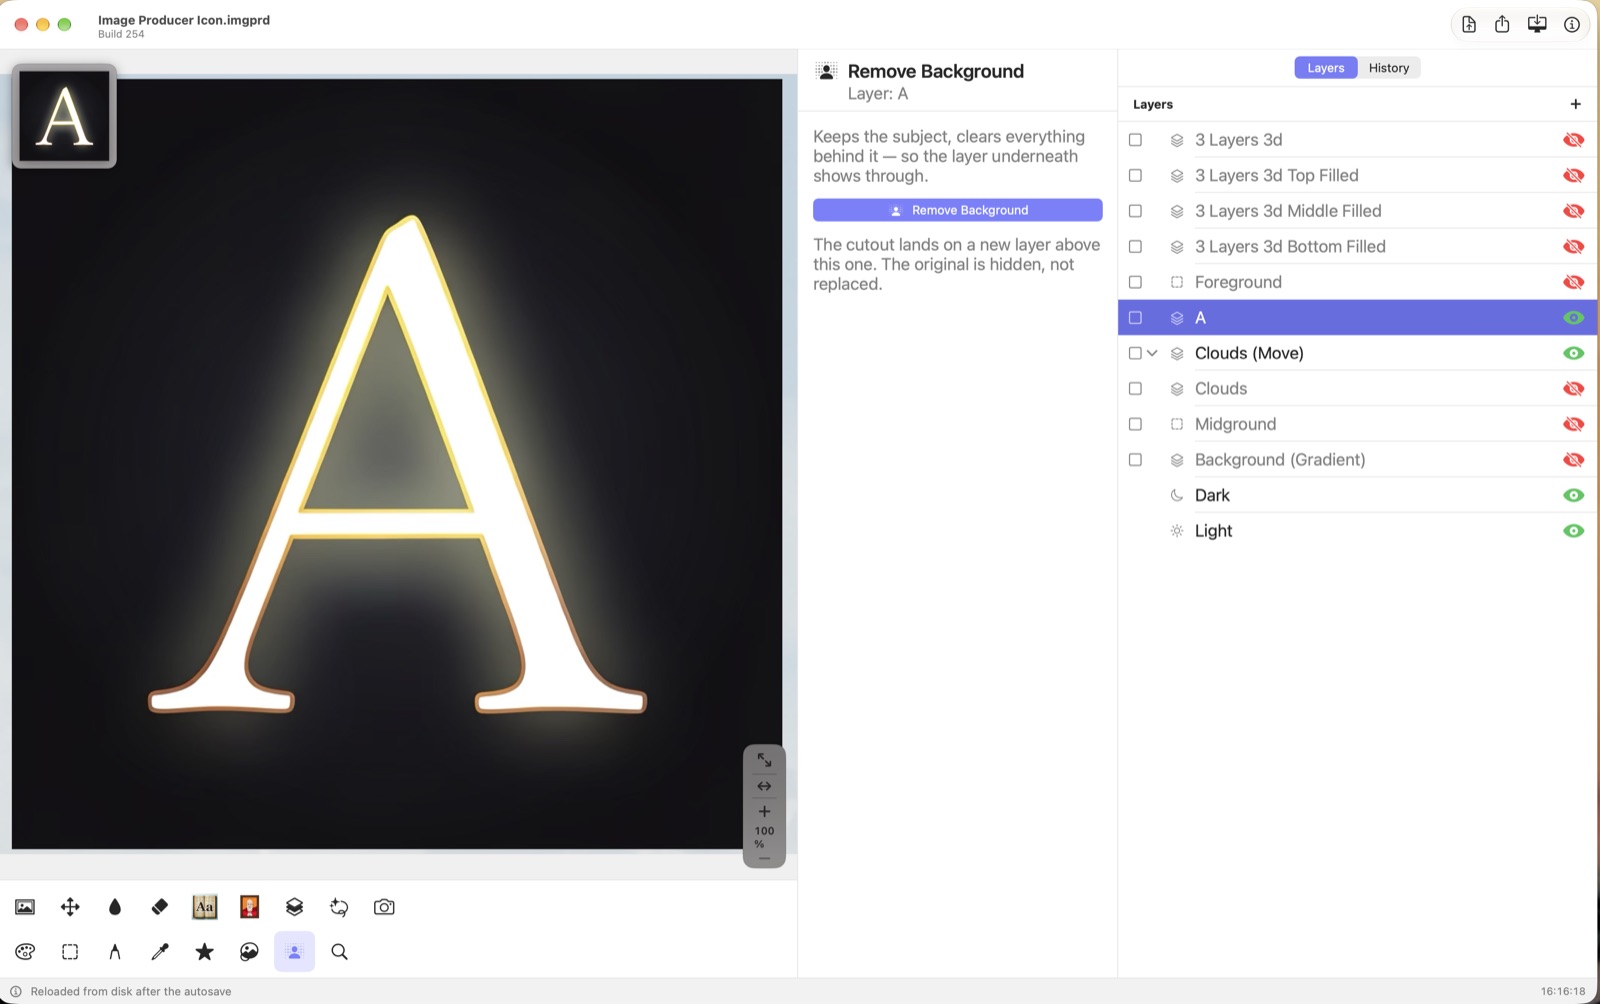
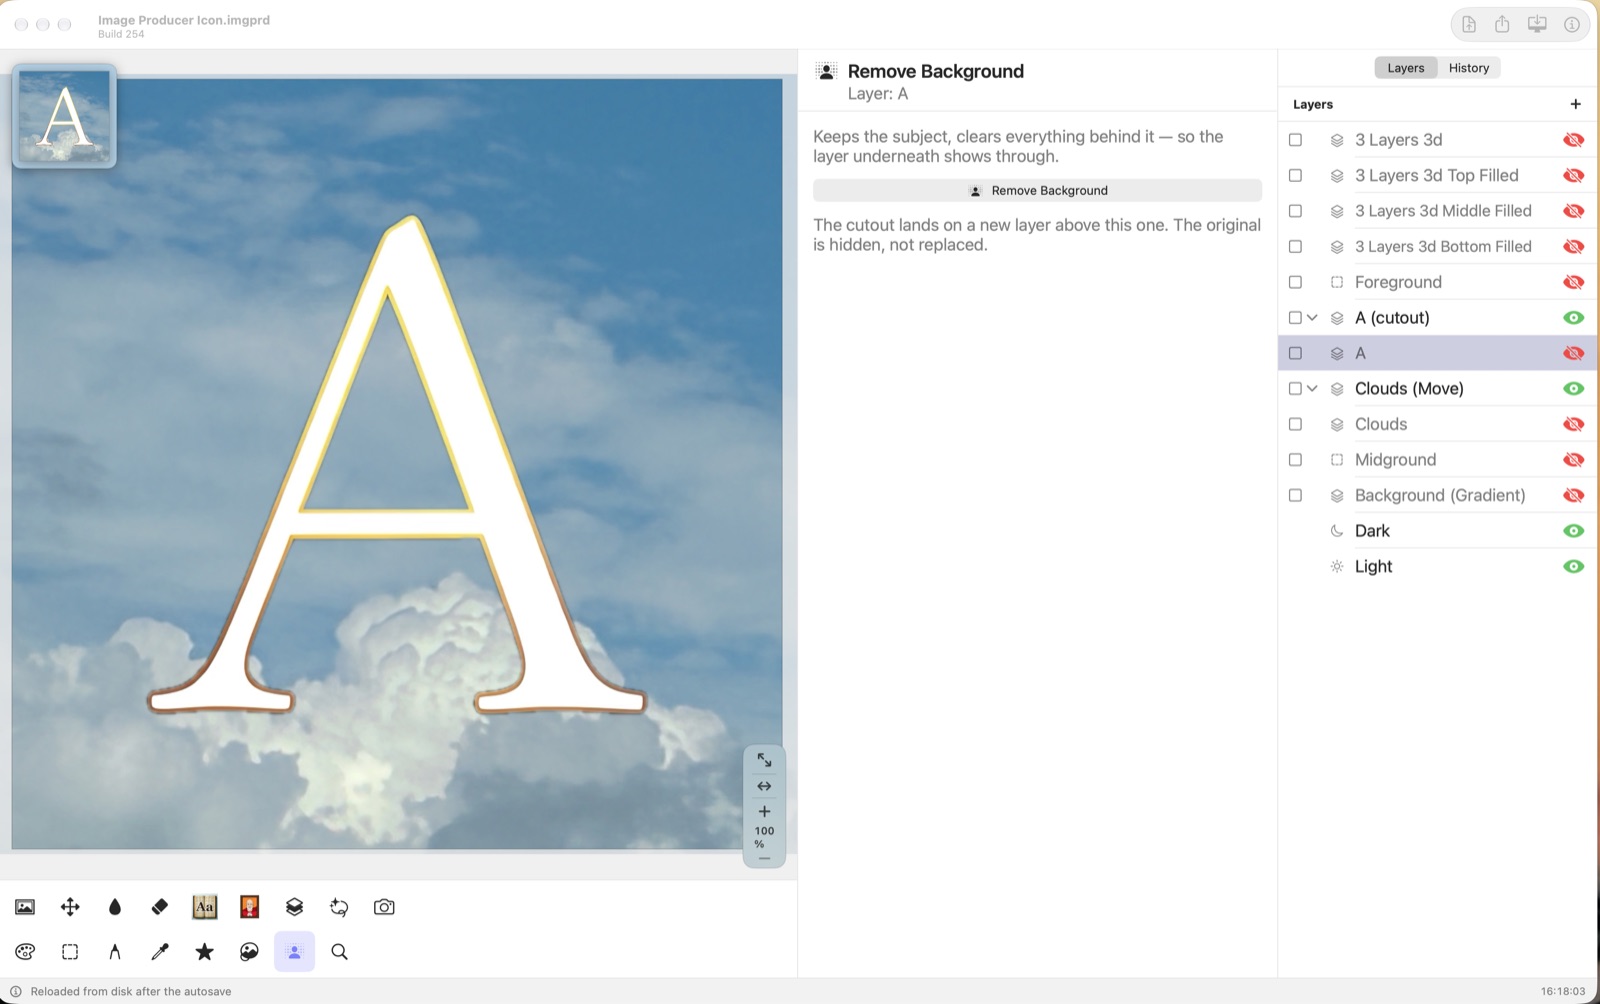
Select a layer with a picture and press Remove Background. Image Producer finds the subject and clears everything behind it. If Image Producer finds more than one subject, choose the ones to keep. The cutout goes on a new layer, and the original is kept underneath, hidden.
Magic Lasso
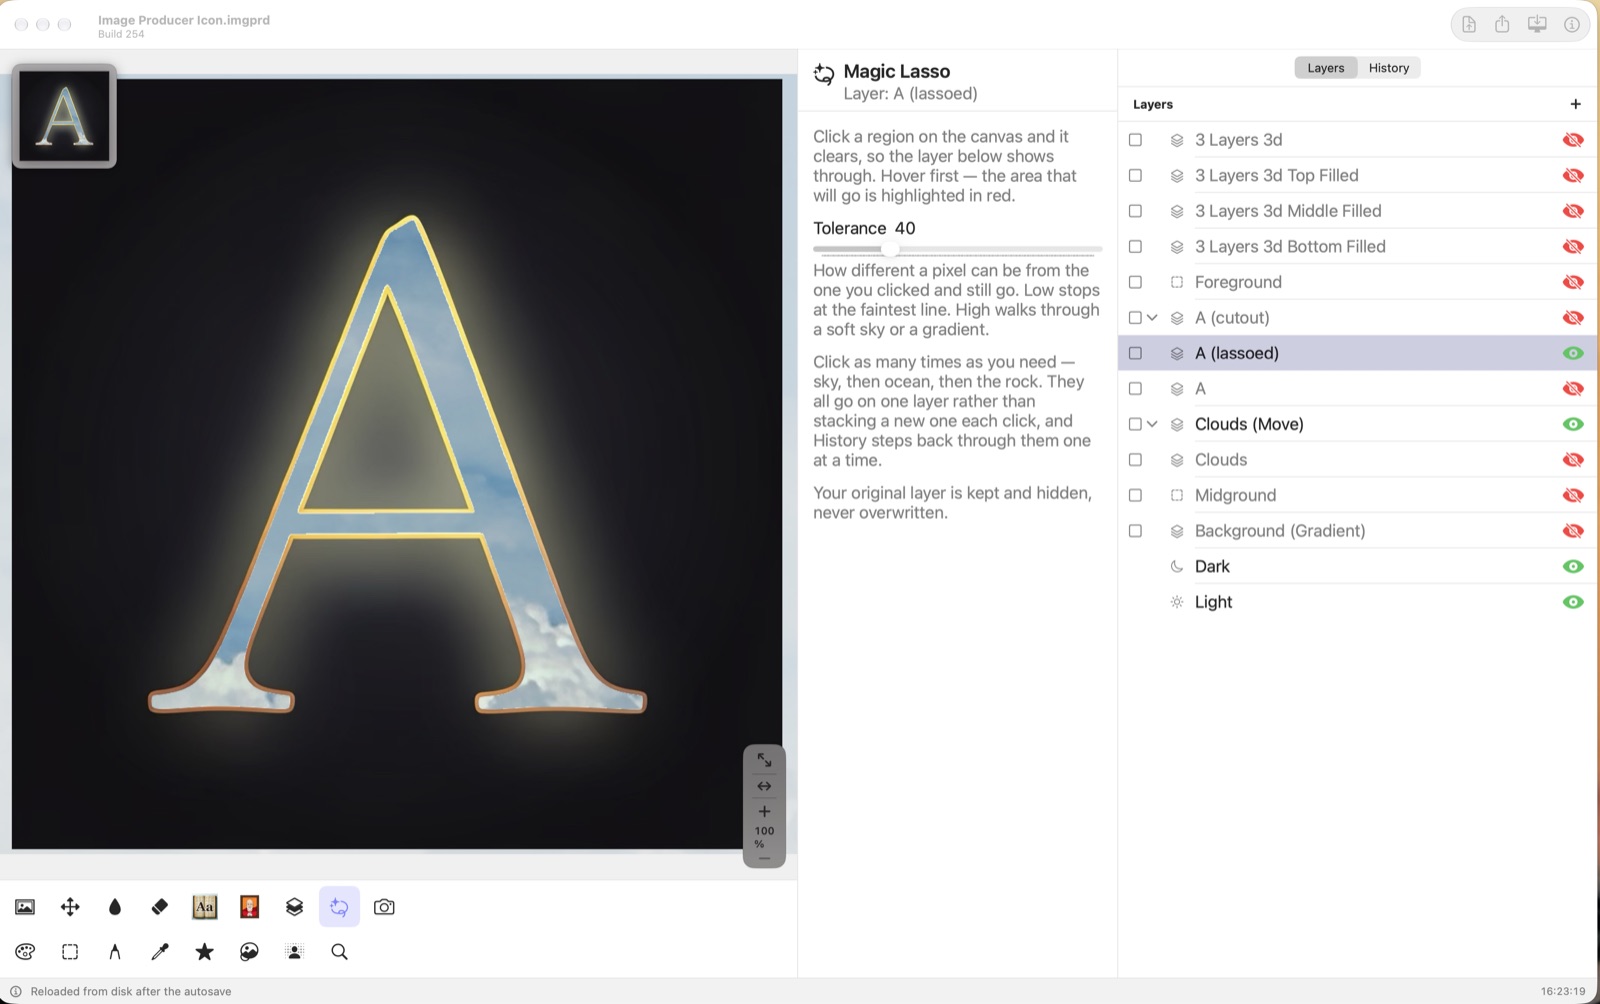
Move over an area to see it outlined in red, then tap or click to clear it — sky, then water, then rock. Only the connected area clears. All the clears go on one new layer, and History steps back through them one at a time.
Zoom
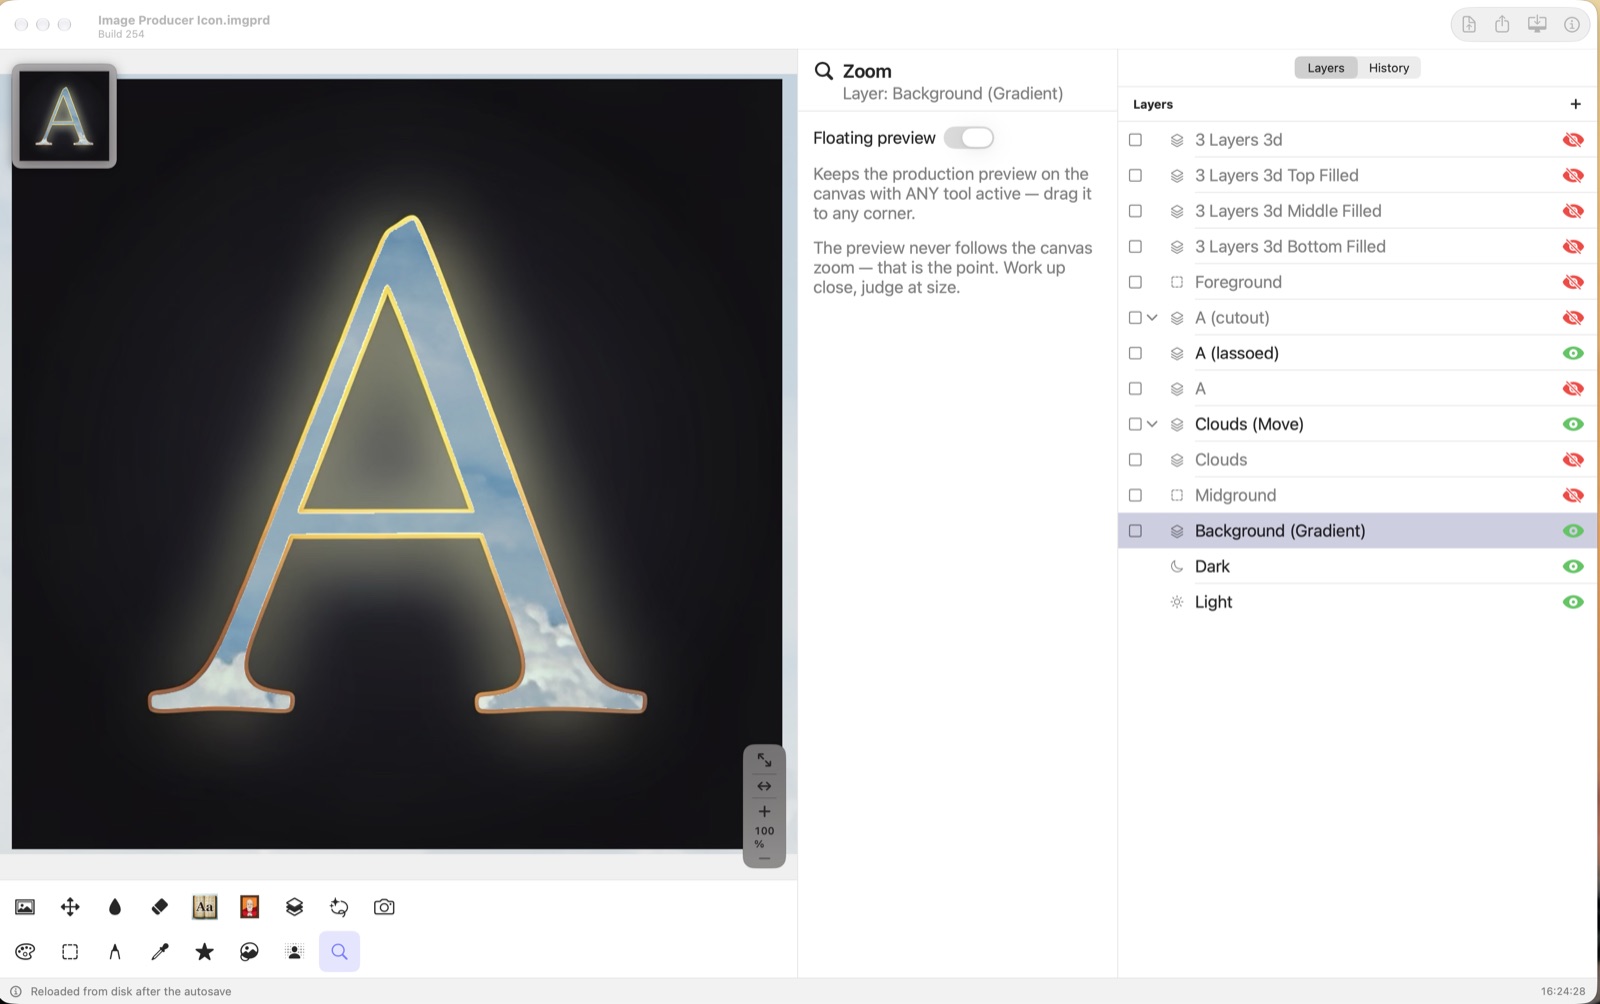
Double-click to zoom in. On the Mac, Option-double-click zooms out and Shift-Option-double-click returns to 100%. On the iPad, pinch. Drag to move around. The Zoom panel turns the floating preview on and off.
Camera
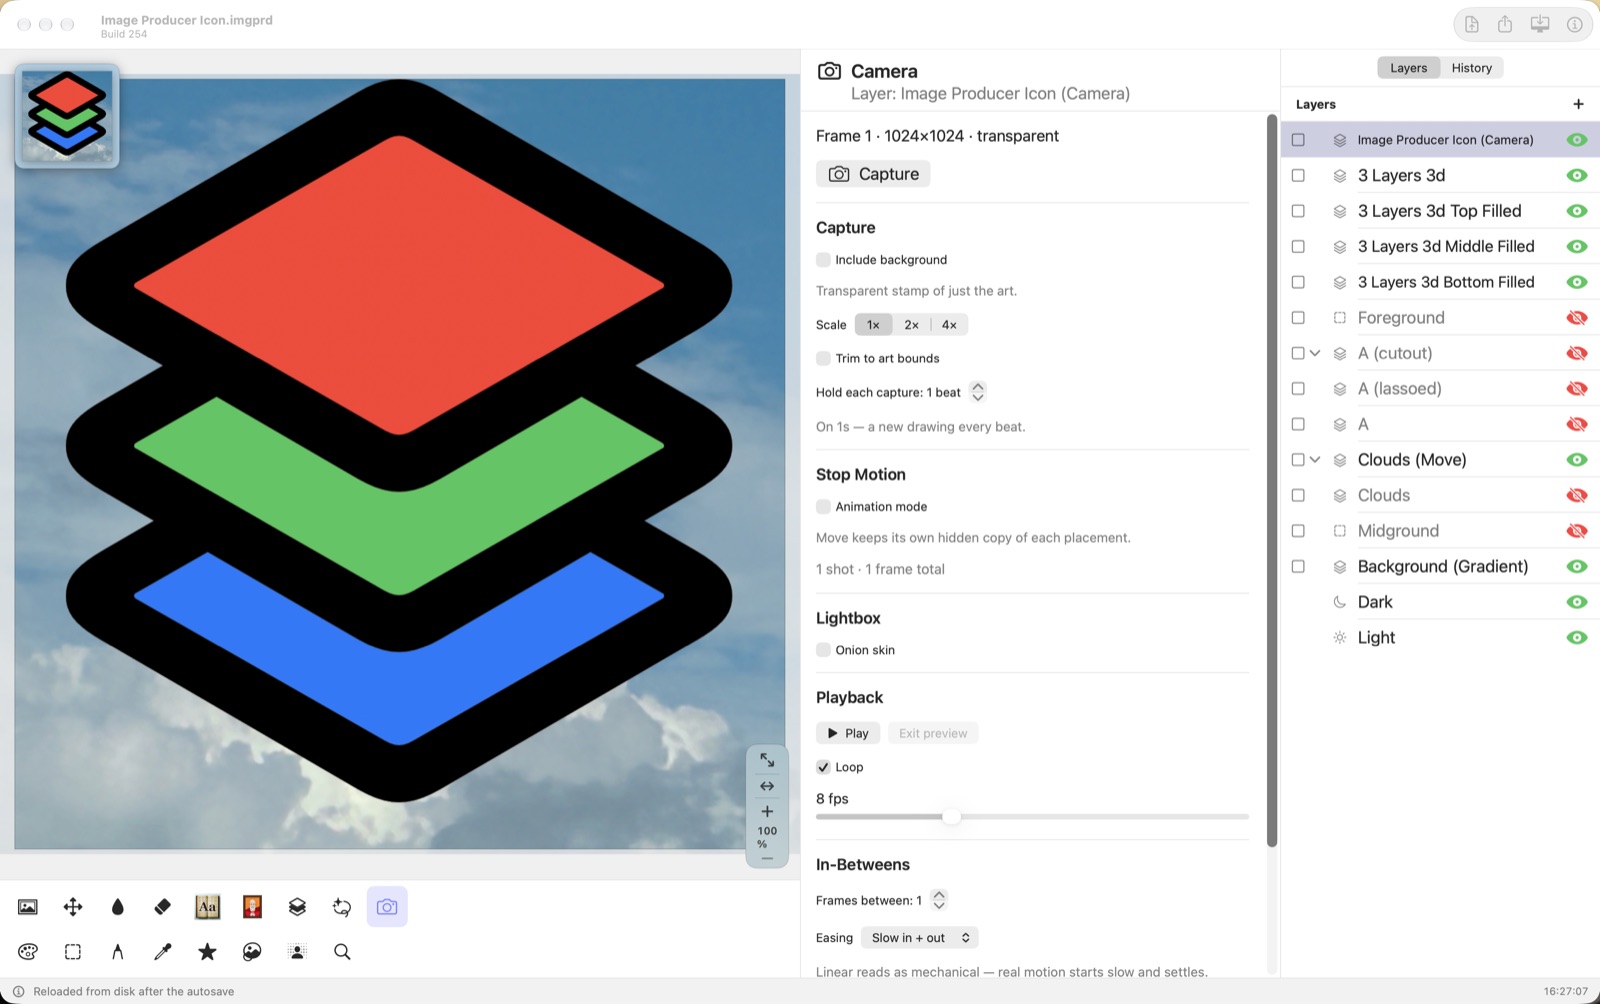
Press Capture to take a picture of everything you can see, onto a new top layer. The capture is also copied, ready to paste anywhere. You can choose a see-through or solid background, a larger size, and trimming to the picture.
Stop motion and the Lightbox
The Camera also makes stop-motion animation. Each capture is one frame.
- Put each moving part on its own layer.
- Choose Camera and turn on Animation mode.
- Press Capture for frame 1.
- Switch to Move and nudge the moving part a little. Switch back to Camera and press Capture again. Repeat.
- Turn on Onion skin to see the last few frames faintly while you set up the next one.
- Press Play to watch. Set the speed, and leave Loop on to watch it repeat. Exit preview goes back to editing.
- To smooth the motion, set Frames between and press Generate. Image Producer draws the in-between frames for you.
Projects to try
Make an animated GIF
A star that slides across the picture and loops.
- Make a New Image and select Foreground.
- Choose Symbol, search “star”, tap or click a star, and press Create New Layer.
- Choose Camera, turn on Animation mode, and press Capture.
- Choose Move and drag the star a little to the right. Choose Camera and press Capture.
- Repeat until you have five or six frames. Press Play to check, then Exit preview.
- Press Export and choose Animated GIF. Leave Camera frames only on, and press Export….
Make a banner ad
A 1500 × 500 banner: a 3D headline, a picture, a symbol on each side, and a tagline.
- Make a New Image. Choose Canvas, open Canvas size presets ▸ Social, and pick X header — 1500 × 500.
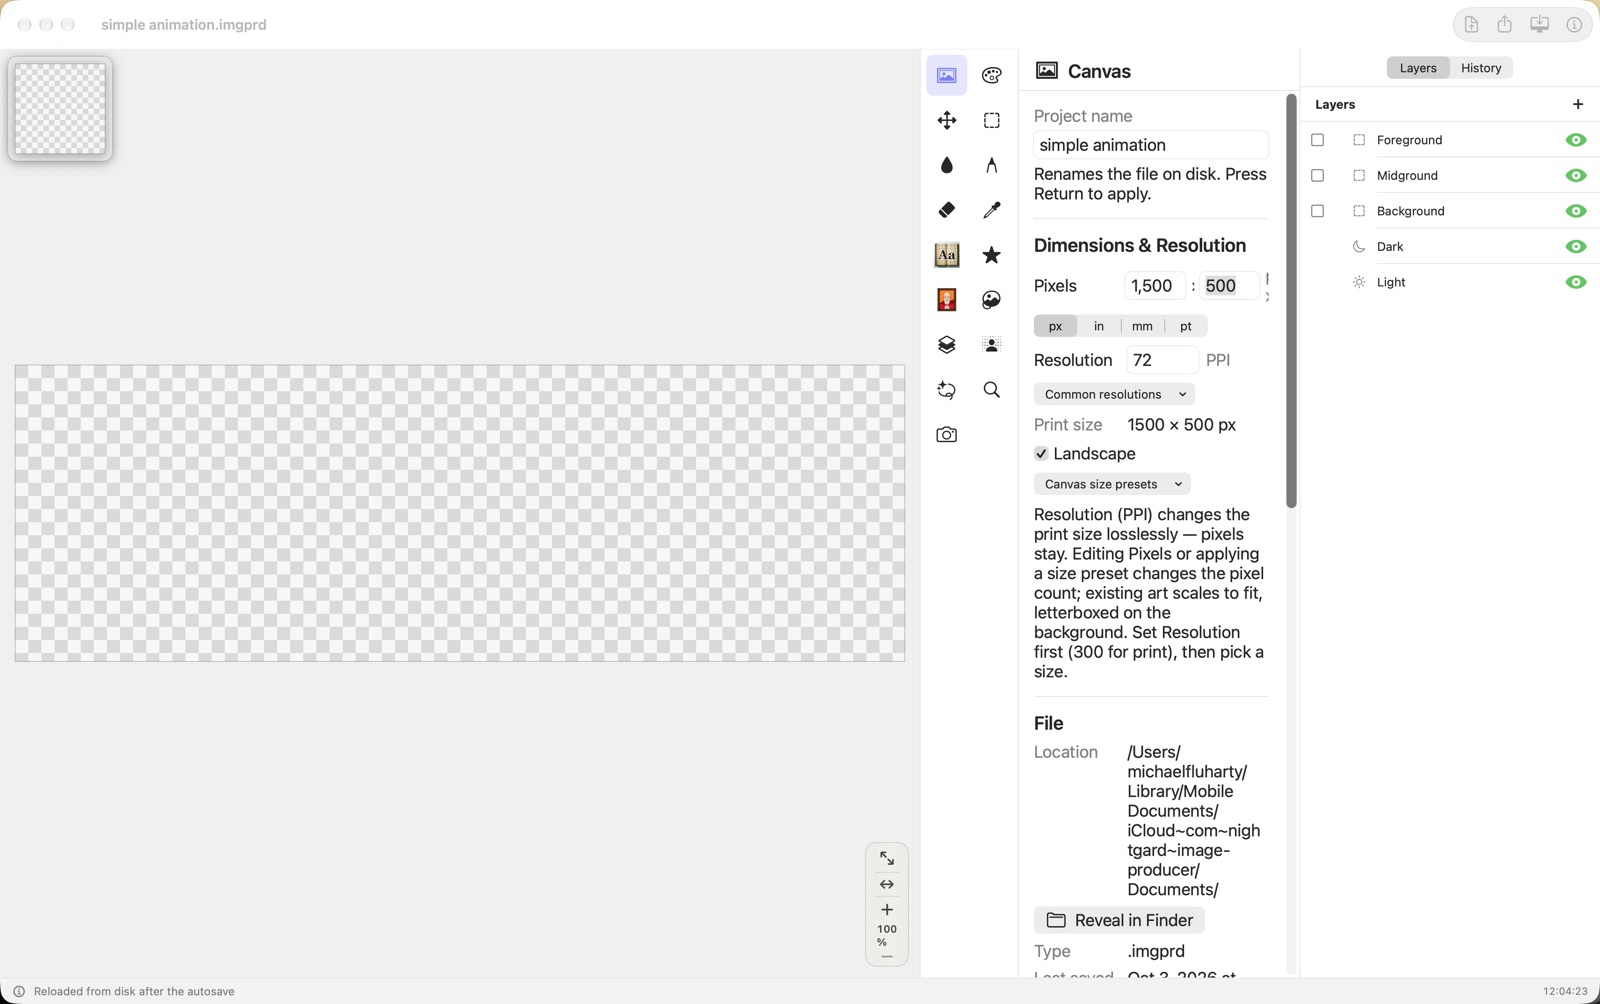
The canvas set to 1500 × 500. - Select Background. Choose Paint Drop / Bucket, pick a color, and press Fill Layer.
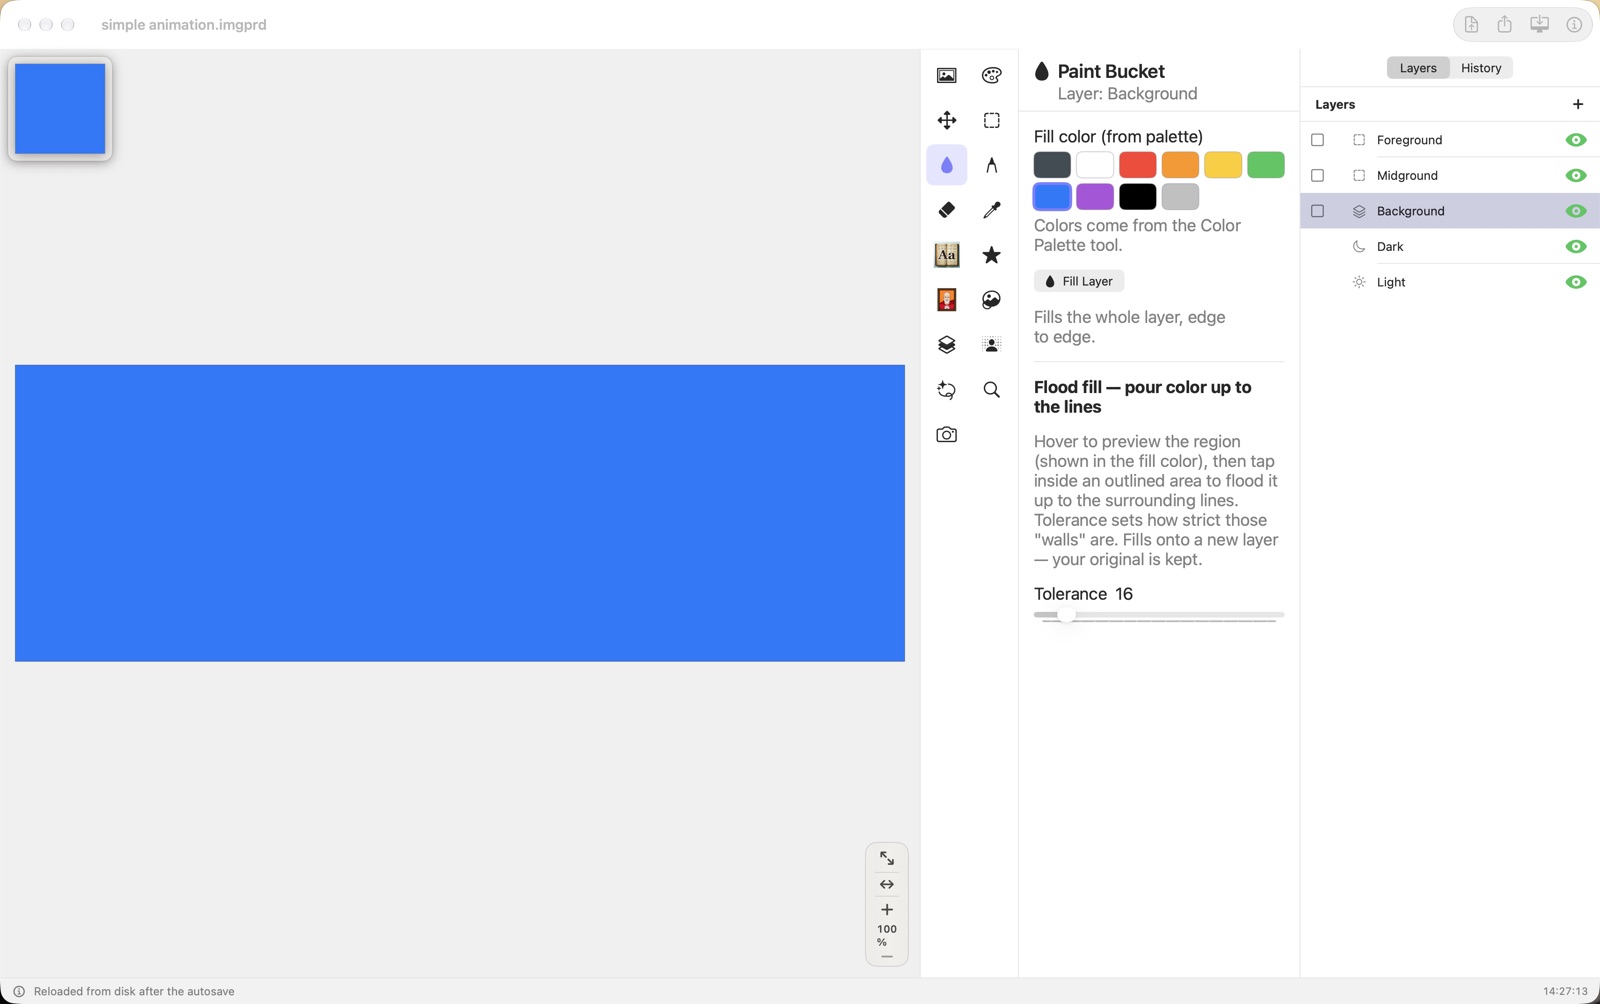
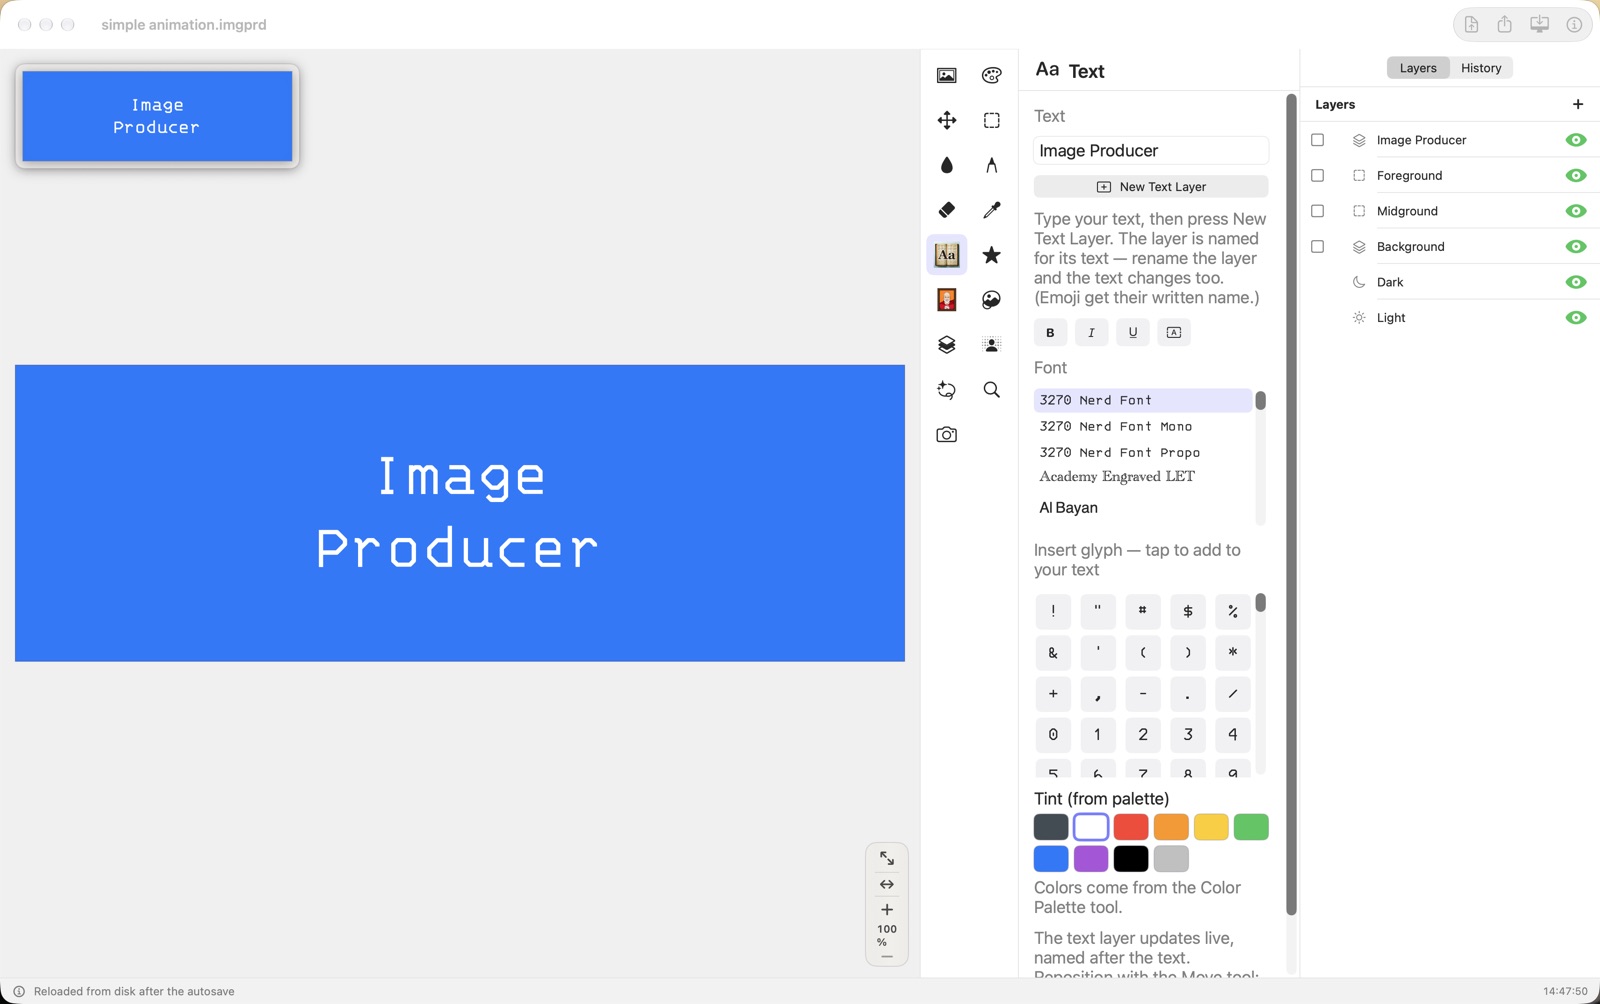
Background filled. - Choose Text, type “Image Producer”, pick white, and press New Text Layer. Choose a font and a size.
The headline. - Duplicate the headline twice. Give the copies darker colors and nudge each one a few pixels with Move. The stacked copies look 3D.
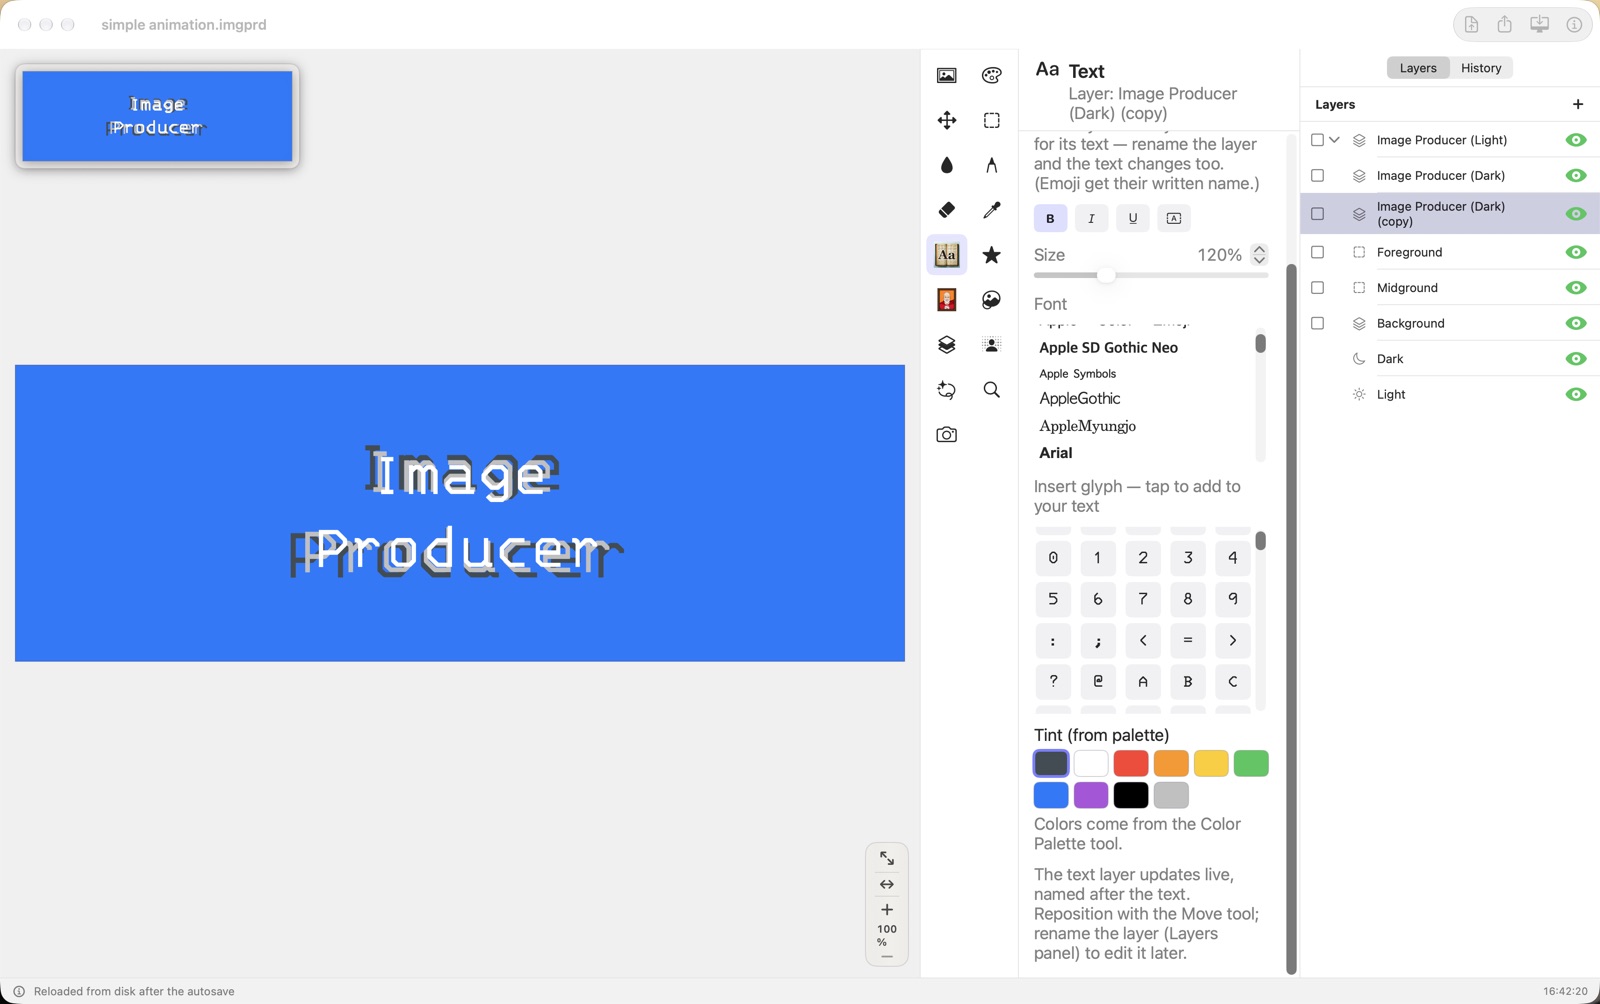
Three copies, offset slightly, make the 3D headline. - Check all three headline layers and press Link, so the three move as one.
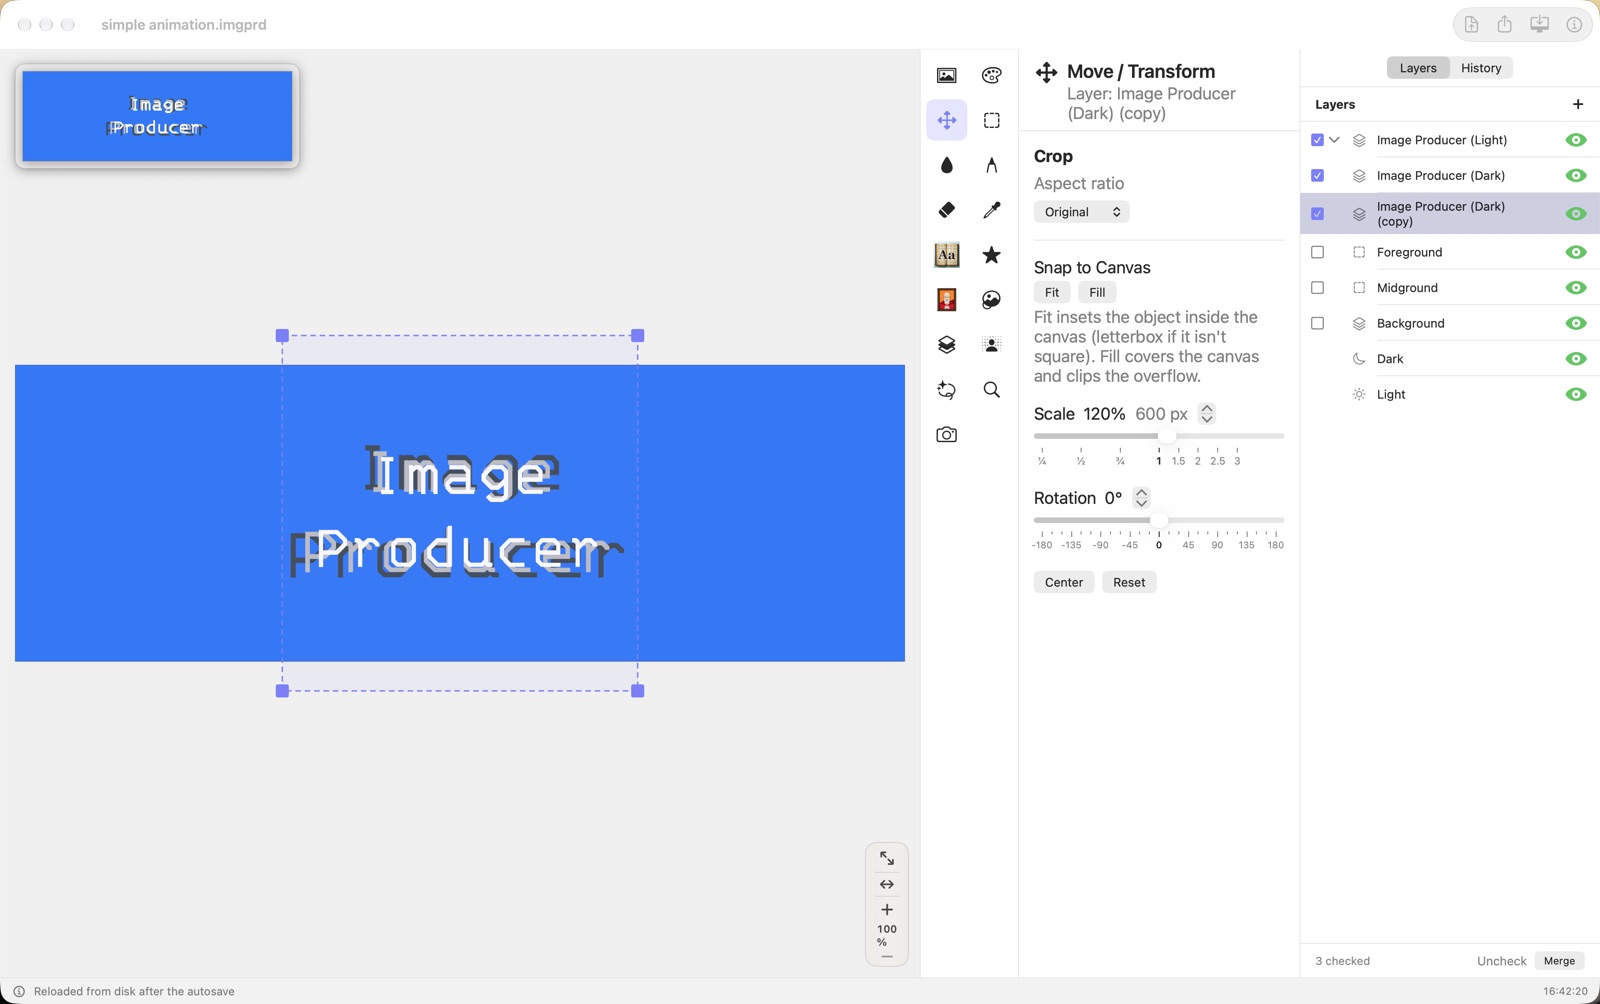
The three headline layers checked, ready to link. - Select Foreground. Choose Image and press Import Image to New Layer…. The picture lands behind the headline.
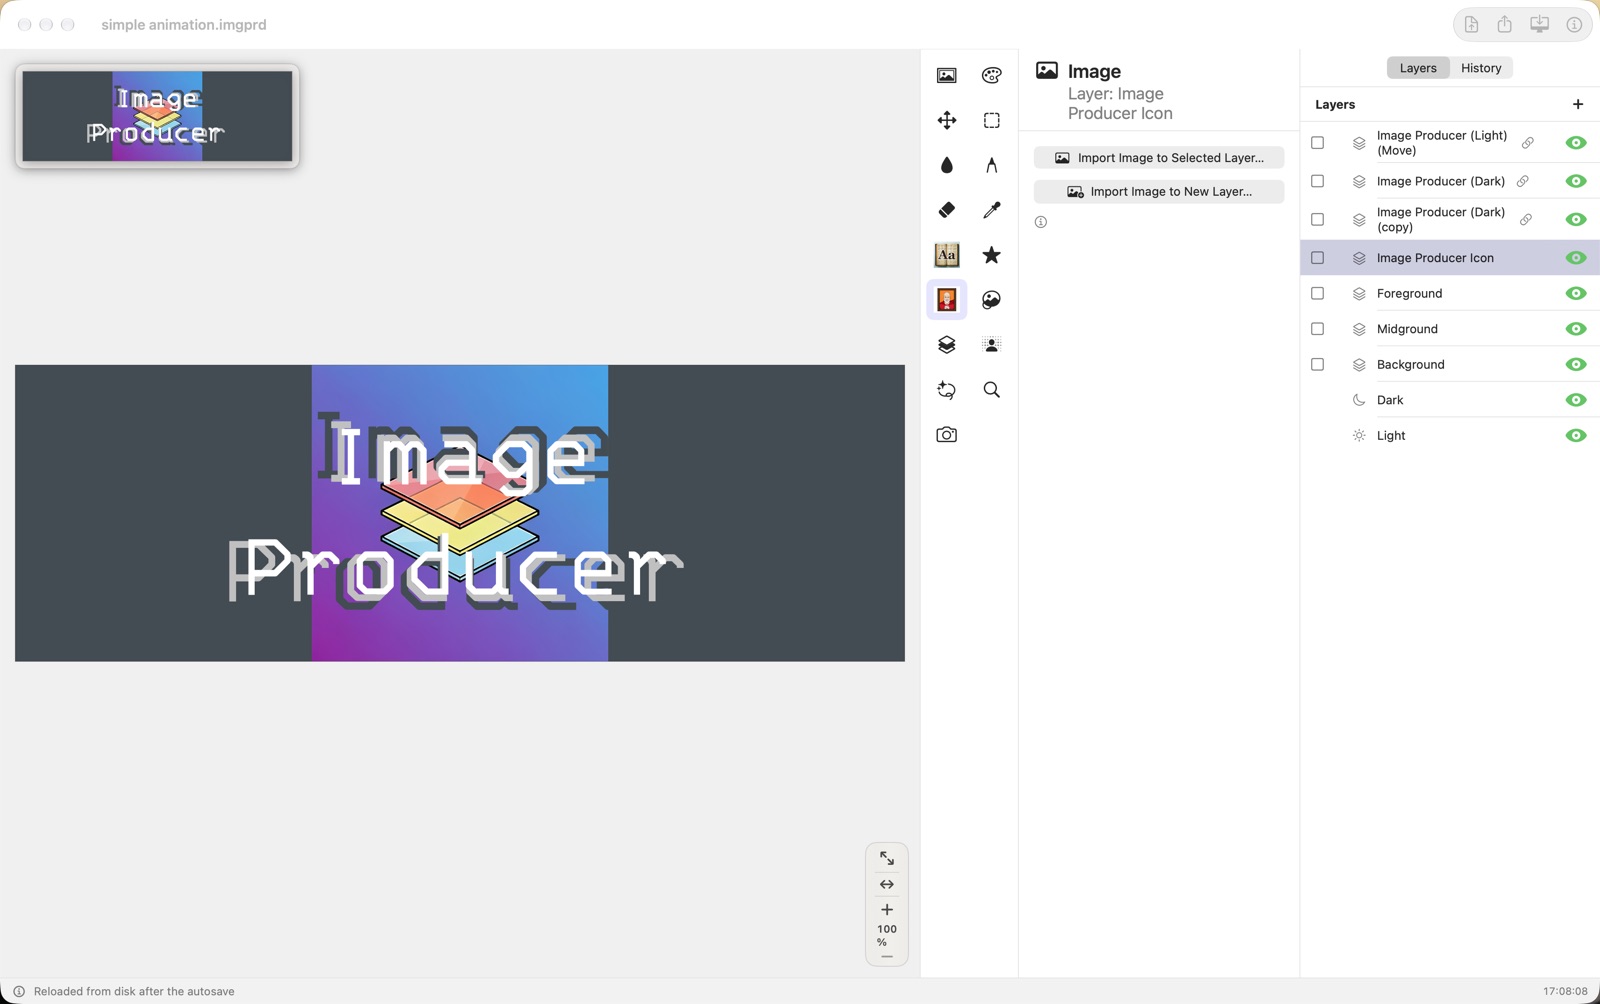
The picture behind the headline. - Choose Text, type the tagline, and press New Text Layer. With Move, drag a side corner of the text box outward until the tagline fits on one line, and drag the tagline to the bottom.
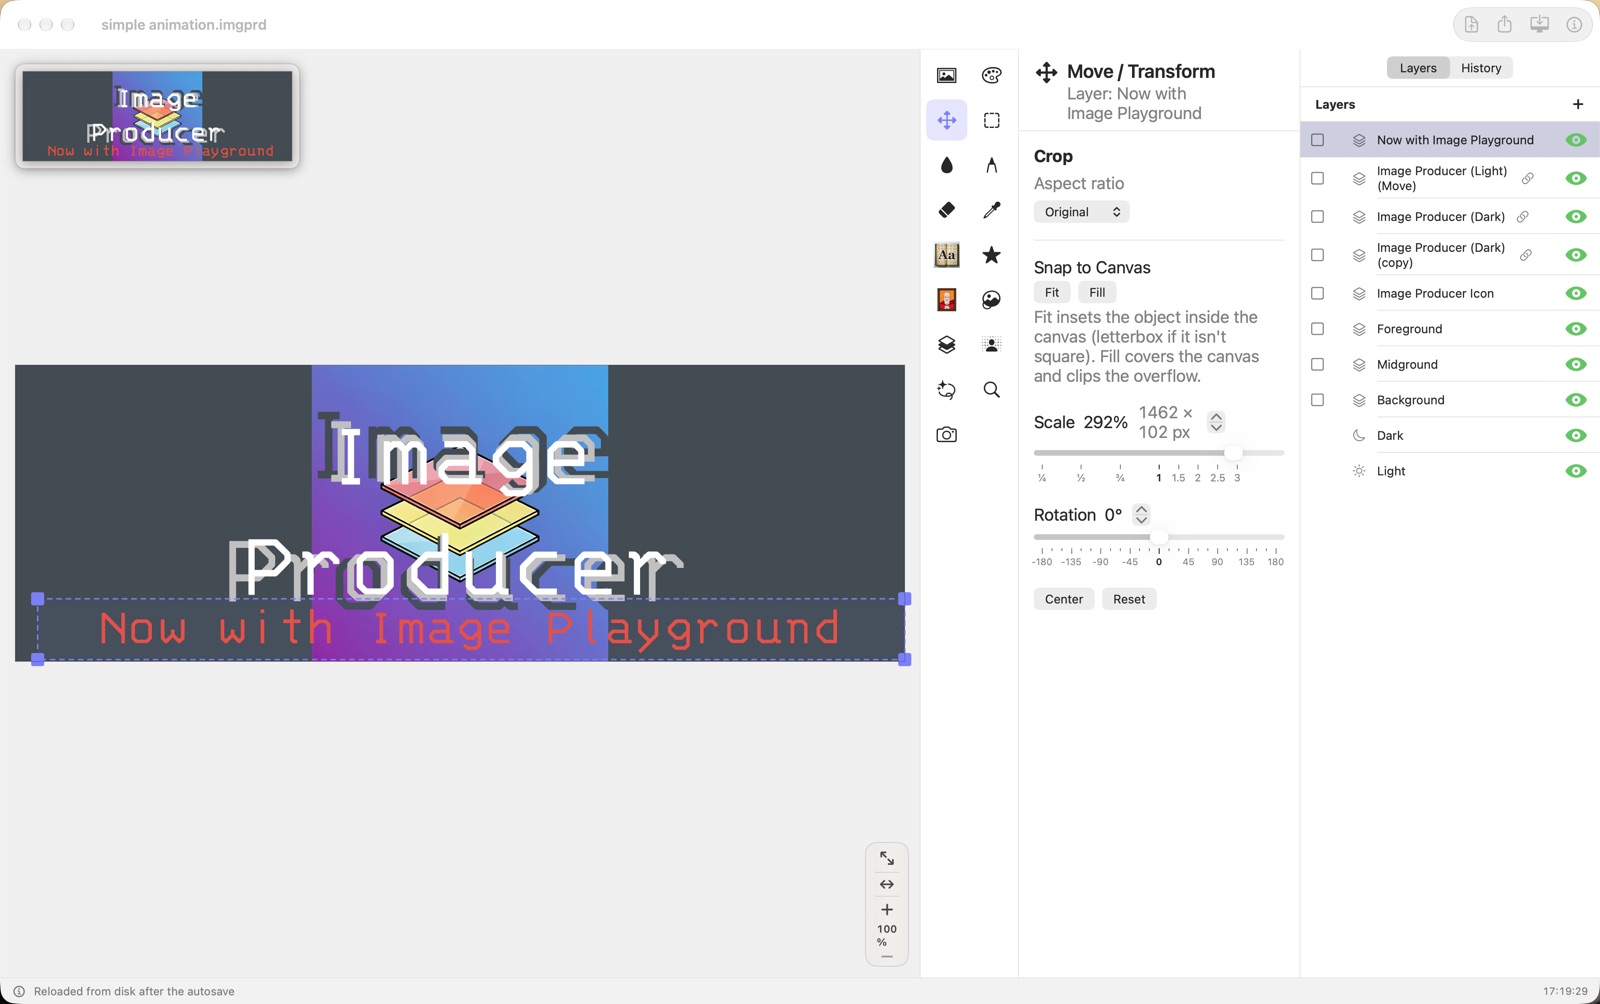
The tagline stretched to one line. - Add a symbol on each side with Symbol ▸ Create New Layer, and size them with Move.
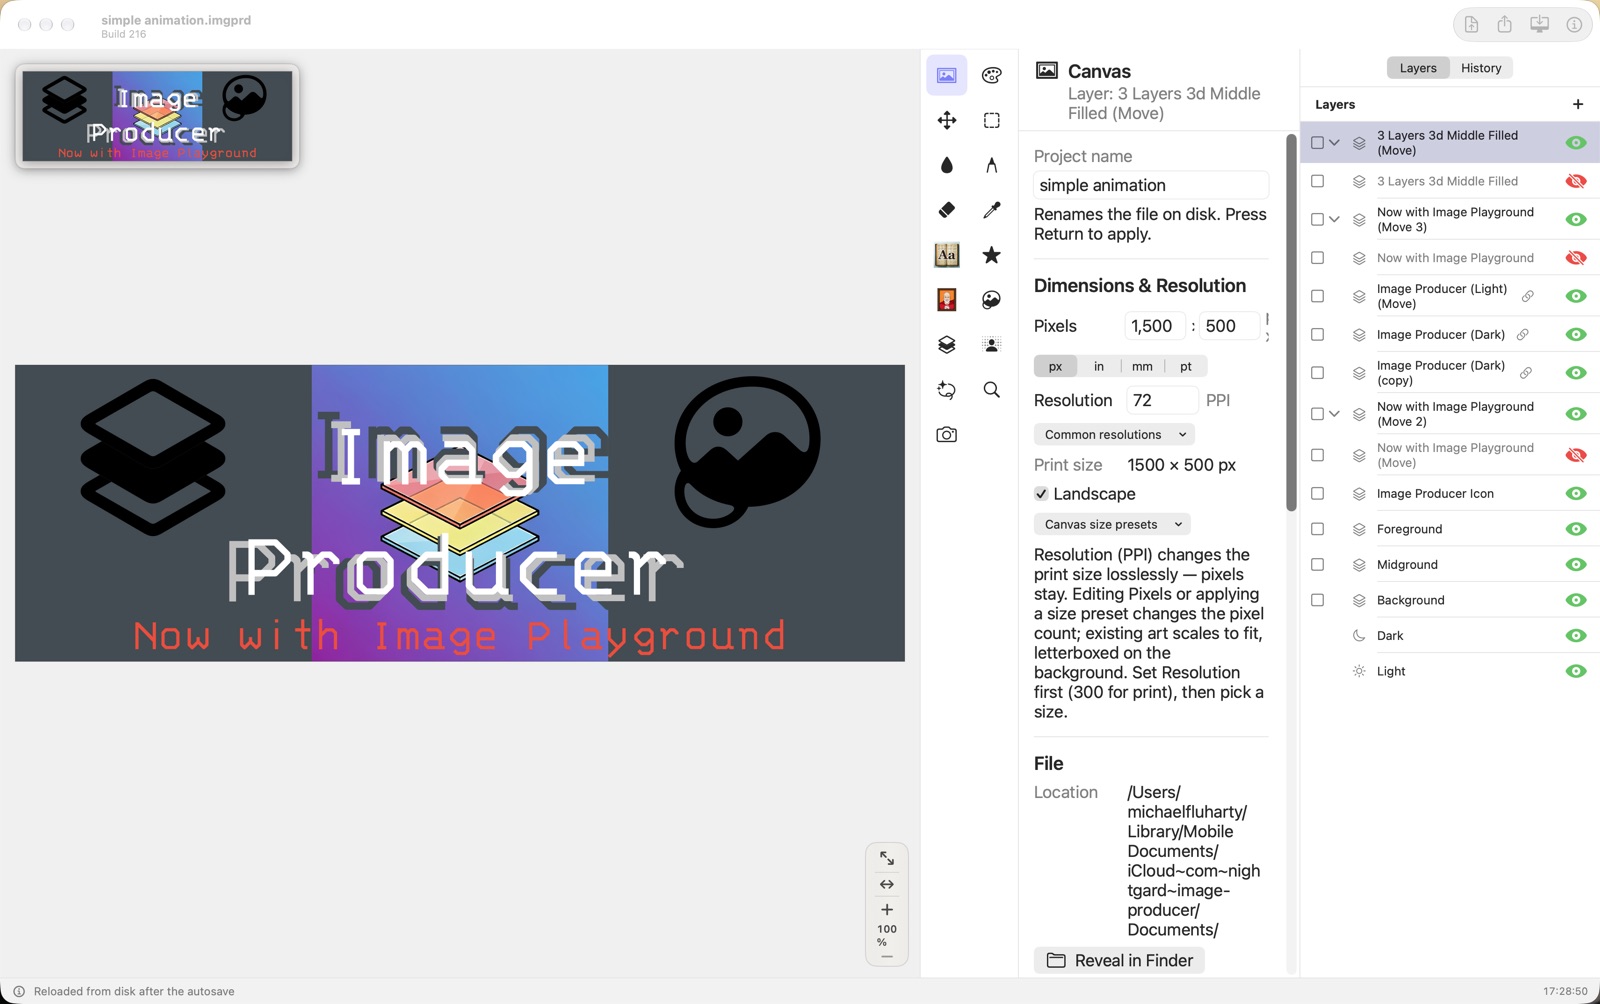
A symbol on each side. - Save the banner with Save to Desktop (Mac) or Share. The banner comes out 1500 × 500.
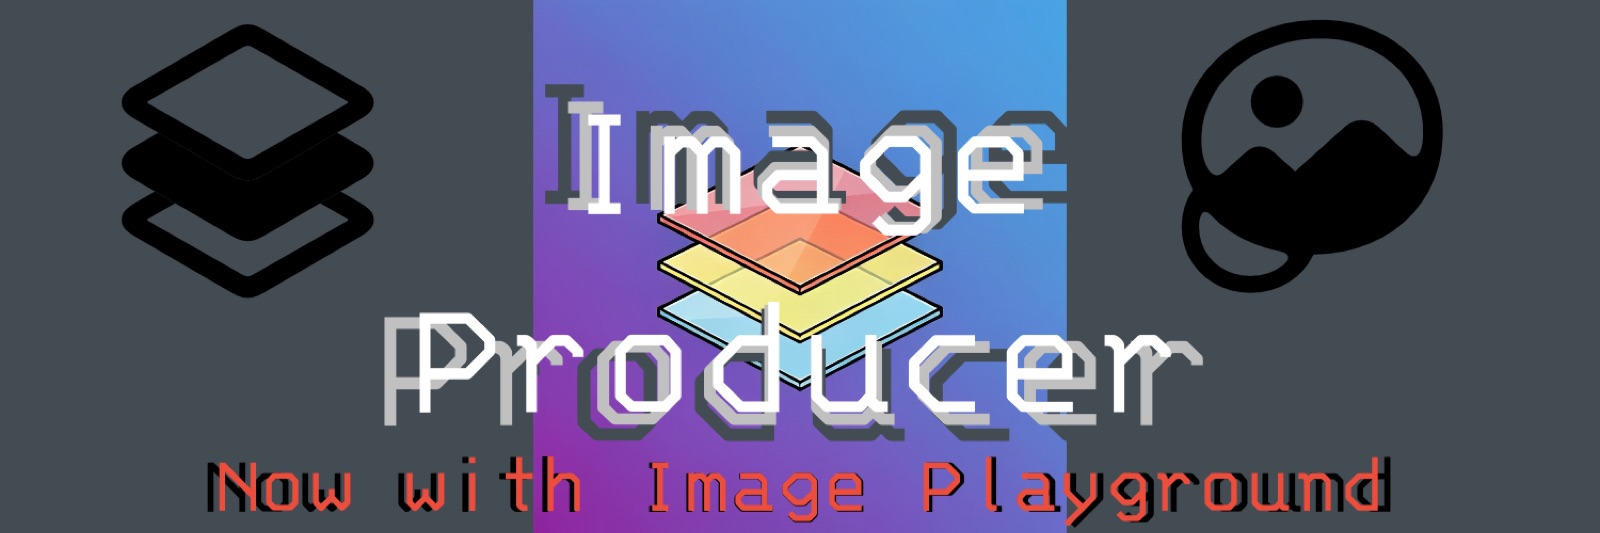
The finished banner.
Make a three-color stacked picture (iPad)
Four symbols stacked into one picture: three colored sheets with a black outline on top.
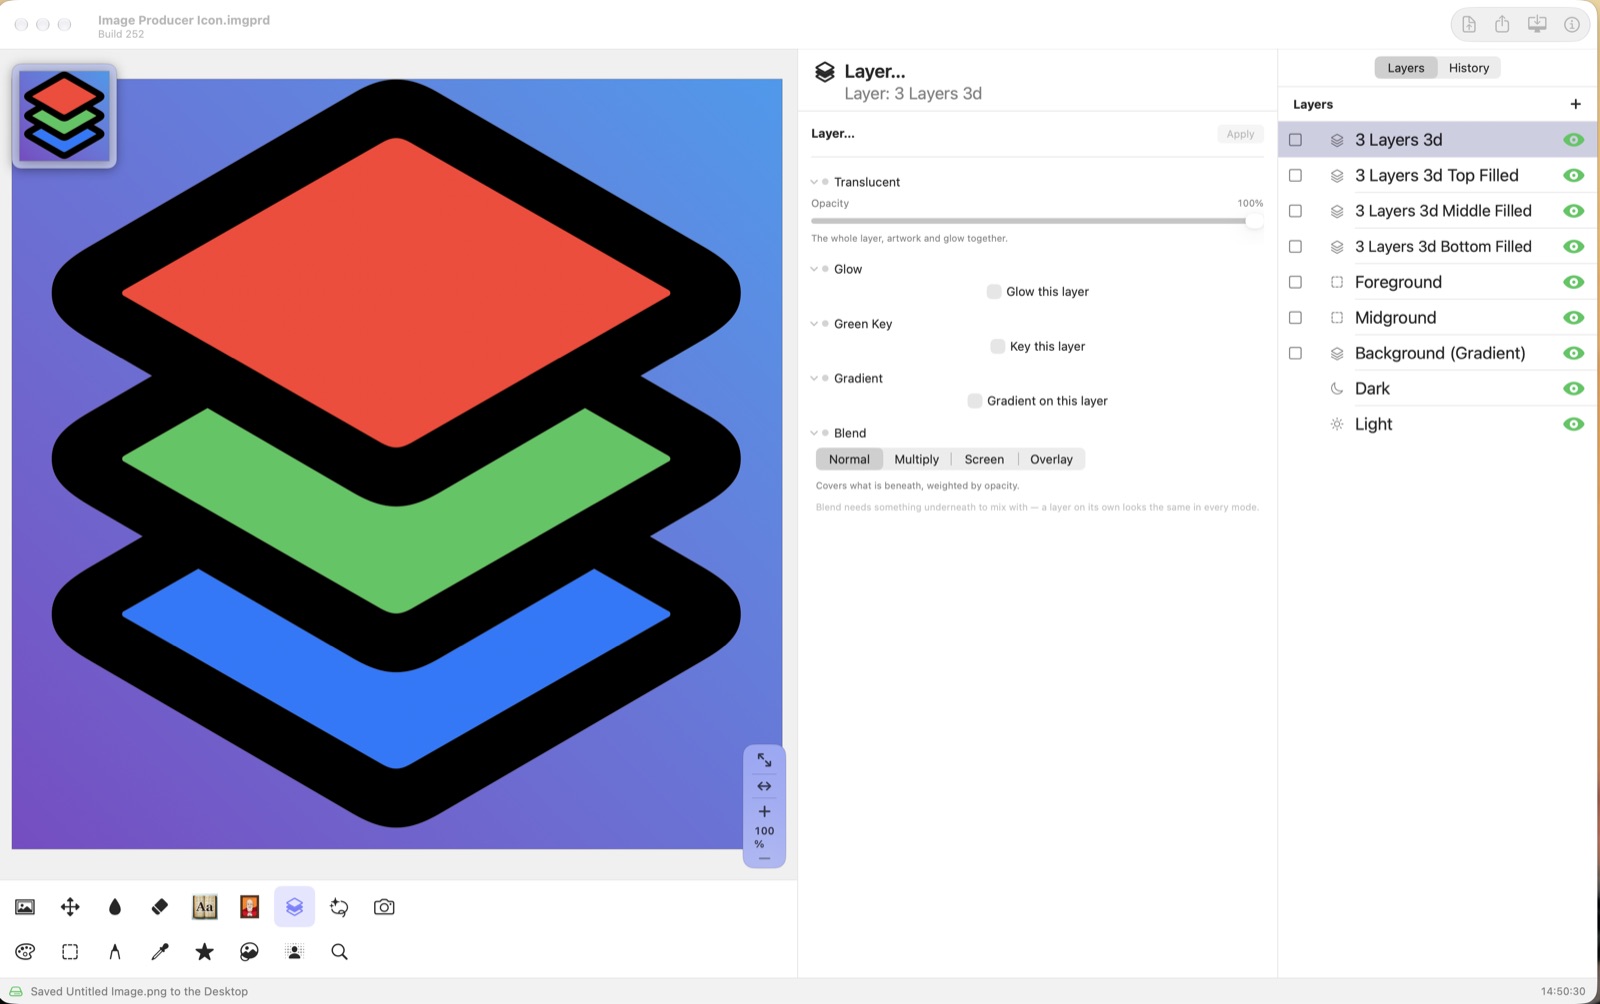
- Start with a background — this one is a purple-to-blue gradient from Layer… ▸ Gradient. Choose Symbol and search “layers”.
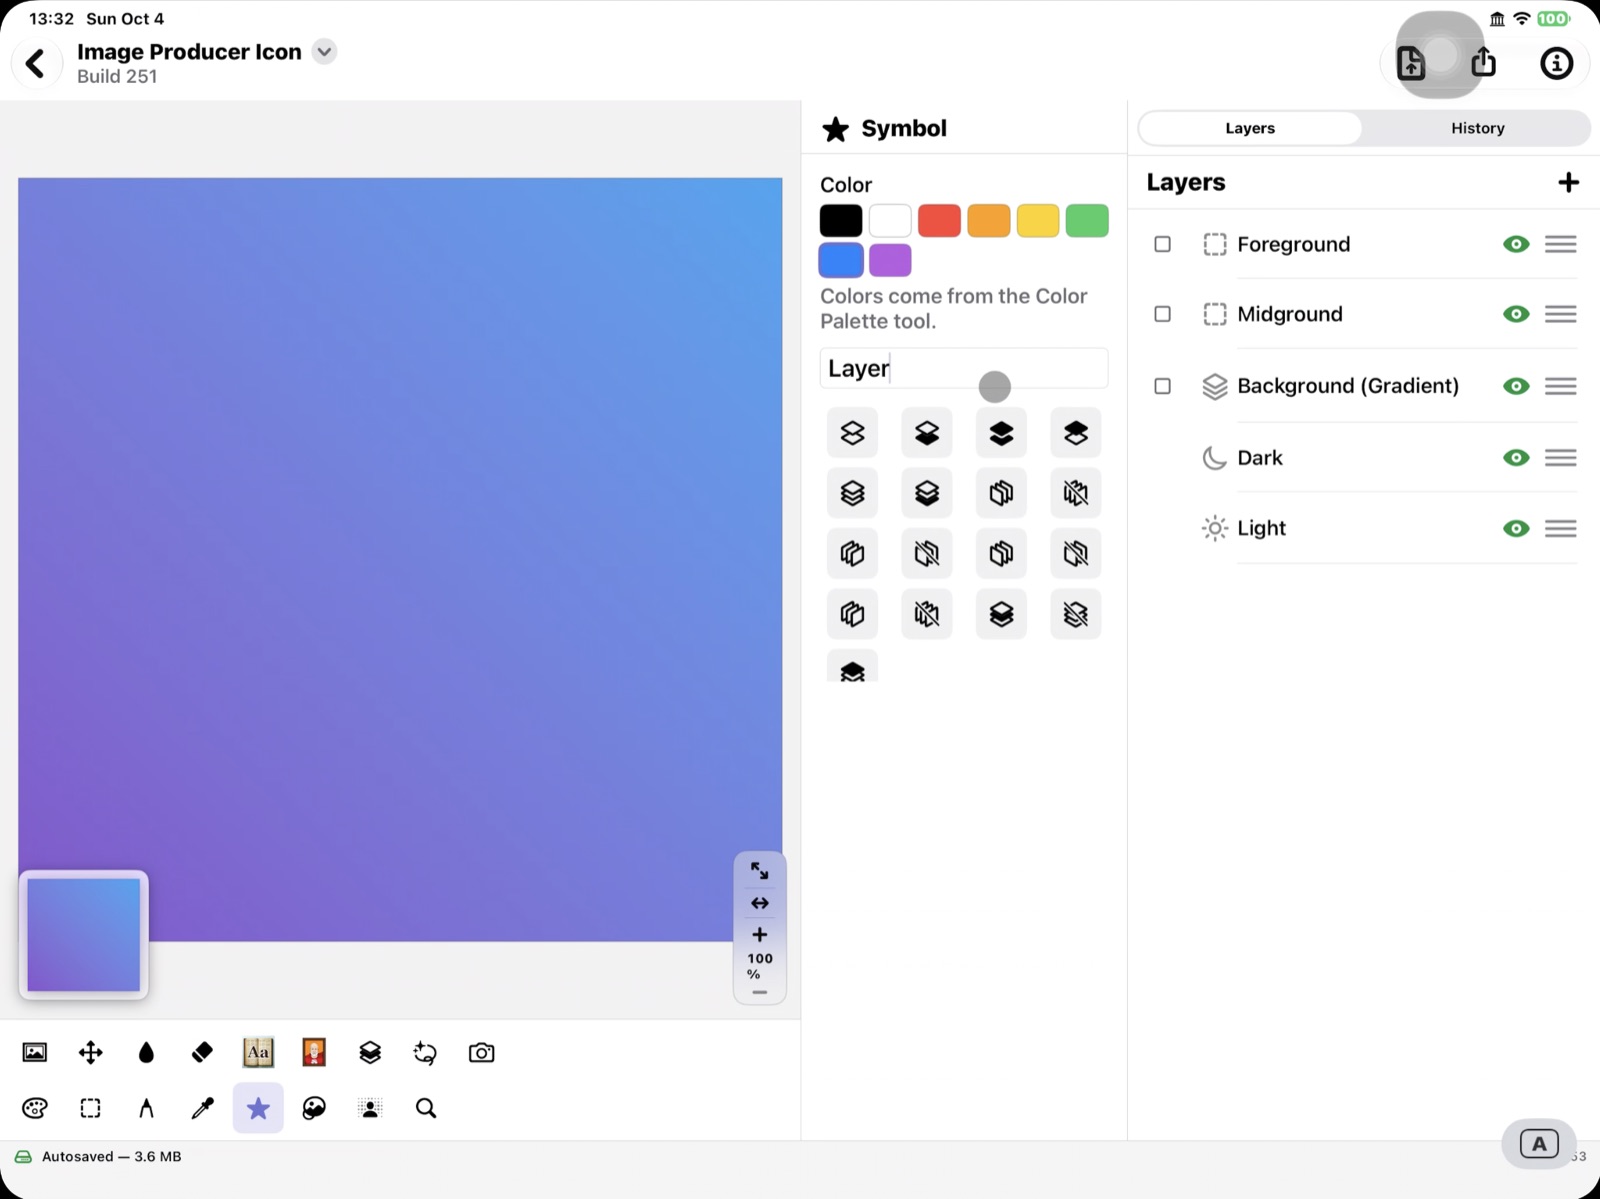
The gradient, with the Symbol tool searching “layers”. - Pick blue, tap 3 Layers 3D Bottom Filled, and press Create New Layer.
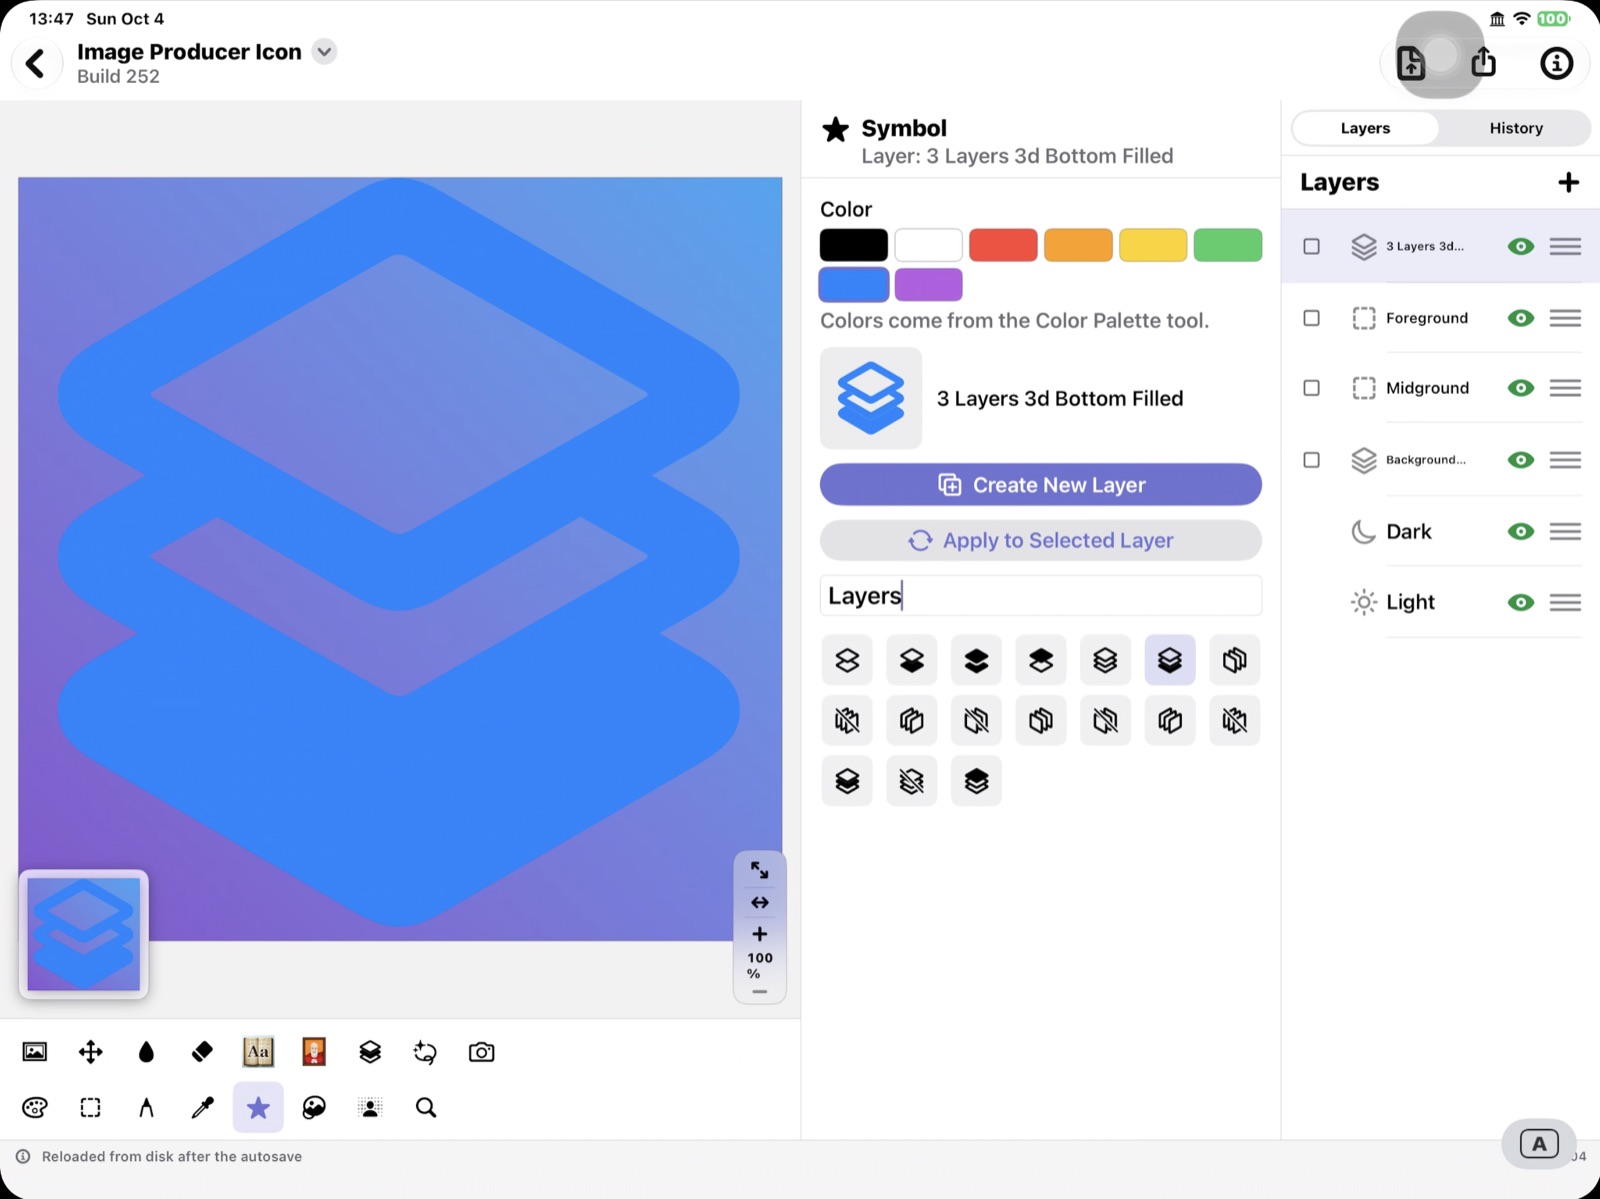
The preview, the two buttons, and the blue symbol on its own layer. - Pick green, tap 3 Layers 3D Middle Filled, and press Create New Layer.
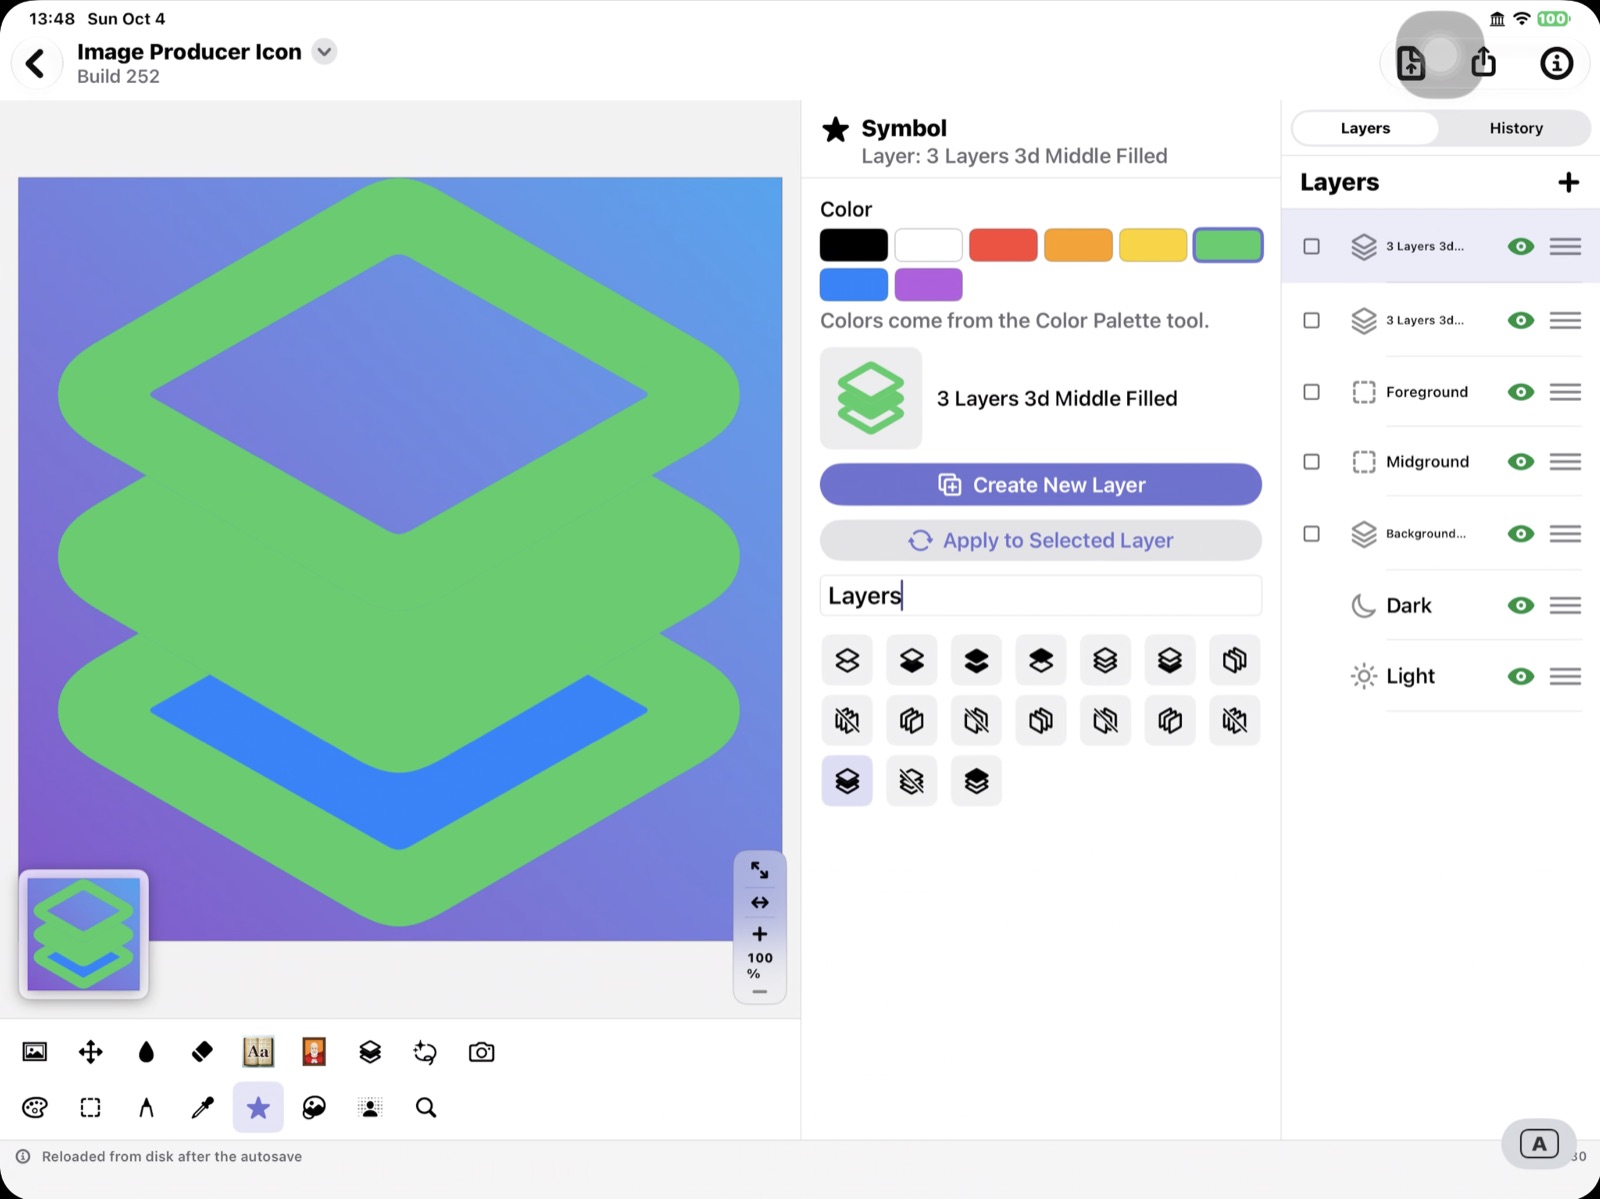
Green on top of blue. - Pick red, tap 3 Layers 3D Top Filled, and press Create New Layer.
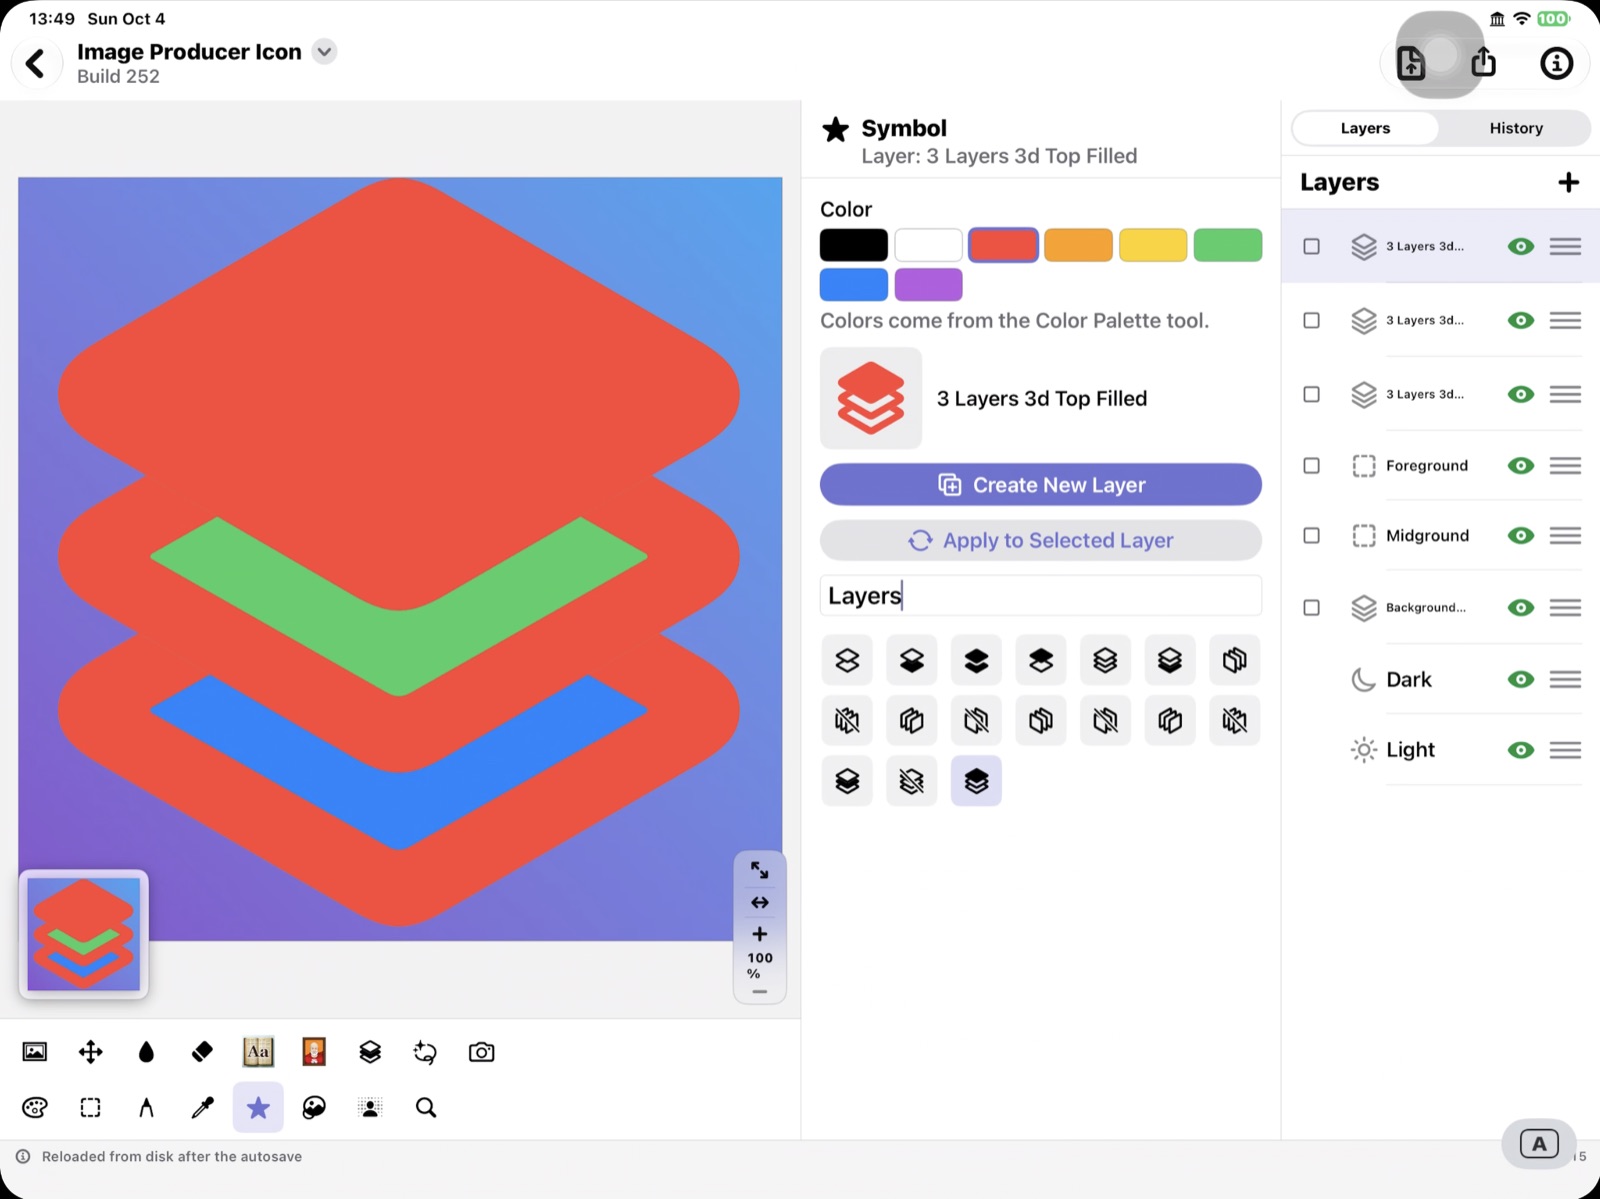
Red on top. - Pick black, tap the plain 3 Layers 3D outline, and press Create New Layer.
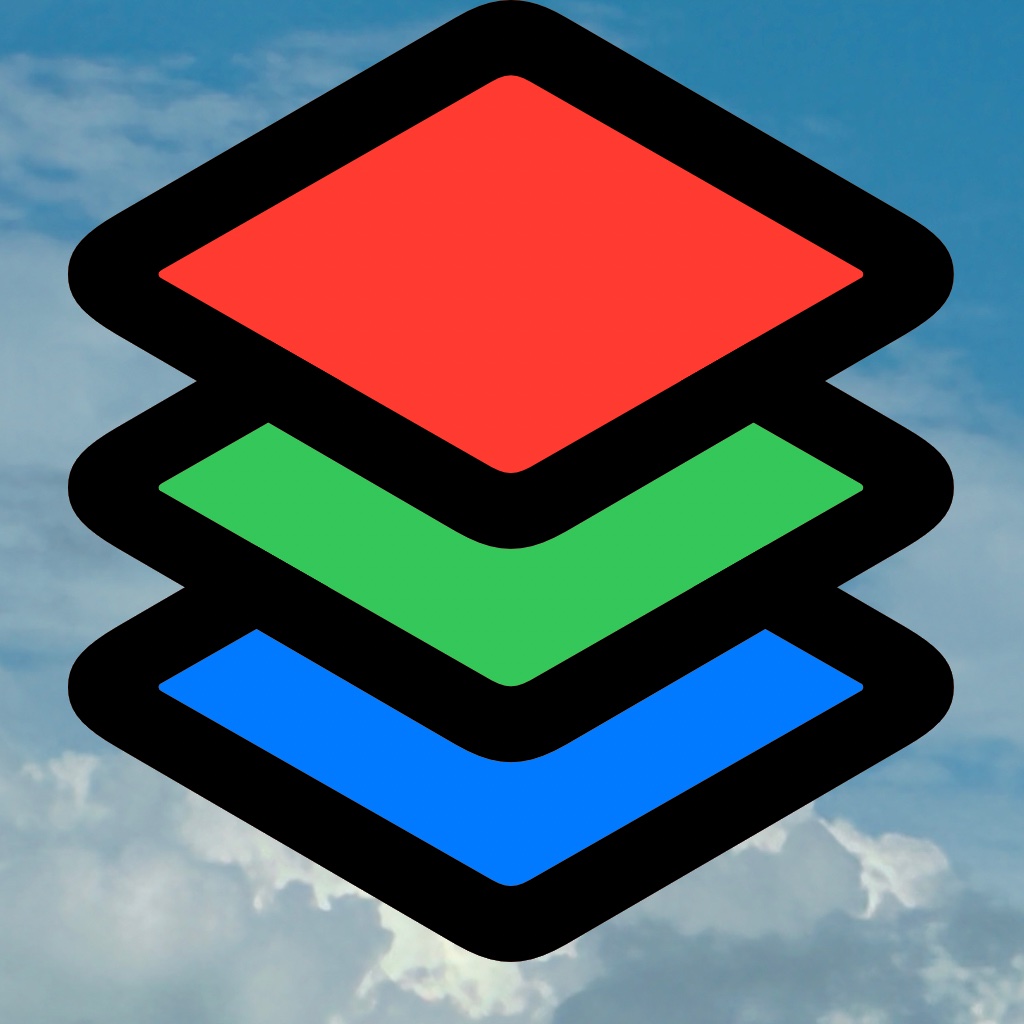
Finished: a black outline over red, green and blue.
Cut a subject out of its scene
- Import the picture onto its own layer and select the layer.
- Choose Remove Background and press the button.
- Clean up leftover bits with the Eraser, with black behind the cutout.
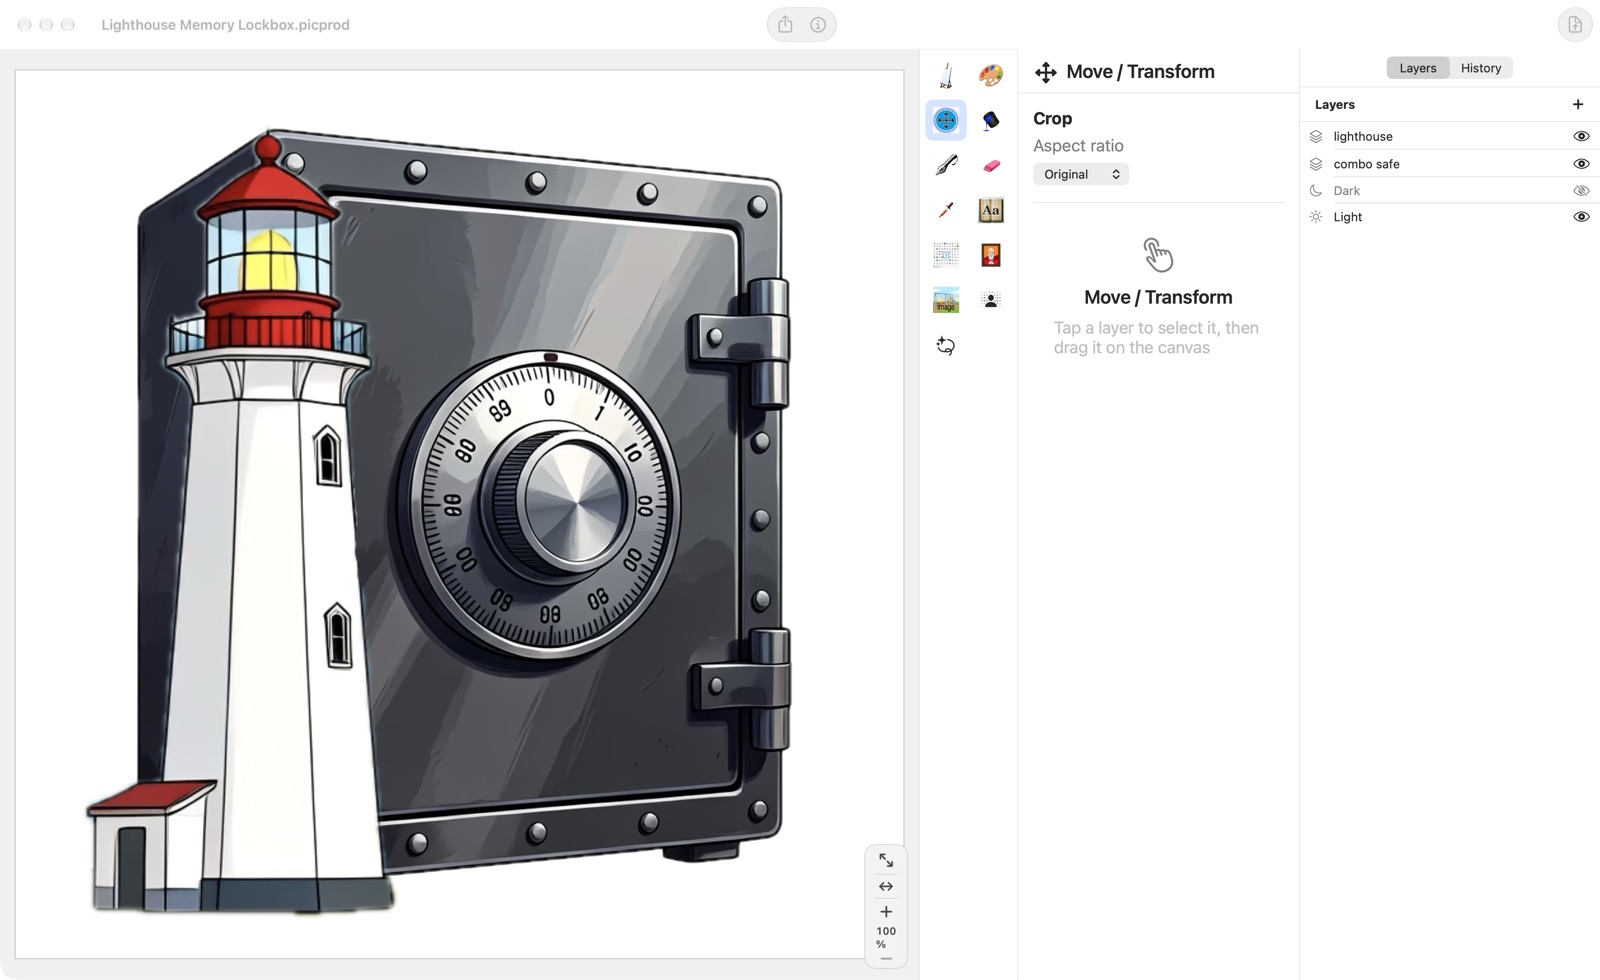
- Use Move to size and place the cutout.
Remove a black background and keep the light
See Green Key on a black background, under Layer….
Exporting
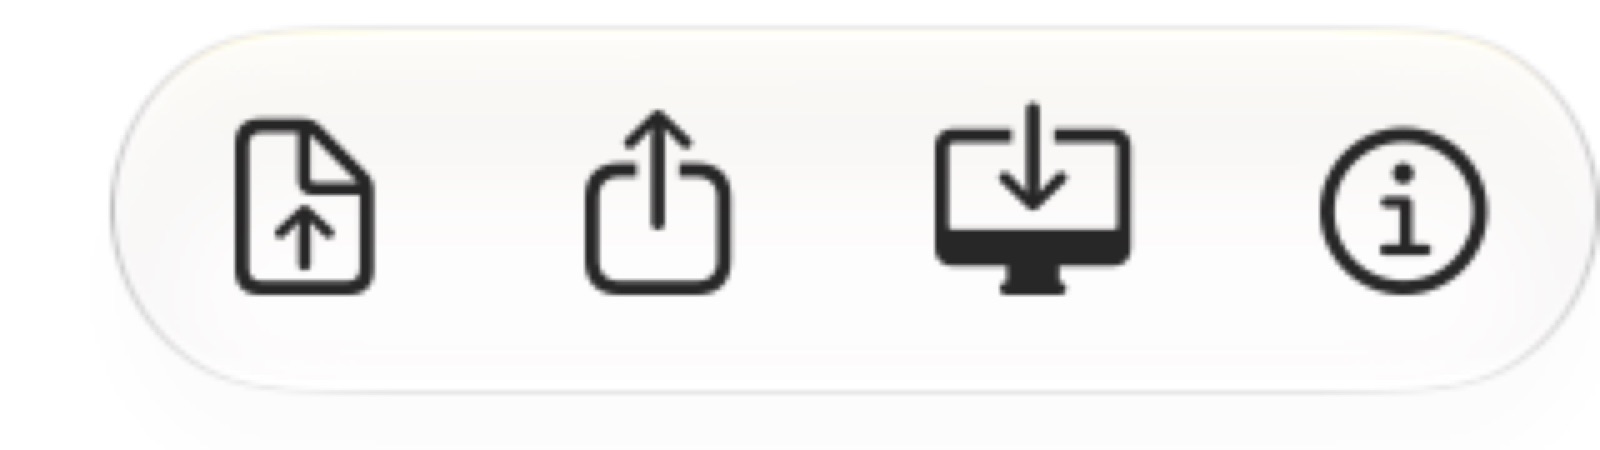
- Export saves the picture as PNG, JPEG, TIFF, HEIC, GIF, BMP, PDF, a PDF with one page per layer, an animated GIF, or (Mac) an Icon Set. On the Mac, press ⌘E.
- Share sends a PNG to Messages, Mail, AirDrop and more.
- Save to Desktop (Mac) puts a PNG on your Desktop. Save to Desktop never replaces a different file with the same name.
- About shows the version and contact information.
The saved picture is the size of the canvas — a 1500 × 500 banner comes out 1500 × 500.
Icon Set (Mac) makes a folder with light and dark 1024-pixel PNGs, ready to drag into Xcode.
Troubleshooting
| Problem | Try this |
|---|---|
| A tool does nothing | Select a layer first. The tool’s panel says what kind of layer the tool needs. |
| Glow or another Layer… effect doesn’t show | Select the layer with your picture, not Light or Dark. |
| Green Key leaves a ragged edge | Raise Softness. |
| The subject turns see-through after Green Key | Lower Softness, then Tolerance. |
| A new layer from the Image Playground Tool is just named “Image Playground” | Type your key words in the Image Playground Tool’s box before pressing Image Playground: New Layer. |
| Fill Layer turned a symbol into a solid block | Go back one step in History, then change the color with the Symbol tool. |
| A History step came back after reopening | Looking at a step does not keep it. Press Keep this step. |
| I want to undo | Delete the new layer and turn the hidden original back on, or use History. |
| I want to go back further | File ▸ Revert to Open… or Revert to Last Save…. |
Service bulletins
None open. If something doesn’t work the way this page says, email the address below and the problem will be listed here until it is fixed.
Need help?
Email michael@fluharty.com with what happened and your device and system version. The version is in About Image Producer — the ⓘ button at the top right.